EN
page 31
5. H.A.C.C.P. AND HYGIENE REGULATIONS
• When starting the machine ON, no wash-cycle will be starting until the set boiler and
wash-tank temperatures are reached. During operation, the machine will not start the
rinse cycle till the set boiler temperature is reached.
• Remove carefully all solids from the objects to be washed, to avoid obstruction of fi lters,
nozzles and piping.
• Drain the wash tank and clean the fi lters at least twice a day.
• Check if the detergent and rinse-aid dosage are correct (as recommended by the
manufacturer). In the morning, before starting the machine, check that the quantity of
chemicals in the canisters is enough for daily supply.
• Keep your working tables clean.
• Extract the rack with clean hands or gloves to avoid fi nger marks.
• Do not dry or polish the washed objects with cloths, brushes or rags that are not sterile.
6. MAINTENANCE
6.1 Routine maintenance
WARNING: The machine is not protected against pressurized water jets. Do not use
pressure cleaning system against the machine.
It is recommended to contact the seller of chemicals for proper cleaning instructions,
in order to have detailed indications on methods and products for the correct periodical
machine sanitation.
Do not use bleach or chlorine based detergents.
Daily cleaning is needed to ensure that the machine runs perfectly. The following shall be
carried out:
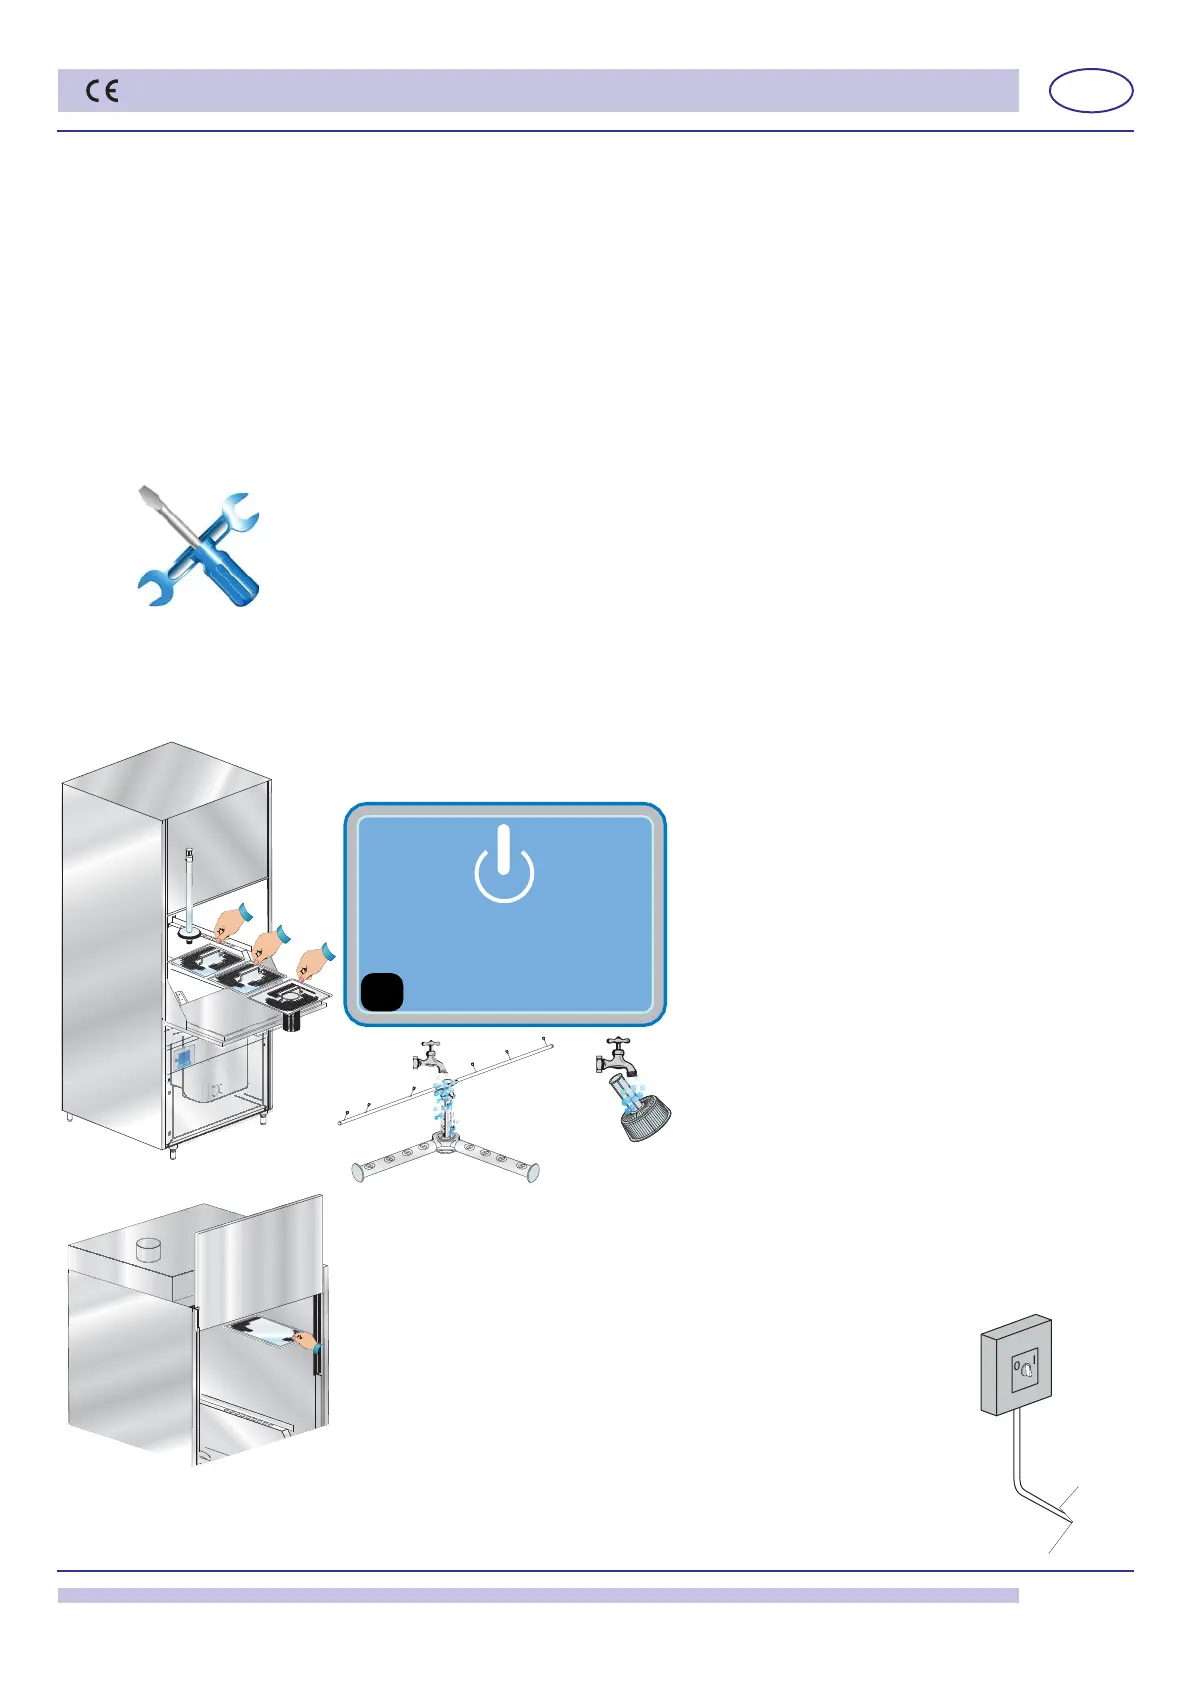
• Turn the machine in STAND-BY mode, by pressing the push-button B of the control panel
(see chap. 3).
• Remove the surface fi lters and clean them under
running water (see pict. 2). Drain the sump water
(see chap. 3.1.3).
• Remove the overfl ow
• Remove the pump fi lter and clean with a brush and
a water shower.
• Remove the arms by loosening the fi xing screws,
and thoroughly clean them, and the nozzles under
running water.
• Remove the heat exchanger fi lter (if installed)
and clean it under running water (see pict. 3).
• Reassemble the parts and reposition the wash
pipes. Take extreme care to re-assemble the nozzles
in the right position (open and / or closed nozzles) and
that the arms are installed with the right axial angle.
• Clean the tank very carefully, using a water shower.
• It is recommended to leave the machine door open at the end of the day.
• Automatic cycle of machine self-cleaning/rinsing: recommended at each day end.
With the machine on STAND-BY mode, remove the overfl ow pipe and, when the tank
is empty, press the START A key; an automatic cycle of 60 seconds will start, after this
the machine will be in STAND-BY mode.
• Shut the water valve.
• Turned off the machine by switching the main power switch OFF.
ON
STAND BY
pict. 2
pict. 3