10
• CAUTION: DO NOT overtighten hardware. Product damage may occur.
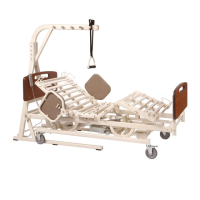
Be sure the bolt is completely through the holes of the boom assembly mounting bracket and the
actuator assembly. The boom assembly will pivot easily if the mounting hardware is aligned properly
when the boom assembly is secured to the mast.
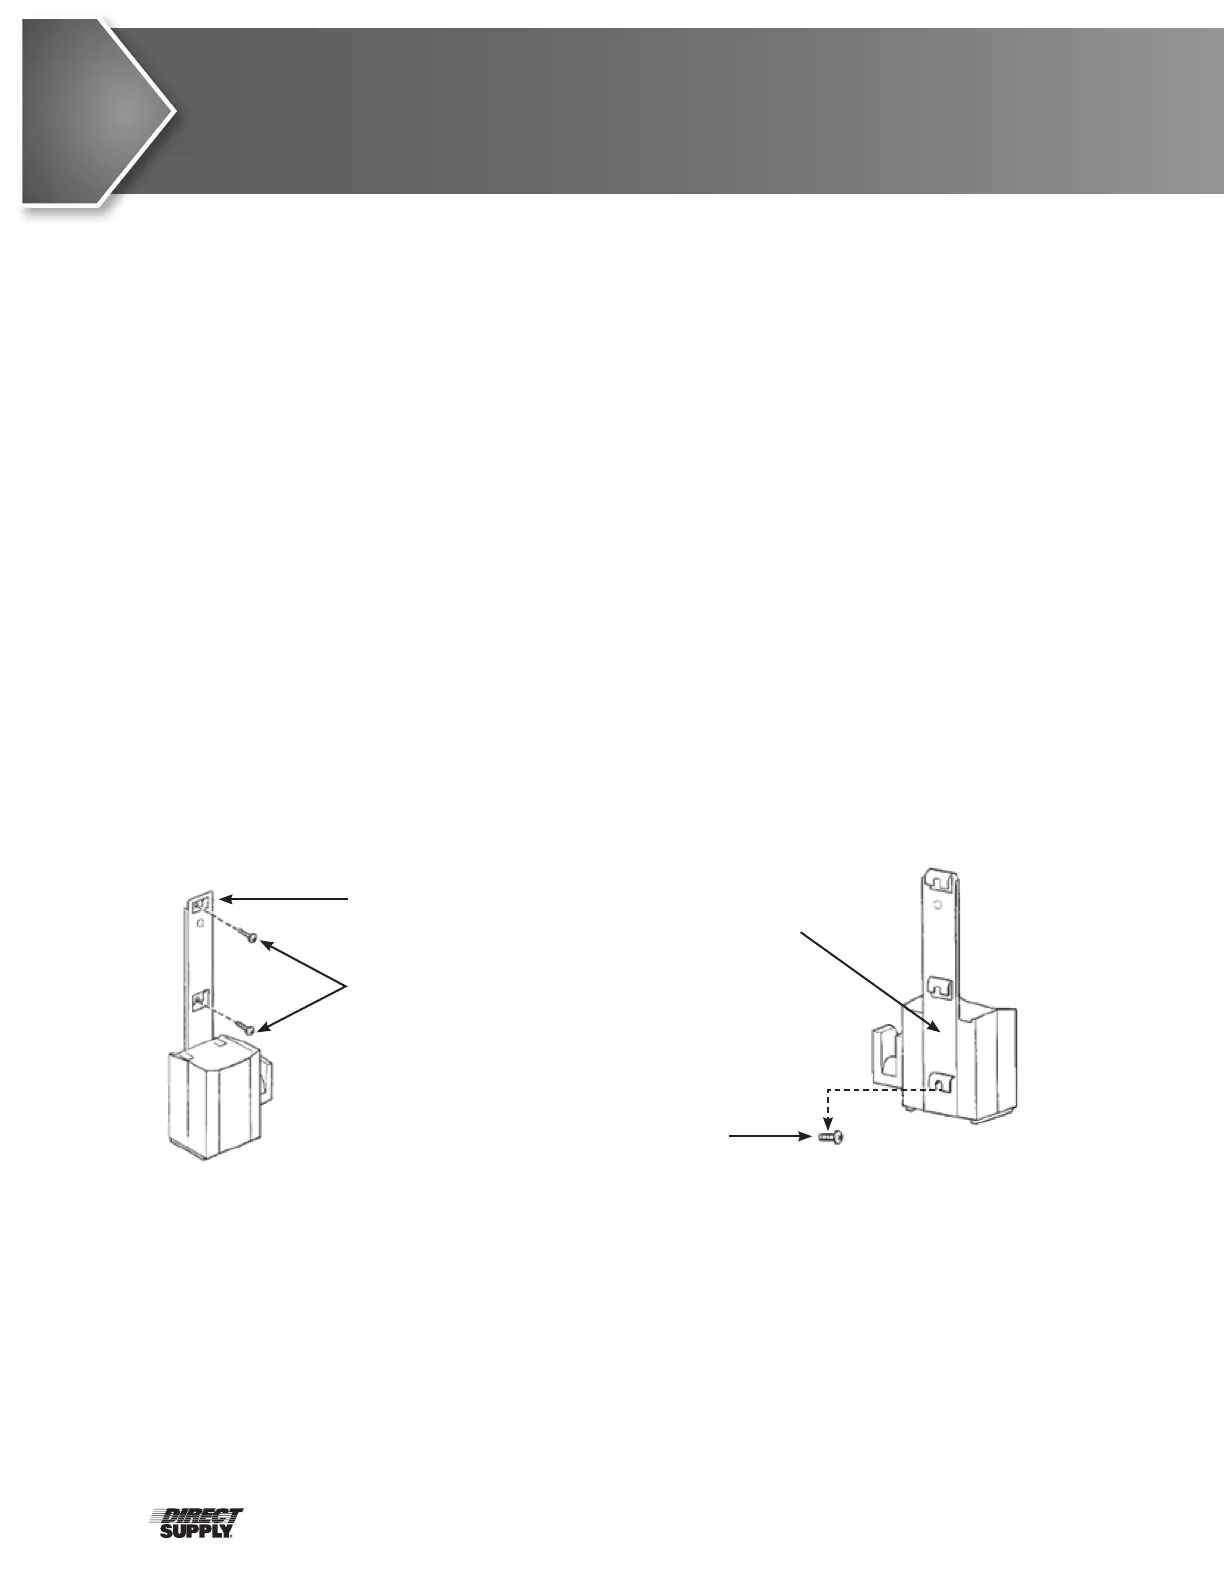
Mounting the Battery Charger
Refer to your local regulations concerning proper mounting procedures.
a) Place the battery charger with mounting bracket on the wall at the desired position.
b) Mark the middle hole position with a pencil.
c) Measure down 6½" from the pencil mark and drill one mounting hole.
d) Install the bottom mounting screw until there is an approximate
1
⁄8" gap between the screw
head and the wall.
e) Install the battery charger with the mounting bracket onto the bottom mounting screw.
f) Drill the remaining two mounting holes.
g) Install the two remaining mounting screws through the mounting bracket and into the wall.
Tighten securely.
h) Plug the battery charger into the wall electrical outlet.
i) Verify ON is illuminated.
Assembly (cont.)
Bottom Mounting Screw
Mounting Screws
Mounting Bracket
Battery Charger with
Mounting Bracket