User manual in Original
Doc. ref: 500A_MC_am_en_210602
DISPERATOR AB Tel: 08-724 0160 E-mail: info@disperator.se
Mälarvägen 9, 141 71 Segeltorp Web page: www.disperator.se
39 / 44
38 / 44
16. Examine the contact surfaces of the carrier (P2) for wear caused by the axle seals. There should
only be two small symmetrical (barely noceable) tracks on the carrier (P2) if it is to be reused. If
the tracks are noceable, asymmetrical or more than two, replace the carrier.
17. Terminate dismantling here if carrier (P2) and motor (P1) are not to be replaced. Start the
reassembling of the disposer from item 5 in secon 9.5. below.
The V-ring seal (P8) and the two axle seals (P5) with special grease (P26) together with
staonary seals (P14) and (P17) must be replaced at each dismantling.
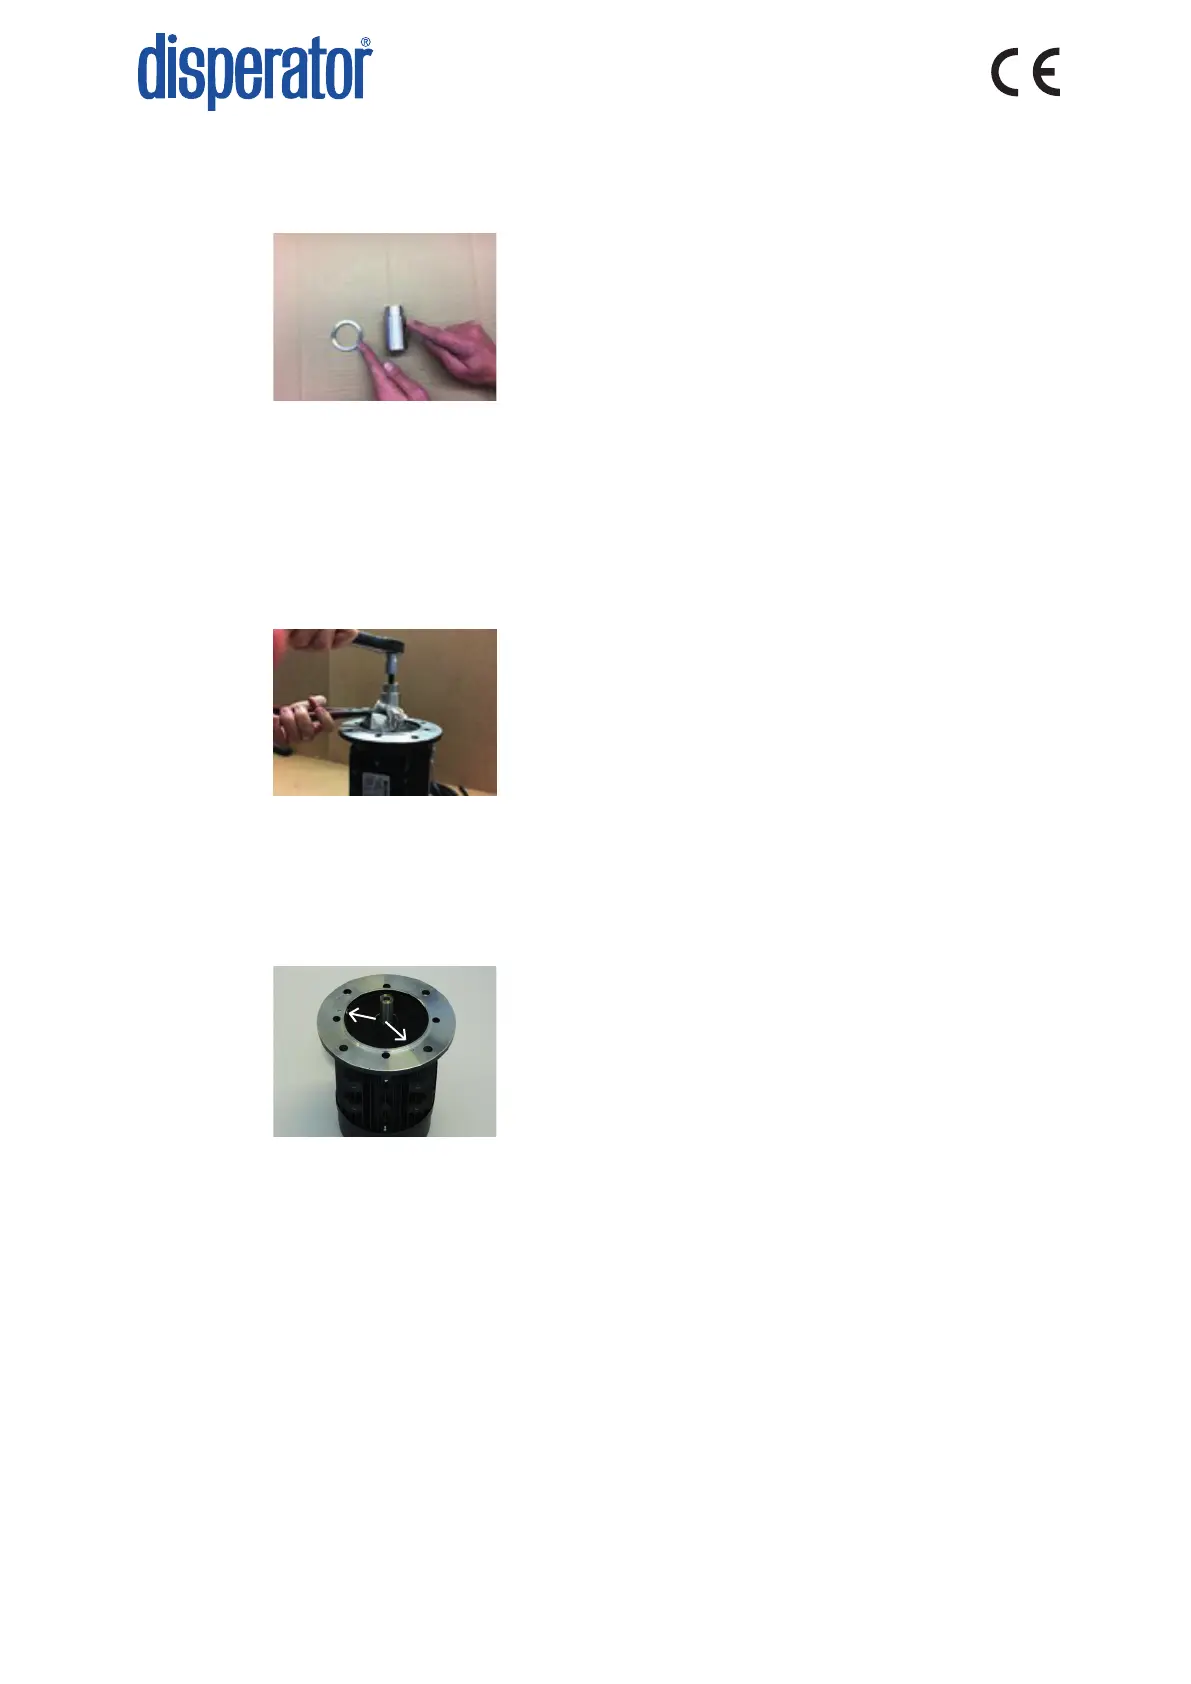
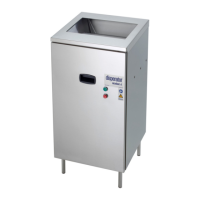
18. In Service Package 2 a disassembly screw (P31) for the carrier (P2) is included. Use this screw on
top of the carrier and screw it down. This will remove the carrier from the motor axle. If needed,
use the rotary shredder (P10) as a handle to prevent the motor axle from rotang. Alternavely,
hold the carrier with a pair of pliers and a so cloth in between as shown in the photo below.
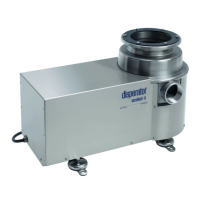
19. When changing the motor (P1), make sure that the new motor has the same classicaon
and quality as the original. The motor must have two holes in the upper ange to allow for
venlaon and drainage of water condensaon (see arrows on photo below and original motor).
When drilling these holes in the motor upper ange, it is important to drill at the correct angle,
so that it does not penetrate the motor winding. All replacement motors delivered by Disperator
have premade drainage holes.