User manual in Original
Doc. ref: 500A_MC_am_en_210602
DISPERATOR AB Tel: 08-724 0160 E-mail: info@disperator.se
Mälarvägen 9, 141 71 Segeltorp Web page: www.disperator.se
42 / 44
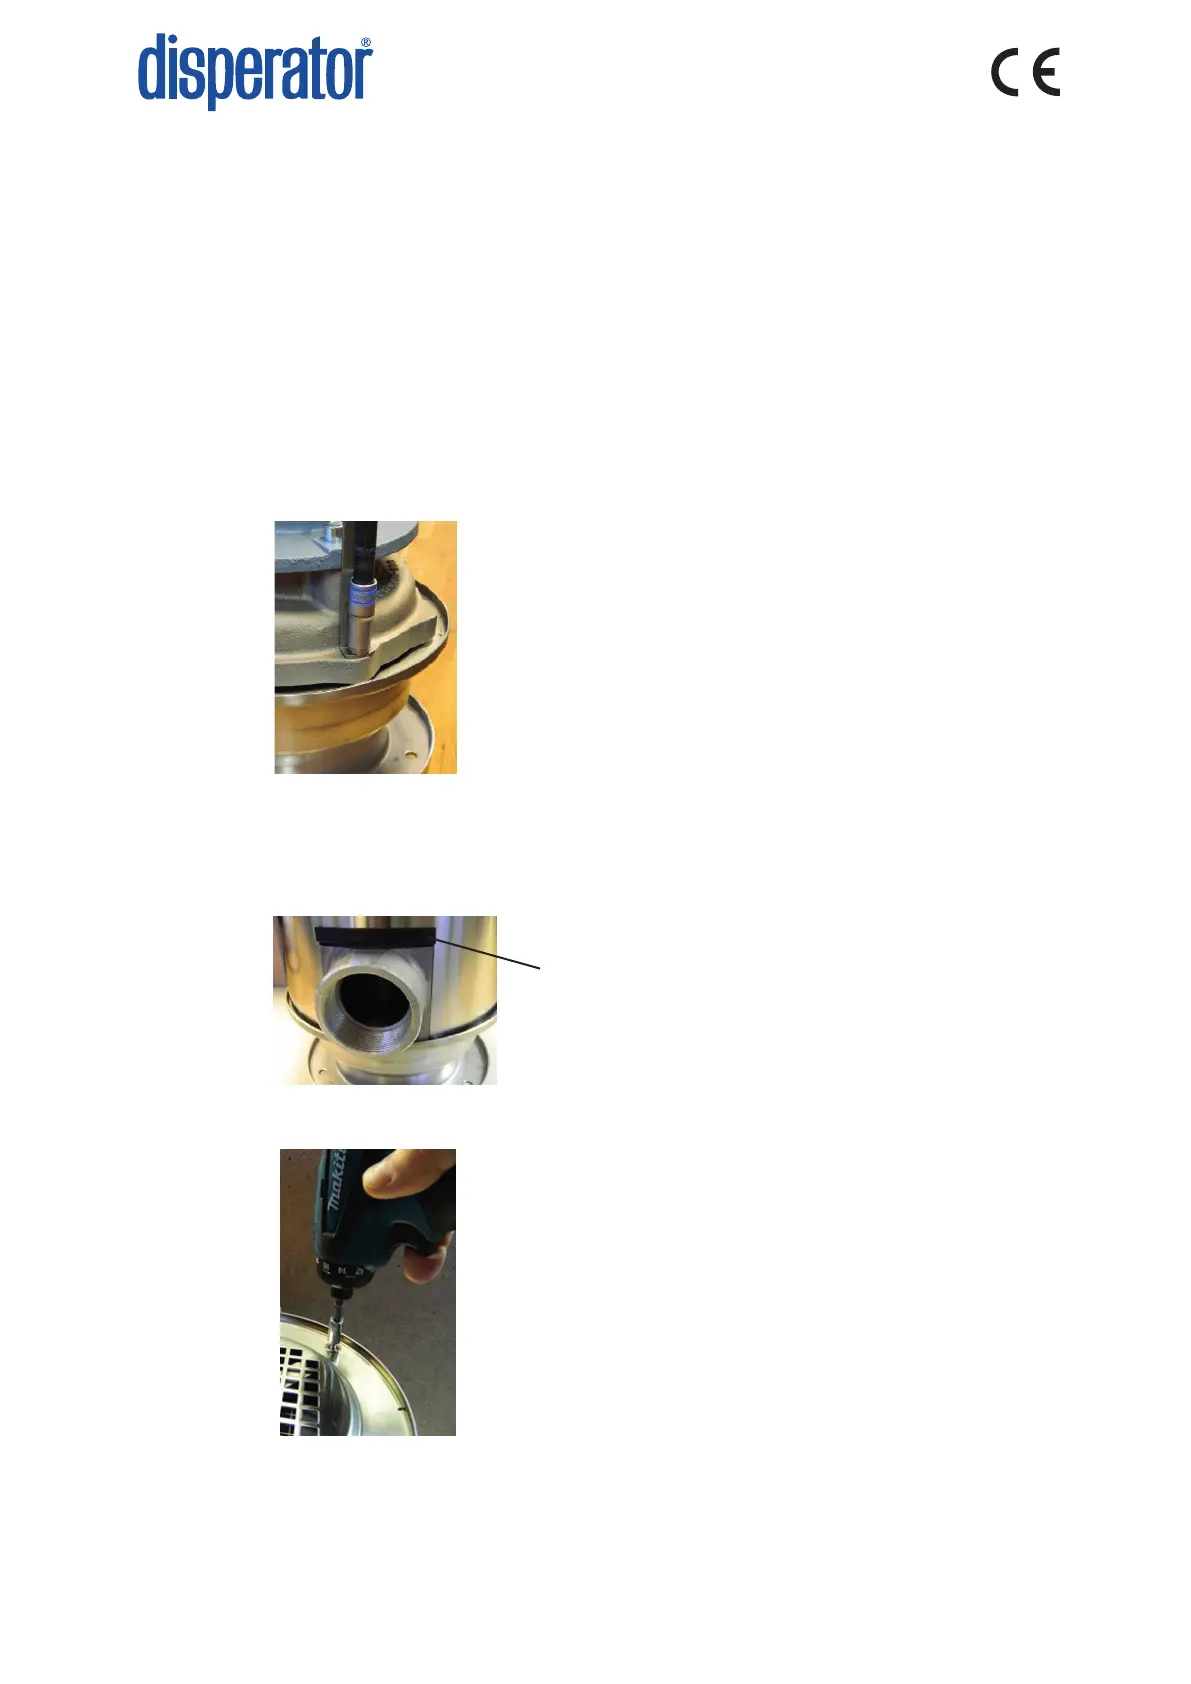
27. Secure the hood (P15) with 2 pcs. of washers and 2 pcs. of new unused locking nuts (P16) in the
two posions that have no previously made markings for the strap (P19, see secon 9.4, item
7 above). Tighten these two lock nuts (P16) only a lile so that the seal (P14) is xed. The nal
ghtening is made aer the strap (P19) has been ed as per item 29 below.
For disposers installed in cabinet models (e.g. model 500-MB and 500-MC) the parts with
posion number P19 up to and including P25 are not used. For these disposers secure the hood
(P15) with 4 pcs. of washers and 4 pcs. of new unused locking nuts (P16). Tighten all these lock
nuts crosswise with torque 9,5 Nm for models 510, 515 and 520, and with 21 Nm for models 530,
550 and 575. Connue the assembly of the disposer installed in cabinets from item 34 below.
28. Turn the disposer upside down.
29. Place the strap (P19) diagonally over the two remaining screws and x it with 2 pcs. of washers
and 2 pcs. of new unused locking nuts (P16). Tighten all four lock nuts crosswise. For models 510,
515 and 520 with torque 9,5 Nm and for models 530, 550 and 575 with 21 Nm.
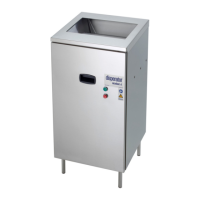
30. Pass the motor cable through the cable gland (P22) in the disposer housing (P20).
31. Mount the disposer housing (P20) over the motor (P1). While the housing is being lowered over
the motor, pull the cable so that the remaining part of the cable comes out through the cable
gland. Make sure that the sealing strip (P21) is in the right place on the housing. Also make sure
that the six small “heels” of the housing (P20) end up inside the lower edge of the hood (P15).
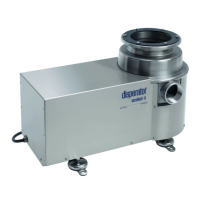
32. Fasten the housing (P20) to the strap (P19) with 2 pcs. of screws and 2 pcs. of washers (P23).
P21