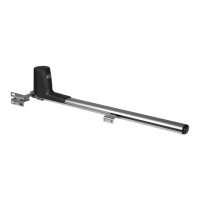
10
IP1639EN • 2012-07-31
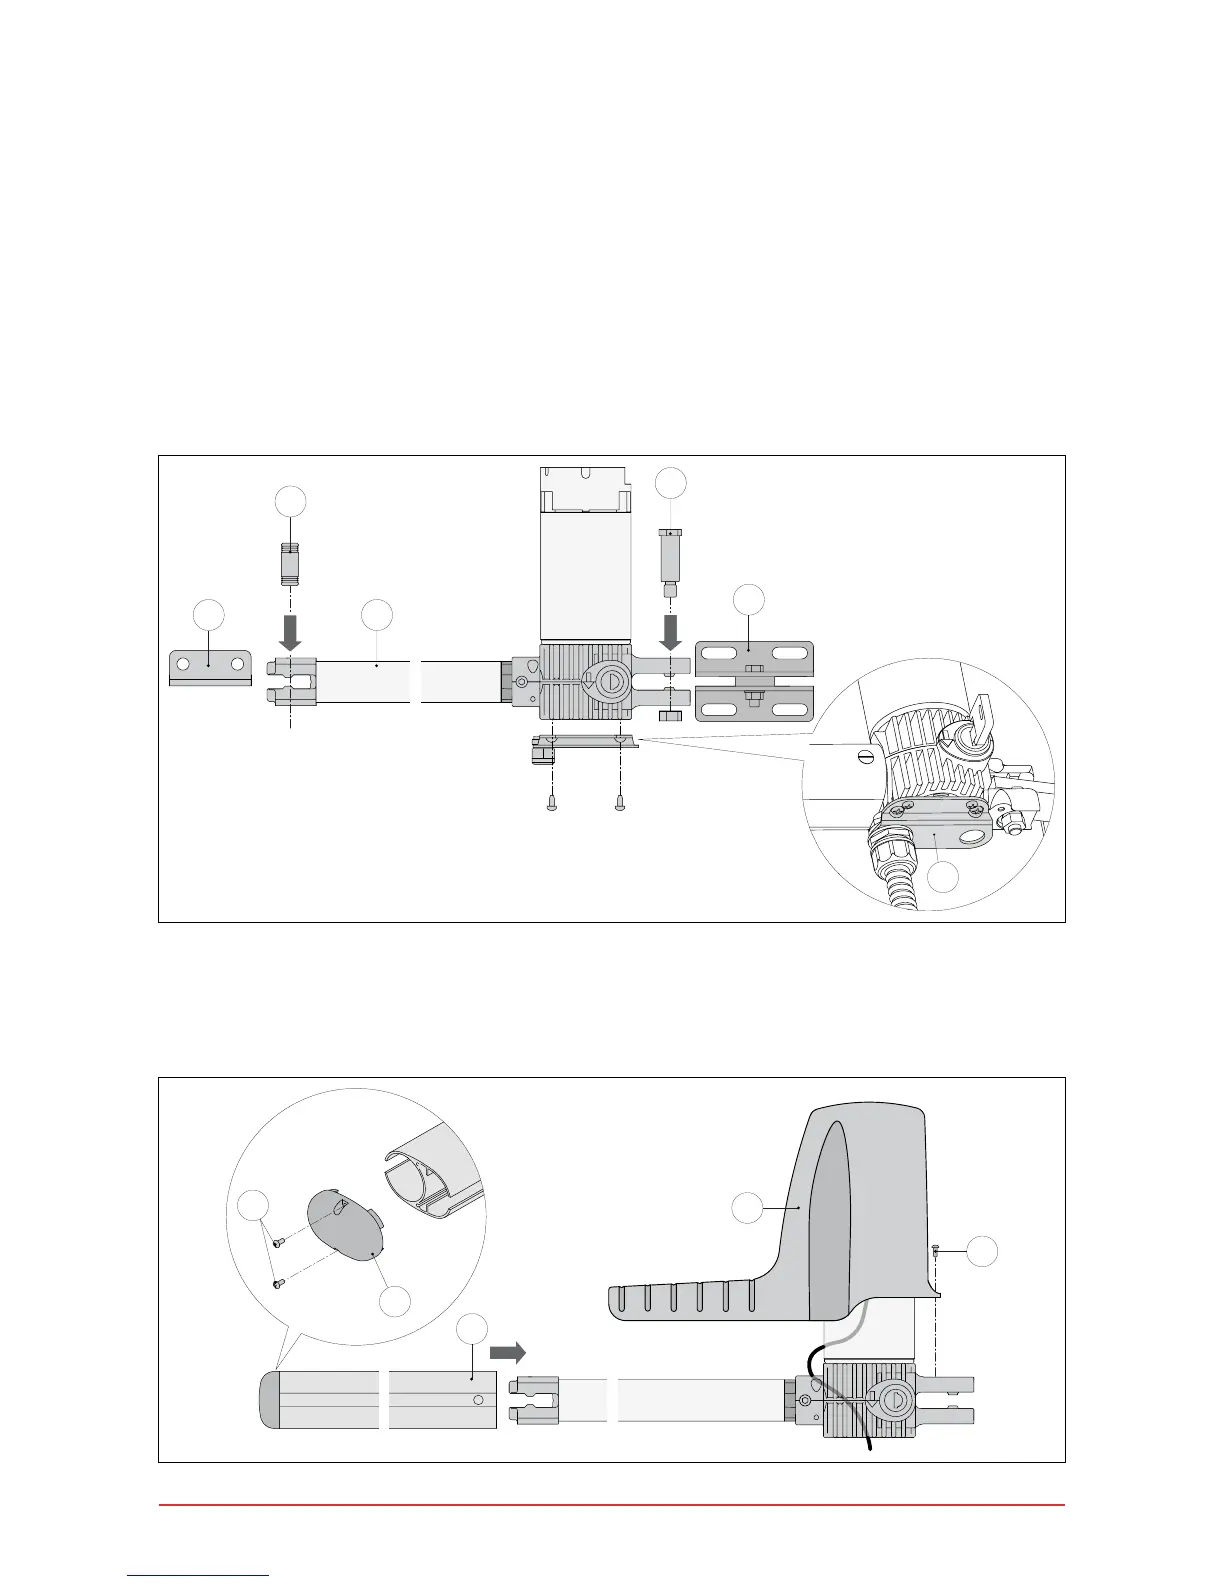
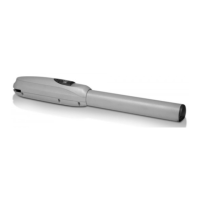
- Fix the tail bracket [14], respecting measurements [A] and [B] on the basis of the desired opening angle
[D].
On the tail bracket there are holes that facilitate the assembly operation.
- Fix the piston to the rear bracket [14] with the pin [F] supplied.
- Extend the haulage tube completely [11] to its maximum length, then shorten it by approximately 20
mm.
WARNING: the stops must keep a 10 mm margin of tube stroke, in both the door wing closed and door
wing open positions.
- With the gate completely closed, position the front bracket [15], check it is aligned with the rear bracket
and x it to the gate.
- Fix the piston to the front bracket with the pin [G] supplied. To work correctly, the gearmotors must be
assembled with the motor casing at the top.
- Unblock the gearmotor and check (moving the gate manually) the entire stroke is free of interference.
Slightly lubricate the front and rear articulated joints.
- Assemble the tube cover [12] with the cap [13] and seal, and x it with the screws [H] supplied.
Pay attention to the insertion direction. The slits on the closing cap [13] must be on the lower part in order
to help the water to come out.
- Assemble the casing [10], xing it with the screw [N], paying attention to the positioning of the cable.