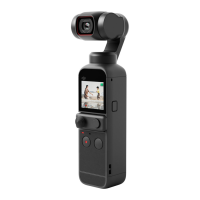
7
EN
11. Camera/LiDAR Toggle
12. Single/Side-By-Side View Toggle
13. Calibration Flight Button
14. Color Palette
15. Model Preview Button
16. Pause Button
Usage
Users can create a ight mission to record point cloud data in DJI Pilot and import the recorded data into
DJI Terra for high-precision model reconstruction.
Preparation
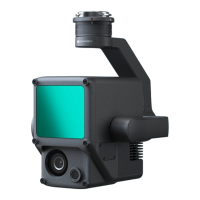
1. Make sure the L1 is installed correctly on the aircraft and that the aircraft and remote controller are linked
after powering on.
2. Go to camera view in DJI Pilot, select
, then RTK, choose the RTK service type, and make sure that
the status of RTK positioning and heading both display “FIX”.
3. Before recording data, it is recommended to warm up the L1 for 3 to 5 minutes after powering on.
Conrmation will be received in the app when the payload INS IMU has warmed up.
Setting Camera Parameters
1. Go to the camera view in DJI Pilot and select
CAMERA
.
2. Select
to adjust the camera parameters according to the surroundings. Make sure the photo will be
well exposed.
Recording Point Cloud Data
To record point cloud data, create a Mapping or Linear Flight Mission or begin a manual ight. A Mapping
Mission is used as an example.
1. Enter the mission ight screen in DJI Pilot, select Create Mission, and then
to choose a Mapping
mission.
2. Tap and drag on the map to adjust the area that will be scanned.
3. Edit the parameters for a LiDAR Mapping mission or Photogrammetry mission. A LiDAR Mapping mission
is used as an example.
A. Select Zenmuse L1 and then LiDAR Mapping.
B. Set the Advanced Settings, Payload Settings, and other parameters. It is recommended to set the
Side Overlap (LiDAR) to 50% or above, the Scanning Mode to Repetitive, the altitude to 50-100 m, the
ight speed to 5-10 m/s, and enable Calibration Flight.
4. Select
to save the mission and select to upload and execute the ight mission.
 Loading...