8
EN
Specications
General
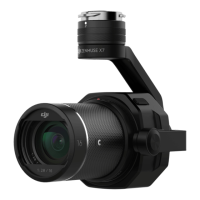
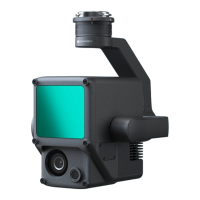
Product name ZENMUSE L1
Dimensions 152×110×169 mm
Weight 930±10 g
Power Typical: 30 W; Max: 60 W
IP Rating IP54
Supported Aircraft Matrice 300 RTK
Operating Temperature Range -20° to 50° C (-4° to 122° F)
0° to 50° C (32° to 122° F) (when using RGB mapping camera)
Storage Temperature Range -20° to 60° C (-4° to 140° F)
System Performance
Detection Range 450 m @ 80% reectivity, 0 klx
190 m @ 10% reectivity, 100 klx
Point Rate Single return: max. 240,000 pts/s
Multiple return: max. 480,000 pts/s
5. Power o the aircraft after the mission is completed and remove the microSD card from the L1. Connect
it to a computer and check the point cloud data, photos, and other les in the DCIM folder.
Read the Zenmuse L1 User Manual for more information about manual ight, setting parameters
for a Photogrammetry mission, and recording point cloud data by Linear Flight Mission.
Reconstruction in DJI Terra
Follow the steps below to reconstruct point cloud data in DJI Terra.
1. Launch DJI Terra, select New Mission, and create and save a point cloud post-processing mission.
2. Select
in the mission editing view and import the folder from the microSD card. The folder will be
named after the time the point cloud data was recorded.
3. Click to start reconstruction and wait until it is completed.
4. In the reconstruction page, users can open the current mission folder using the keyboard shortcut
“Ctrl+Alt+F” to nd the le and check the result of the reconstruction.
Read the DJI Terra User Manual for more information about how to configure and use
reconstruction in DJI Terra.
 Loading...