6005-065-M-12-17
12
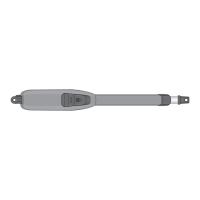
Mounting 6005
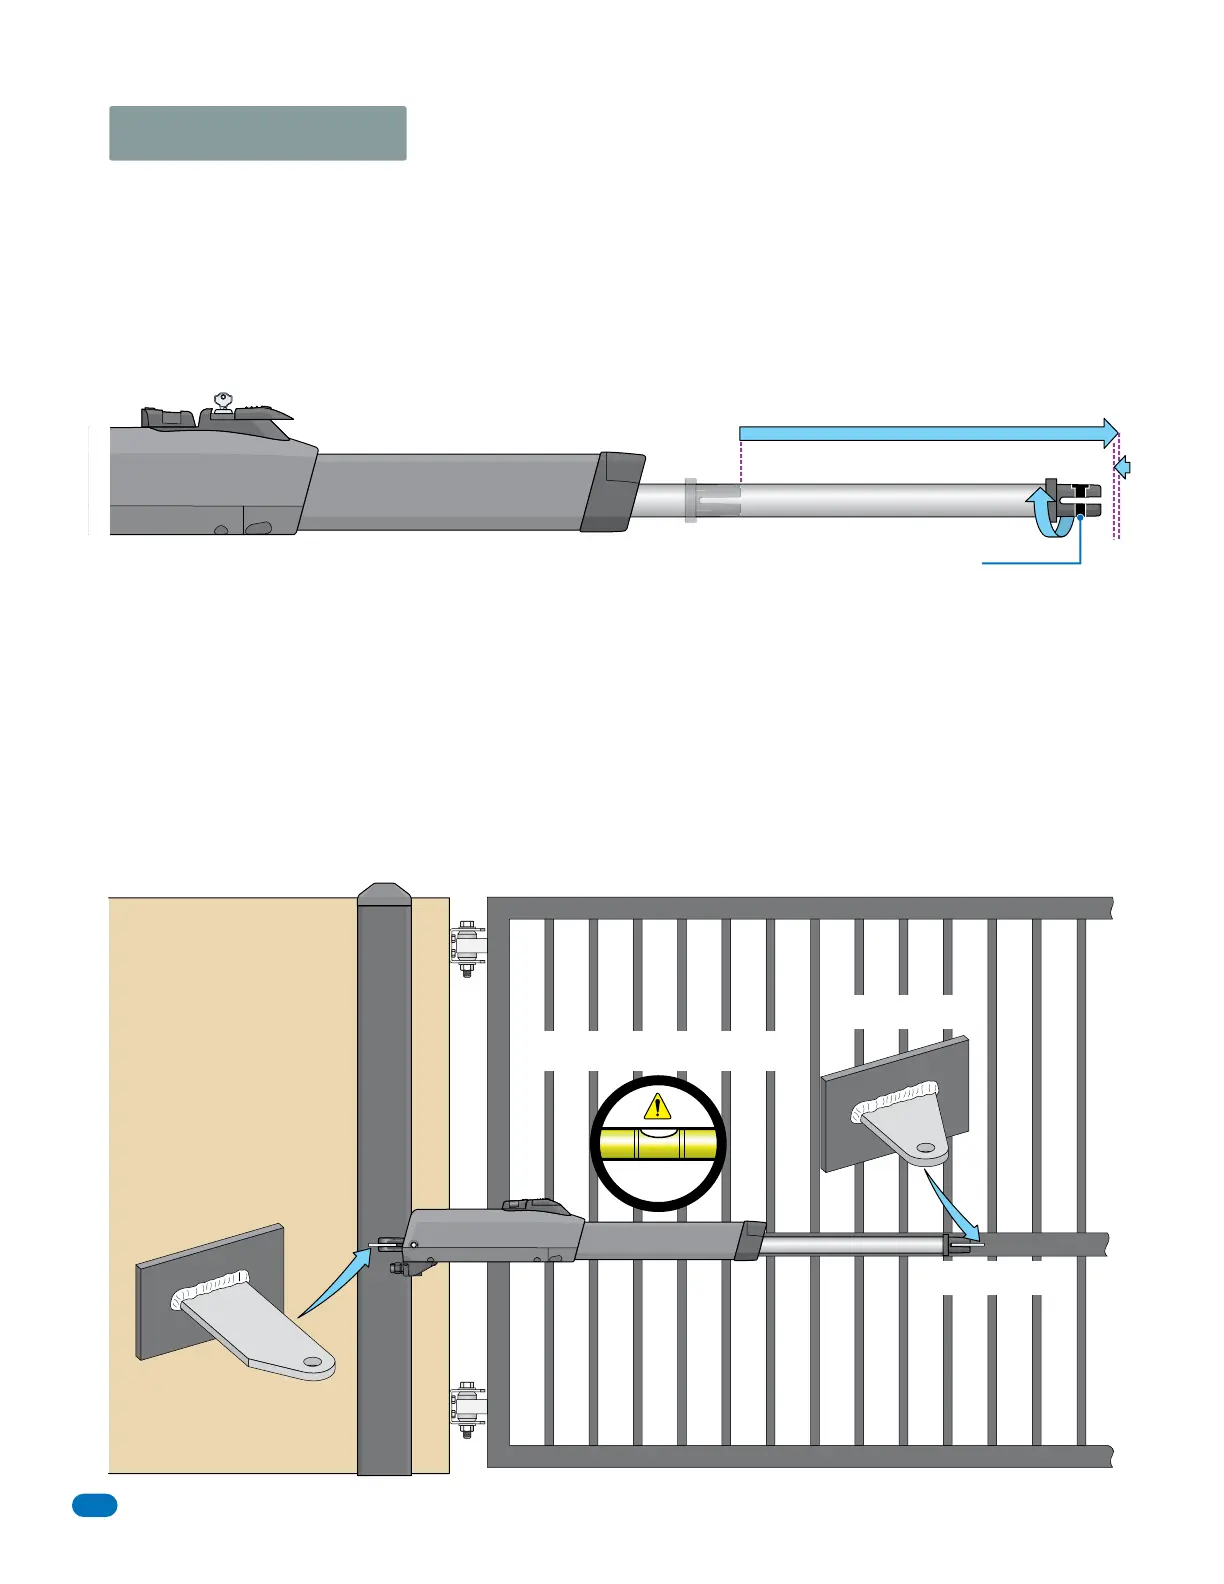
Manual Release
1. Manually release arm and FULLY extend it.
2. Re-lock the manual release.
3.Push shaft straight back in until you hear a “CLICK”
(less than 1/4”)
4. Rotate arm back at least 180° clockwise.
(Recessed hole MUST be on top)
6005 is now ready to be installed in CLOSE position.
6005 MUST be level!
If brackets are going to be welded to the gate and/or wall, only tack weld the brackets with the 6005 attached. Protect the
6005 from welding sparks during tack welding. Remove 6005 before COMPLETELY welding around the brackets. Make sure
the brackets are level when tack welding them! The 6005 will not operate properly if not level.
Welding Brackets to Surfaces
Support Bar
Front Bracket
COMPLETELY weld
around the brackets.
It is very important that the powered shaft is not fully extended when installed on the gate (bottoming out). This will damage the
6005. To prevent this, follow the steps below before installing the 6005.
Prevent 6005 Powered Shaft from Bottoming Out
Powered Shaft
Gate must be in good working condition before the actuator arm can be installed.
A support bar that spans the entire length of the gate must be installed to keep the pickets from bending. Do not mount the
front bracket directly to gate pickets!
Gate Support Bar
Rear Bracket
“CLICK”
Operator Opens to the Inside