32 33
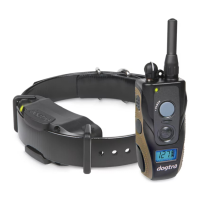
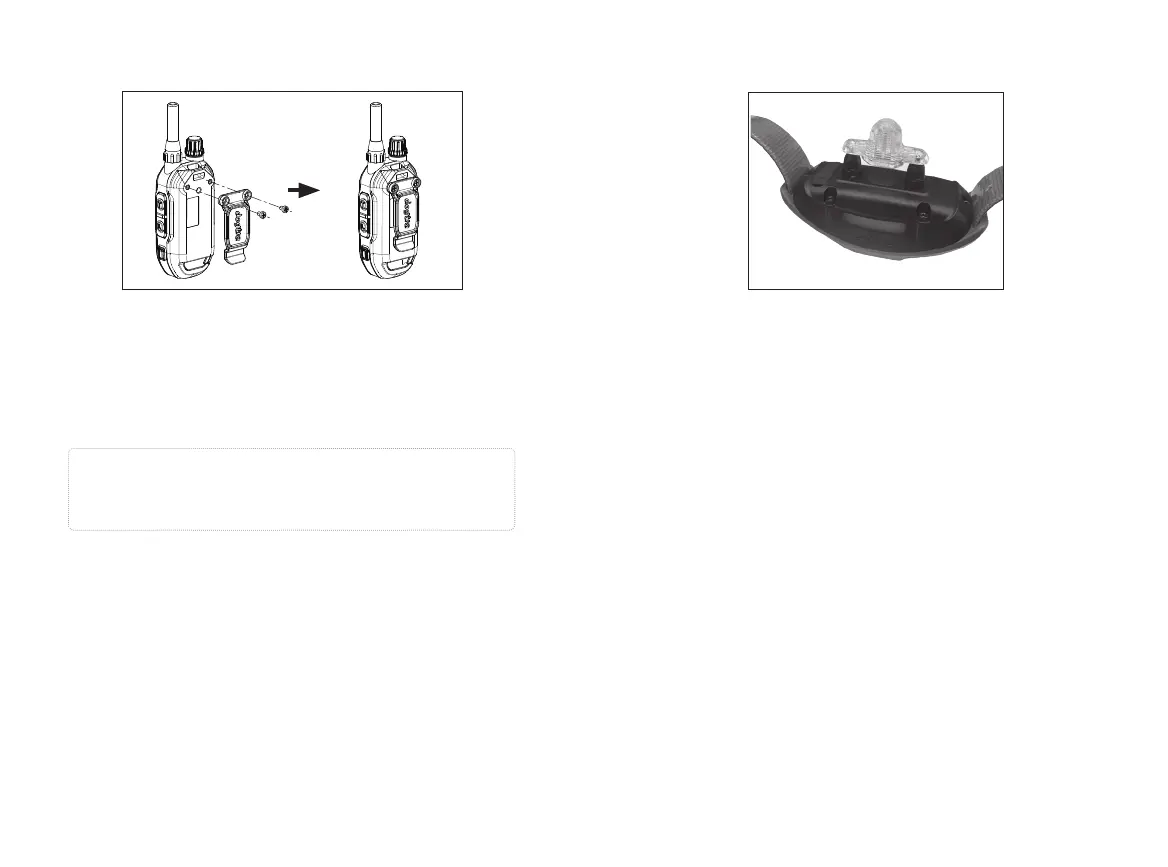
9. ATTACHING THE BELT CLIP
To attach the included belt clip, follow the instructions
below.
1. Align the belt clip with the groove on the back of the
transmitter.
2. Use a screwdriver to firmly tighten the screw of the belt
clip.
Caution
Firmly tighten both screws of the belt clip. Be careful
not to overtighten.
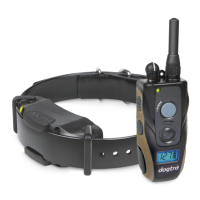
9. USING THE TEST LIGHT
1. Turn on the receiver by pressing and holding the on/
off button in the center of the contact terminal. The
receiver's light will briefly turn on and then blink once
every 4 seconds to indicate that the receiver is ready
to use (if the light is red, the receiver needs to be
charged).
2. Turn on the transmitter by pressing and holding the
on/off button on the right side of the transmitter. The
LED blinks every 4 seconds and the remaining battery
life is displayed on the LCD screen. (If the battery
icon on the LCD transmitter screen shows only 1 bar, it
needs to be charged.)
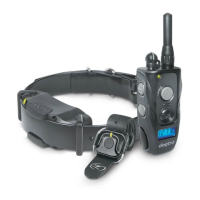
3. Place the test light included in the package onto the
contact points as shown.
4. Press the Nick button on the transmitter and observe
the test light. It should only be on for a moment. (The
higher the intensity, the brighter the test light.)
5. Observe the test light while pressing the Constant
button on the transmitter. The button should light
up as long as you hold it down. However, as a safety
feature, if you press the Constant button for more