24
Installing the toilet
4.2 Create wall apertures
The description for the installation of the ser-
vice door can be found in the document sup-
plied Dometic Seitz SK4, SK 5 )
(optional/depending on model).
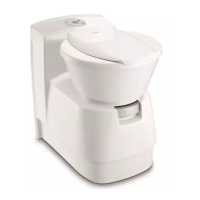
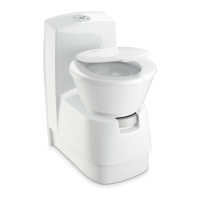
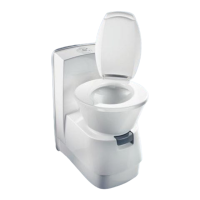
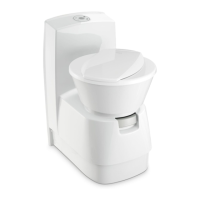
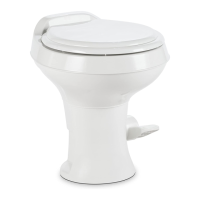
4.3 Installing the toilet
Install the toilet according to the description of
the respective model. Allow sufficient space
so as not to limit the operation of the empty-
ing valve.
Install the toilet against an upright wall only.
When installing the toilet in a wet room, we
recommend connecting the toilet with the
shower tub. The toilet pedestal is fitted with a
projecting flange in order to cover the top rim
of the shower tub.
Fig. 6
Make an aperture in the wall for the cassette
with the following dimensions:
for service door
SK4
y= 25 mm ; b = 305 mm and h = 375 mm ,
for service door
SK5
y
min
= 12.5 mm and y
max
= 28 mm; b = 310 mm
and h = 360 mm.
The x value results from the toilet installation.
Observe the position of the service door (tem-
plate (3) and (4), Item 5.3.1.).
Fig. 5
SK 5
SK 4
Fig. 4
b
h
y
b
h
y
4.2.1 Wall aperture service door
The flap is applied when using CTW 4xxx
models with an integrated water tank. Use the
template (1) , Item 5.3.1., to make the apertu-
re for the flap. You can find the installation
instructions for the flap under Item 4.5.
4.2.2 Wall aperture flap
4.0 Installing the toilet
4.1 Installing the service door
All components of the system must be
installed in frost-protected areas. In minus
temperatures there is a risk of damage
due to frost.
CAUTION!
 Loading...