NOTE: Approximate installation time: 2 to 4 hours – 1 Technician.
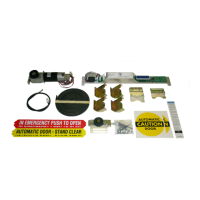
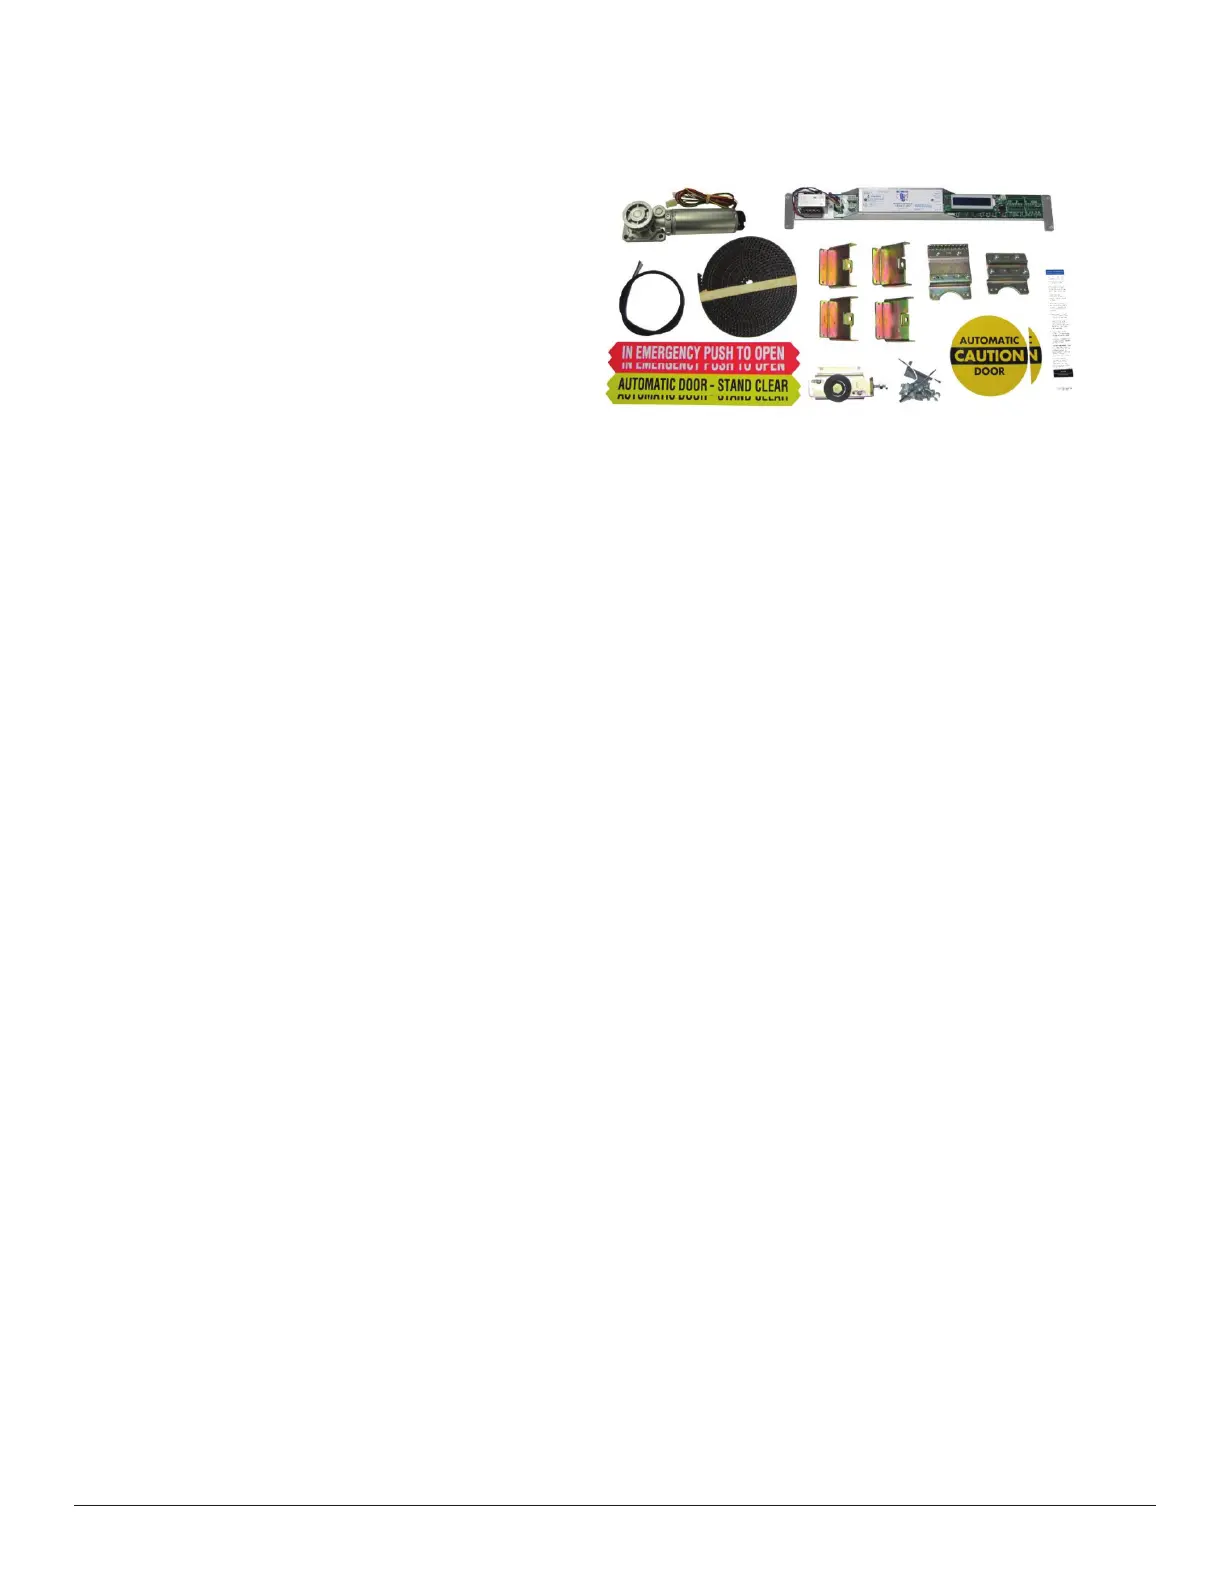
1. COMPONENTS
· Motor / Gearbox (1)
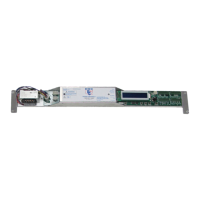
· Control (1)
· Drive Belt (1) – Optional on some systems
· Belt Brackets (2)
· Idler / Tensioner (1) – When required
· Decal Set (1)
· AAADM Owner’s Manual (1)
· AAADM Daily Safety Check Decal (1)
OPTIONAL:
· Bottom Guides (1 or 2)
· Top Rollers (2,4 or 8)
2. HEADER PREPARATION
· WARNING – Shut o and disconnect all primary electrical power to the door header before
proceeding any further.
· Disconnect all sensor wiring from the control and/or interface board. Keep the wiring available if
you intend to re-use the sensors
· Disconnect all safety beam wiring from the control and/or interface board. Keep the wiring avail-
able if you intend to re-use the safety beams.
· Disconnect all switches from the control and/or interface. Keep the switches in place if you intend
to re-use them for the retrot.
· Remove the entire existing drive system from the header (motor/gearbox, control, interface, belt,
chain, cables, etc.). Do not throw away any mounting hardware as it may be used to mount the
DC One components (see drawings).
· BOX CORES and USED COMPONENTS (motor/gearbox, control, etc.) use the return shipping
label and ship to Door Controls USA.
3. DOOR PREPARATION
· Remove and replace the bottom guides (If needed).
· Remove and replace top rollers (If needed).
· IMPORTANT NOTE:
· Manual resistance of the sliding panels, with no belt attached, should not exceed 8 lb for bi-
parts, or 4 lb for single slides. Use a force gauge to push against the door to slide it open and
closed to check the resistance.
· Be sure to check for mechanical door stops at each end of the header. If door stops are
missing, they may be ordered as an accessory from Door Controls USA.
· Do not install new belt brackets yet, this will allow more working room when installing the
control and related wiring.
4. MOTOR AND CONTROLLER INSTALLATION
· Install DC One motor/gearbox and controller per the instructions shown on the enclosed
drawing.
Installation Manual
DC One V3
321 VZ County Road 4500 · Ben Wheeler, TX 75754 · Phone: 800.437.3667 · Fax: 800.356.8858 · DoorControlsUSA.com
4
Rev050819