06-2023 dormakaba Canada Inc. RAC5 MFC Installation Guide – PK3738 | 14
8. Complete the installation.
a) If the access door was removed, reinstall the door to the RAC5 MFC enclosure
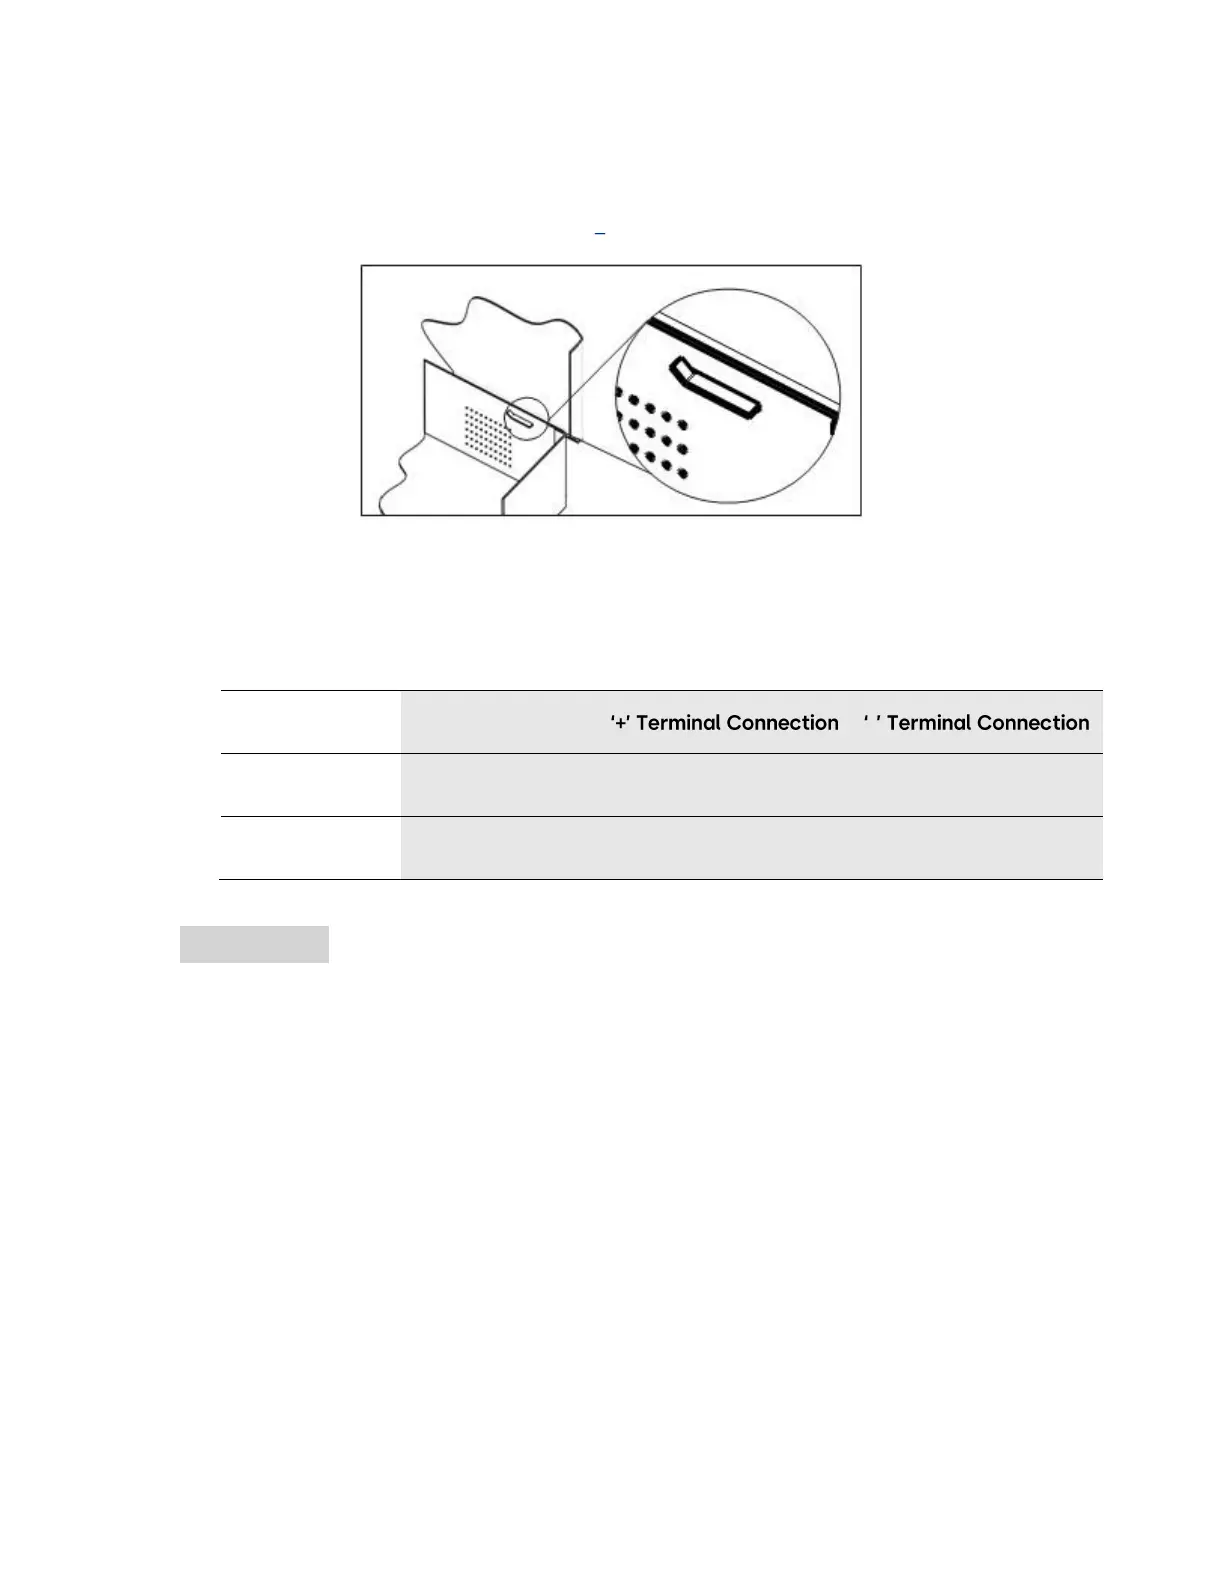
b) Bend the two tabs on the door to a maximum of 30 degrees as shown in Figure 7
Figure 7 Door Tabs
c) Connect the LED wire harness from the power supply to the access door LEDs as indicated
below and in Annex B, Figure 8
NOTE: The wires must be connected with the proper polarity. Once the terminals are installed,
they are designed to have a tight fit so removal may damage the LEDs.
Ensure that the proper connections are made (e.g. red to red, black to black).
d) Plug the power adapter into the AC power source and/or turn on the main AC power to the
system