4
1.1 General advice
• For cleaning the instrument please do not use abra-
sive cleaner but a dry or wet piece of cloth.
• Please store the measuring instrument in a dry and
clean place.
• Avoid any force like shocks or pressure to the instru-
ment.
• Do not use force to connect the probe or interface
plugs in. The interface plug is different from the
probe plug.
• If no sensor is connected to the instrument while
switching on “open“ shows on the display (Please
refer to chapter error codes/troubleshooting).
• A retractable stand on the back of the instrument
allows it to be used as a bench top instrument.
1.2 Operation
Before switching on the instrument, connect the
probe/s to the instrument and insert the battery
(Please refer to chapter 6. Power supply / battery
changing). A number on the instrument's housing
marks each port.
1.3 Switching on and off
By operating the ON/OFF-key the instrument switched
on or off. After switching on the instrument indicates a
full segment test for 1,5 sec., afterwards the instru-
ment shows the calibration-code and the adjusted
measurement category for channel 1. (Only 2-channel
instruments: After additionally 1,5 sec. the instrument
shows the calibration-code and the adjusted measure-
ment category for channel 2.) Then it starts operating
in measurement mode indicating the actual measure-
ment value (for example: temperature). All instruments
display the measurement value of channel 1 on the top
display line (big display line). Directly below you will
see the trending bargraph. The second channel of our
2-channel instruments you will see on the bottom line
(small display line).
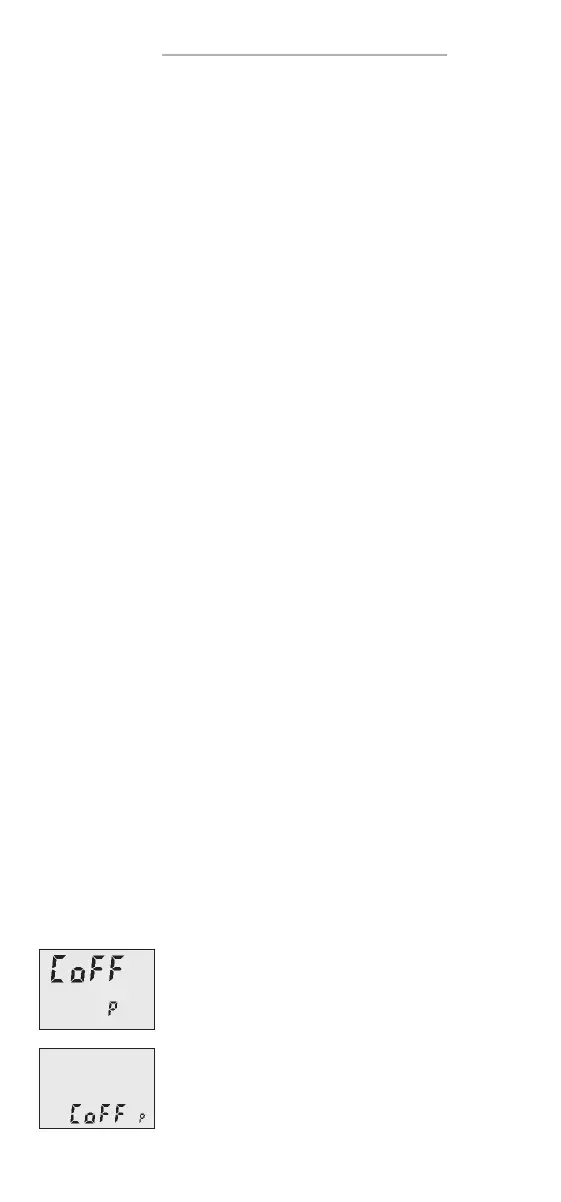
Fig 1:
Example of channel information after switching on.:
channel 1
Line 1: [oFF P = calibration code of channel 1
according to standard linearization (DIN), probe selec-
tion of channel 1 = Pt100.
channel 2
Line 2: [oFF P = calibration code of channel 2
according to standard linearization (DIN), probe selec-
tion of channel 2 = Pt100.
1. Handling
1
2
 Loading...