7
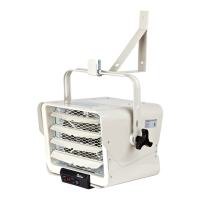
12. Insert the bolt provided through the mounting bracket and the
heater handle. Tighten with the nut and washer.
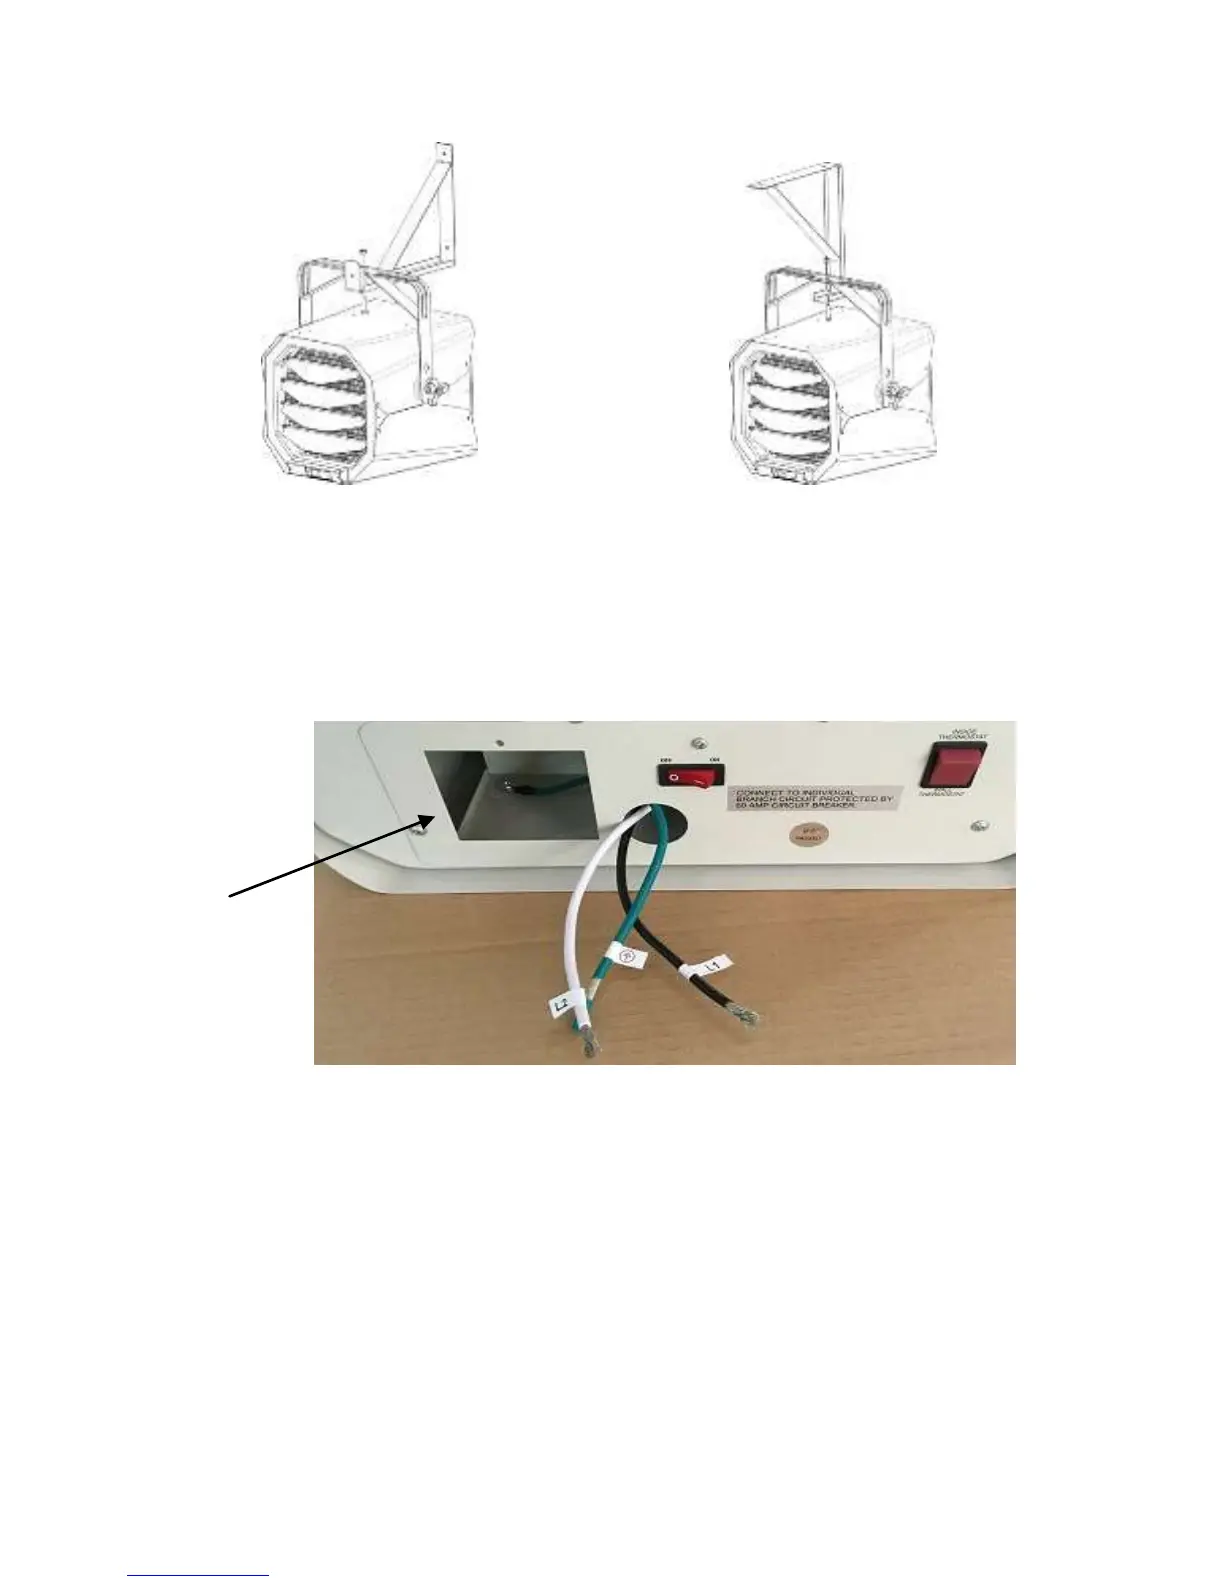
13. Loosen the screw to remove the wiring compartment/connection
cover in the rear of the heater. There are three pigtail leads, both
Black (L1) and White (L2) are for power connection; Green is for
grounding connection.
14. Run the electrical power supply cable in flexible conduit and
connect to the wiring compartment via the knock-out at back
side of the unit. The rectangle hole is watch window for wiring.
15. Make the connections properly with connectors which are
suitable for the conductor size, including grounding wirings. And
after making the connections, arrange the pigtail leads of unit
and power supply wires in the wiring compartment.
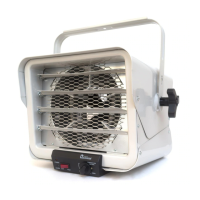
16. You can select Inside or Wall thermostat. If you intend to use
Inside Thermostat, press the rocker switch to INSIDE
THERMOSTAT.