10 Dräger DrugTest 5000 Test System
Use
3Use
3.1 Requirements for Use
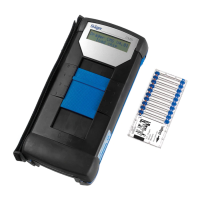
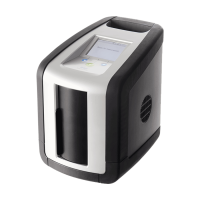
The Dräger DrugTest 5000 Analyzer is delivered as a fully
operational unit. Initial operation does not require any prior
assembly or installation.
3.2 Preparations for Use
1. Position the Dräger
DrugTest 5000 Analyzer
on a flat, firm and
horizontal surface. A
maximum tilt angle of 10°
around all axes of the
Analyzer must not be
exceeded.
2. Keep all air vents uncovered and clean.
3. Ensure specified ambient conditions:
Ambient temperature between 5 °C and 40 °C
4. Connect the external keyboard and align printer.
5. Connect battery charger 12 volt cable. If no external power
supply is available, pay attention to the charge status of the
analyzer.
When switched off, the Analyzer will emit a beep the power
pack is connected.
6. Recharge unit after use.
3.3 Align the printer
1. Position the Dräger Mobile
Printer to the left of the
Analyzer.
a. Dräger Mobile Printer
and Analyzer stand on
the same surface.
b. Front panel of the
Mobile Printer and the
Analyzer stand aligned
next to each other.
c. The distance between
the Dräger Mobile
Printer and the
Analyzer is about a
hand's width.
The Dräger Mobile Printer automatically turns itself off after
4 minutes to save energy.
Therefore only turn the Dräger Mobile Printer on just before
printing or operate with the associated power pack, even
when using non-rechargeable batteries.
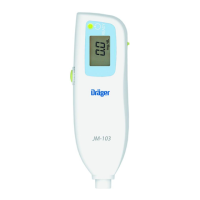
3.4 Switch on Analyzer
1. Keep the -key pressed until the start window appears.
After successful completion of the automatic self-test the
unit shows its readiness for operation with the message
Ready.
Depending on the unit configuration different messages or
input prompts can appear on the display after switch on.
2. Follow the instructions on the display.
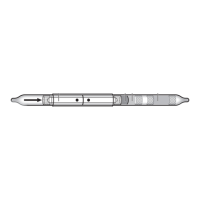
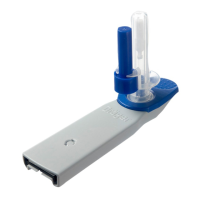
3.5 Sampling
Depending on the test kit used, follow the sampling procedure
described in the accompanying Instructions for Use.
NOTICE
Condensation may occur if the Analyzer is moved
from a cold environment to a warmer location.
As a general rule, wait until the Analyzer has adopted
the ambient temperature and is dry before it can be
put into operation (at a change of ambient
temperature from 0 °C to +20 °C about 1.5 hours).
Ensure that the packaged test cassettes and
cartridges are at ambient temperature (if necessary,
wait 15 min. for temperature to adjust).
NOTICE
Strictly follow the corresponding Instructions for Use.
NOTICE
Check and follow the Instructions for Use of the
relevant test kit!
i
i
OK
i
i
 Loading...