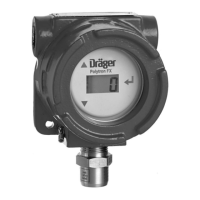
Settings menu
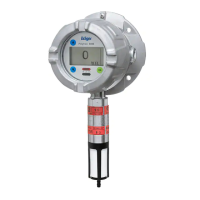
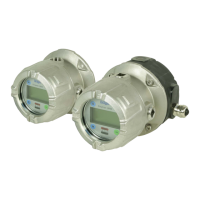
Dräger Polytron 8200/8310 23
8.3.3 Profibus address
Not yet active - for future functions.
8.4 Sensor settings
8.4.1 Switching Auto CAL on or off
1. Select Settings > Sensor > Set auto calibration and
confirm.
2. Select On or Off and confirm.
8.4.2 Setting the sensor type (for DrägerSensor DD only)
This function is used to set the sensor type.
1. Select Settings > Sensor > Sensor type and confirm.
8.4.3 Changing the gas settings
Settings for gas type, measuring range and measurement
units can be made in this menu.
1. Select Settings > Sensor > Gas setting and confirm.
2. Select the measured gas from the list and confirm.
The measurement units display will be shown.
3. Select the measurement units and confirm.
The full scale reading display will be shown.
4. Set the full scale reading and confirm.
The setting for the full scale reading is displayed.
5. Select Next and confirm.
an overview of the new gas settings is displayed.
z Return to the previous view with Previous or confirm the
settings with Confirm.
Information about measurement units
The Polytron 8200/8310 represents the measured value in
various optional units. The following are available:
The Polytron 8000 automatically calculates the correct value.
Information about the 20 mA measuring range
The full scale reading can be set with this function. At the full
scale reading set, the device outputs 20 mA on the 4-20 mA
interface.
8.4.4 Resetting the sensor to factory settings
This function resets all the sensor parameters to the factory
default settings (see chapter 12.3 on page 29).
1. Select Settings > Sensor > Reset sensor required! and
confirm.
2. Select Confirm and confirm.
8.4.5 Setting the calibration interval
1. Select Settings > Sensor > Calibration interval
and confirm.
2. Set the calibration interval and confirm.
NOTICE
The auto-calibration from the Calibration menu is only
available if this function is enabled.
i
i
z %LEL
z %LIE
z %UEG
NOTICE
The calibration interval can be set between 0 and
720 days.
i
i