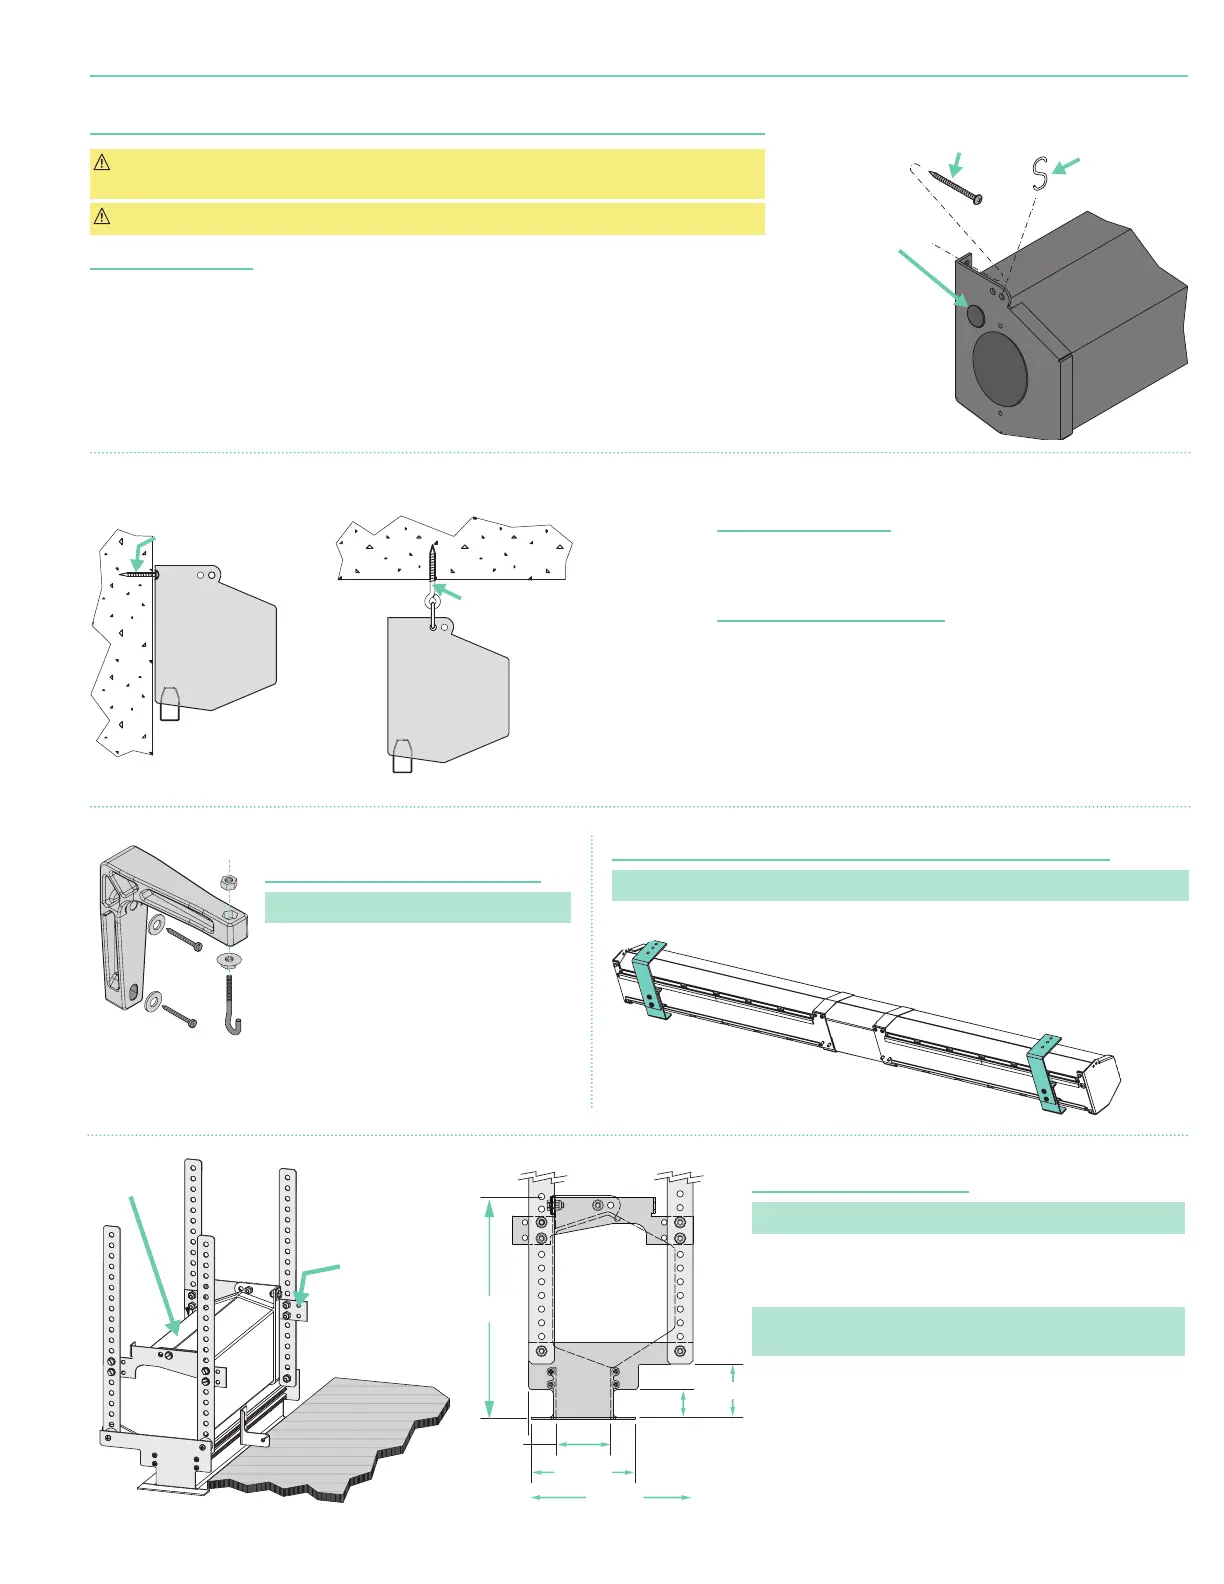
Section 4 - Hanging Screen and Methods of Installation
CAUTION: Product is very heavy: Installer must provide adequate attachment hardware and anchors
as required. Installer must also ensure that structure is of adequate strength.
CAUTION: Case must be mounted low enough from ceiling to gain access to bracket screws.
General Information
When locating viewing surface and checking clearance for screen’s operation, remember surface is centered
in case. Handle case carefully to protect its finish.
Regardless of mounting method, screen should be positively and securely supported so that vibration or
even abusive pulling on the viewing surface will not cause case to work loose or fall. Installer must ensure that
fasteners used are of adequate strength and suitable for the mounting surface chosen.
Wall Installation
(Fig. 1)
Mount screen through holes in back of endcaps as shown. Installer should
furnish screws, toggle bolts, molly bolts, nylon, or lead anchors as required.
Suspended Installation
(Fig. 2)
Suspend screens from holes in endcaps as shown. “S” hooks, chains
(or
cable)
, and turnbuckles should be provided by installer. “S” hooks should
go through the front holes on the endcaps, and both ends of “S” hooks
should be crimped for additional safety.
Chains should be attached to beams or other structural members.
Turnbuckles should be adjusted so screen hangs level.
Wall Installation with Optional
6"
(15.2cm)
Extension Brackets
(Fig. 3)
Please Note: Optional - must be specified.
1. Mount brackets using hardware
recommended for “Wall Installation”
(above)
.
2. Suspend screen from front holes with “S”
hooks
(as in “Suspended Installation,” above)
.
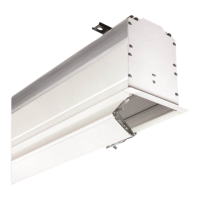
Recessed Installation
(Fig. 5)
Please Note: Ceiling Opening Trim Kit is optional - must be specified.
Recess should permit access for removal of screen if necessary.
Screen may be mounted as in suspended or wall installation.
(See separate instruction sheet included with Ceiling Opening Trim Kit)
.
Please Note: Ceiling Opening Trim Kit is for use in an acoustical,
drop ceiling only. Not recommended for drywall or hard ceilings.
Wall or Ceiling Installation with Optional Floating Brackets
(Fig. 4)
Please Note: Optional - must be specified.
For added safety, crimp both ends of “S” hooks so
screen cannot come off. For more rigid installation,
mount screen from back holes to front of bracket by
using screws and nuts provided with brackets.
Floating brackets should be located on studs or joists. Bracket then
attaches at almost any point along case. For details, see separate
instruction sheet that ships with Floating Wall Bracket.
Back
Ceiling Opening Trim Kit
Optional - must be specified
Ceiling Tile
(By others)
Trim Kit
Screen
Case
8"
(203 mm)
2"
(54 mm)
6"
(171 mm)
1"
(27 mm)
2 "
(52 mm)
4"
(102 mm)
Back
Ceiling Opening Trim Kit
Optional - must be specified
Ceiling Tile
(By others)
Trim Kit
Screen
Case
8"
(203 mm)
2"
(54 mm)
6"
(171 mm)
1"
(27 mm)
2"
(52 mm)
4"
(102 mm)
If using "S" Hooks
(by others), be sure
to crimp both ends
of hooks.
Appropriate hardware
provided by installer.
Appropriate hardware
provided by installer.
Fasteners for
wall mounting
by others.
S Hooks for
suspended
installation
by others.*
"
(22mm)
hole for
electrical
connection
* If using "S" Hooks
(by others), be sure
to crimp both ends
of hooks.
6" Extension Bracket
Optional - must be specified
Figure 4Figure 3
Figure 5
Figure 1
Figure 2
page 3 of 7
Premier