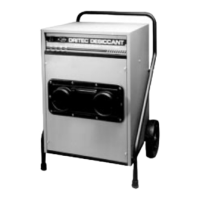
49-130B MANUAL, DRITEC 4000i 230V AU 2 Legend Brands, Inc.
BEFORE FIRST USE
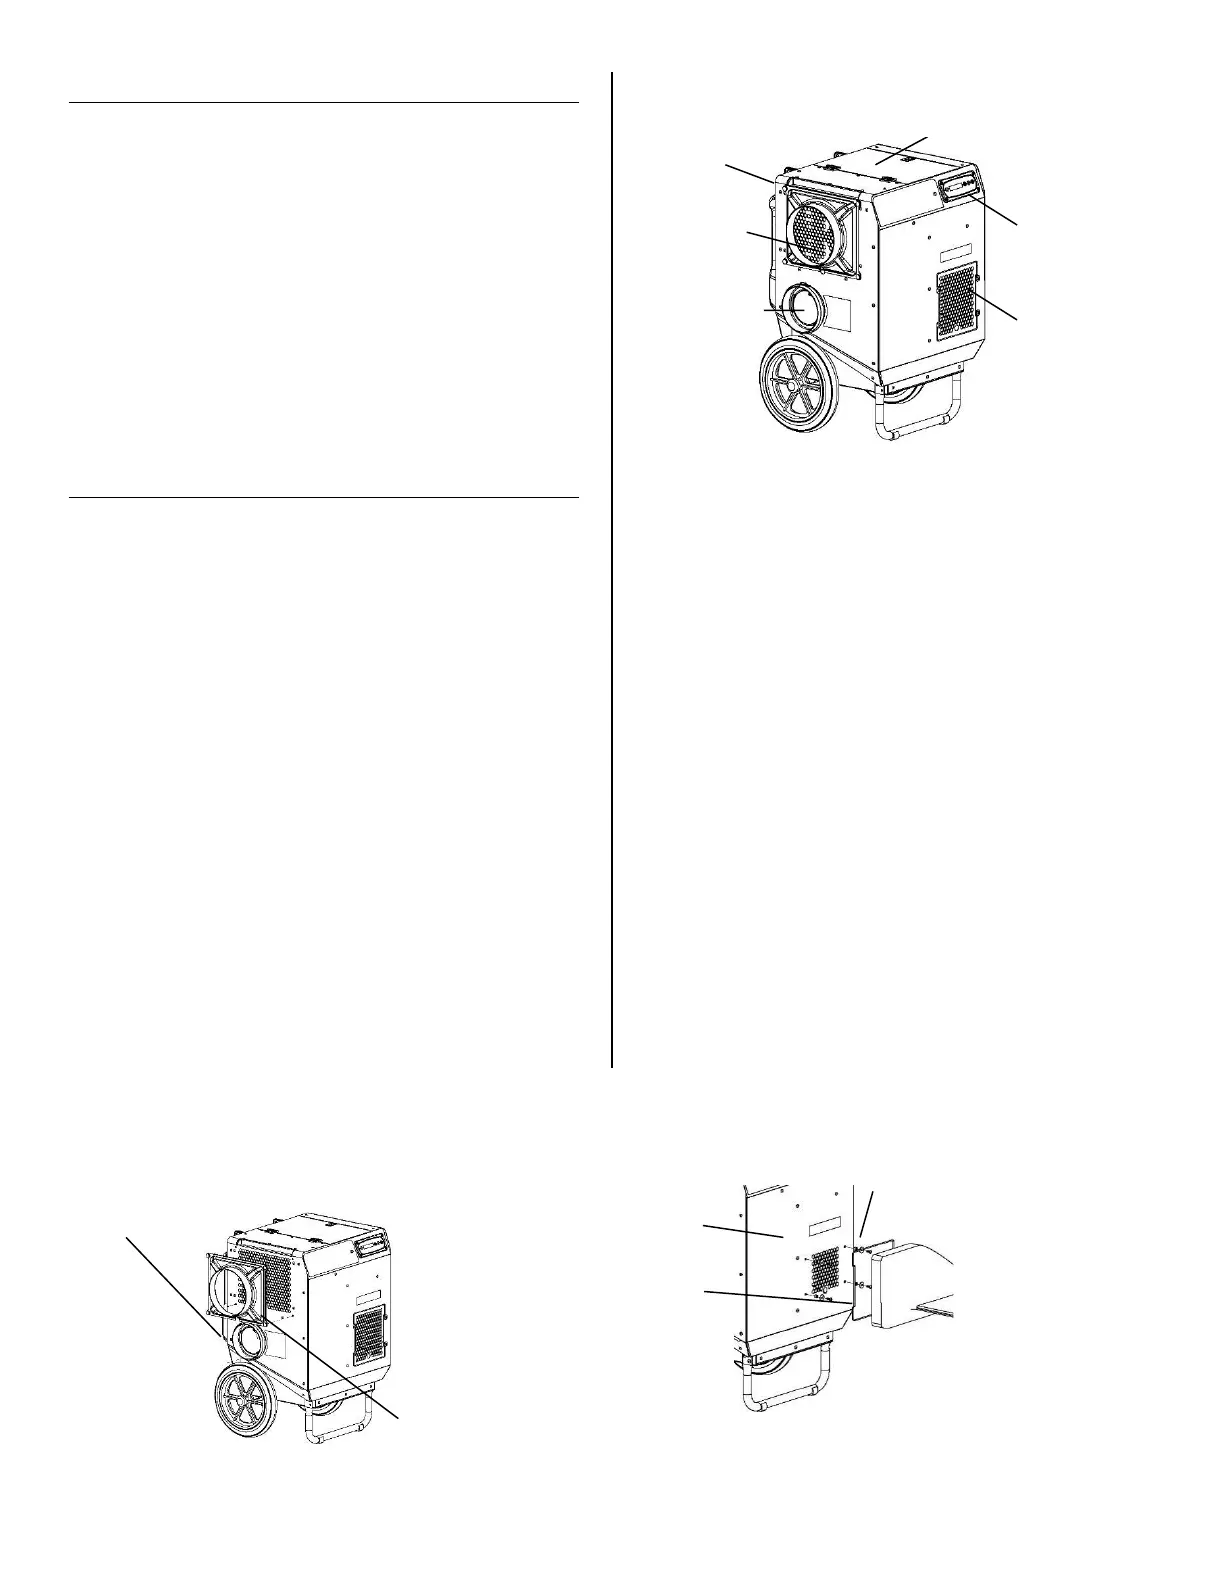
The unit is shipped with two duct rings and an adaptor kit
packed inside the storage compartment. A 3 mm Allen
wrench is required for installation of these components.
Required: Install Reactivation Air Outlet duct ring.
See Fig. B.
Optional: Install Air Inlet duct ring
Attach to inlet with the thumbscrews provided. Fig. B.
Optional: Install Process Air Outlet offset screws
The Process Air Outlet Adaptor Kit may be installed us-
ing the offset screws provided. See Fig. B.
CONTROLS AND OPERATING
INSTRUCTIONS
Positioning the Dehumidifier
For best results, operate your dehumidifier in an en-
closed area. Close all doors and windows that open to
the outside to maximize water removal efficiency. Place
your dehumidifier away from any obstructions that could
block airflow into and out of the unit. Duct reactivation
outlet outdoors through window adapter or dryer vent.
Plug in electrical cord
Always plug the cord firmly into the wall outlet. En-
sure that the cord is routed properly through the
cord cutout notch before closing the storage com-
partment lid.
NOTICE: The power cord of the DriTec must be plugged
into a RCD-protected 230V outlet.
Startup display and normal display modes
When unit is first plugged in to AC power, the control
panel display will briefly cycle through a series of
readouts. This is part of the unit’s self-diagnosis proce-
dure and no user intervention is required.
Ducting Setup
NOTICE! For indoor use only. Do not expose the unit
to rain or snow. If electrical components become
wet, allow the unit to dry thoroughly before operat-
ing.
1. Reactivation Outlet Ducting
Use the duct clamp provided to attach the ducting to the
duct ring. The reactivation air should always be ducted
to the outside. NOTICE: Temperatures inside React
Out ducting can reach 66°C (150°F). Use only heat-
rated ducting as provided.
Process Outlet Ducting
The process out air may be ducted where more focused
drying is required. Use with layflat ducting only.
Maximum Ducting Length
To ensure maximum performance, do not exceed these
ducting lengths:
Reactivation air 6 m | 20 ft.
Process air 3 m | 10 ft.
Inlet air 3 m | 30 ft.