07-02300C F600 1 Dri-Eaz Products, Inc.
Owner’s Manual
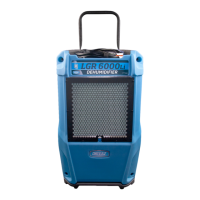
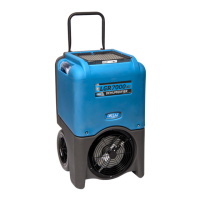
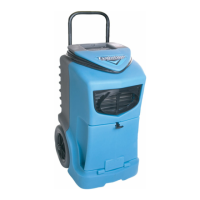
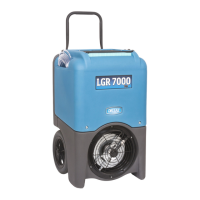
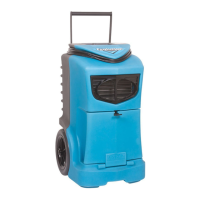
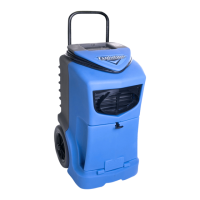
LGR 6000Li Portable Dehumidifier
Model F600
DRI-EAZ PRODUCTS, INC.
15180 Josh Wilson Road, Burlington, WA 98233
Phone: 800-932-3030 Fax: 360-757-7950 www.LegendBrandsRestoration.com
The Dri-Eaz
®
LGR 6000Li dehumidifier reduces humidity in enclosed environments by removing
water vapor from the air. The 6000Li is rugged, durable and highly portable, making it ideal for
water damage restoration, structural drying, construction, and other applications requiring
temporary, high-performance dehumidification.
Patents: http://www.LBpatents.com
S A V E T H E S E I N S T R U C T I O N S
SAFETY INSTRUCTIONS
WARNING! Do not alter or modify your dehumidifier
in any way. Use only replacement parts authorized
by Dri-Eaz Products, Inc. Modifications or use of
unapproved parts could create a hazard and will
void your warranty. Contact your authorized
distributor for assistance.
WARNING! Electric shock hazard, rotating fan, hot
surface hazards. Unplug unit before opening cover
for cleaning or servicing. Unit must be grounded.
Inspect the power cord before use. If cord is
damaged, do not use. Always grasp the plug (not
the cord) to unplug.
Insert three-prong plug on power cord into a
matching electrically grounded outlet. Do not use
adapter. Never cut off third prong. Do not use an
extension cord.
The unit must be operated on a 115V/60Hz circuit
protected by a Ground Fault Circuit Interrupter
(GFCI) device.
Keep motor and wiring dry.
Do not attempt to repair the unit. For Authorized
Service Centers, contact Dri-Eaz.
BEFORE YOU BEGIN
Warranty registration
Visit LegendBrandsRestoration.com/Warranty to register
your purchase. Registration allows us to better assist
you with using, maintaining or servicing your equipment
and to contact you in case we have important safety
information concerning your Dri-Eaz product. If you
determine service is required, have your equipment
model, serial number and original proof of purchase
available and call your distributor for assistance with
obtaining a return material authorization (RMA).
CONTROLS AND OPERATING
INSTRUCTIONS
Set unit upright
NOTICE: Transporting or storing the unit in a
horizontal position is not recommended. When the
machine is placed in a horizontal position, the oil
from the compressor can flow into the refrigerant
coils and reduce the ability of the dehumidifier to
function and possibly damage the unit. If the unit
has been placed in a horizontal position, set it
upright and let it stand for at least 30 minutes before
turning it on.
Grasp IEC plug and pull straight out
IMPORTANT: Damage to IEC receptacle or
dehumidifier resulting from improper removal
of the power cord is not covered by warranty.
The IEC power cord is a wear item and is not
