
M
megan88Aug 13, 2025
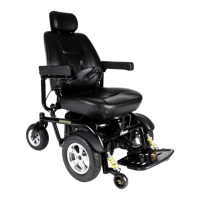
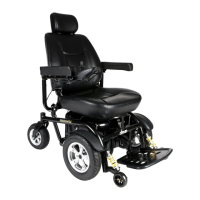
What to do if Drive Wheelchair shows a Battery Fault?
- EElizabeth MonroeAug 13, 2025
If your Drive Wheelchair's battery is faulty, first, charge the batteries fully. Then, ensure that you check all battery cables and connections to make sure they are secure.