3
MGH20 INSTALLATION
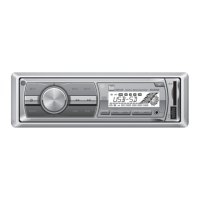
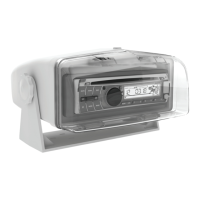
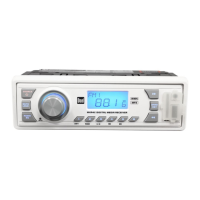
Installation
Mounting the Radio
1. Chooseamountinglocationonthedashboardorinstrumentpanelthatwill
allowroombehindtorunradiocablestothepowersource.Considerhowyouwilluse
theAUXIN,LINEOUTandUSBconnectorsandroutetheappropriateextensioncables
toanaccessiblearea.
2. Cutaholeinthedashboardusingthetemplateprovidedinthebackofthismanual.At
least33/4”depthisneededtomounttheradio.
IMPORTANT! Do not mount this unit where it can be submerged in water.
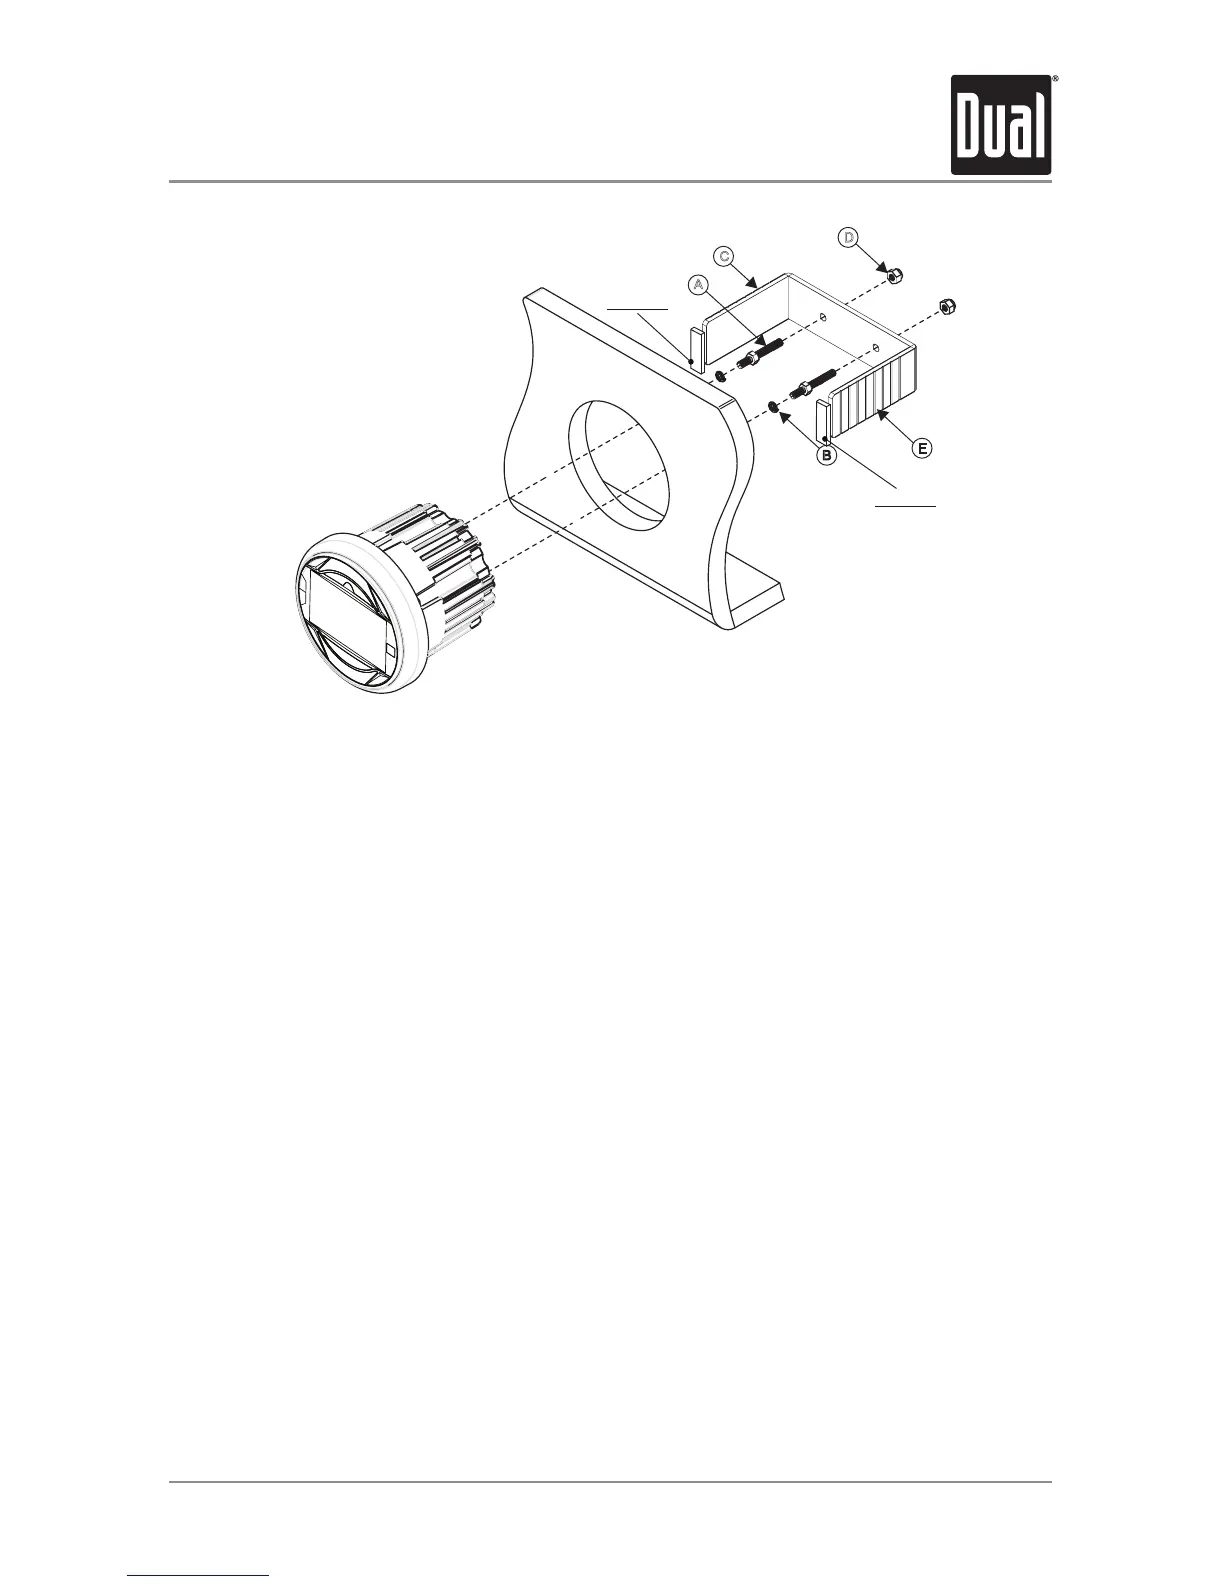
3. Slidetheincludedspringwashers(B)overthescrewposts(A)andattachthescrew
poststothebackoftheradio.
4. Placetheradioinfrontofthedashboardopeningsothewiringcanbebroughtthrough
theopening.
5. Aftercompletingthewiringconnections,turntheradioontoconfirmoperation(vehicle
accessoryswitchmustbeon).Iftheradiodoesnotoperate,recheckallwiringuntilthe
problemiscorrected.Onceproperoperationisachieved,turntheaccessoryswitchoff
andproceedwithfinalmountingoftheradio.Refertothe“WiringDiagram”onpage5.
NOTE:Beforefinalinstallation,testthewiringconnectionstomakesuretheunitiscon-
nectedproperlyandthesystemworks.
6. Inserttheradiointothemountinghole.
7. Placethe“U”bracket(C)overthescrewpostsandsecuretheradiotothedashusing
theincludedhexnuts(D).Ifnecessary,cutthescoremarks(E)oneithersideofthe
mountingbrackettocustomfitthebracketlengthforyourapplication.SeeFigureA.
A
C
D
E
B
3 Inch Hole
Rubber
Rubber
*. Rubber Size: 40X40X5(t)
 Loading...