11
5. ZONE MANAGEMENT (SENSORS)
The receiver can store sensors in its zones by two different ways:
“AN” mode (factory mode): for devices models “with AN”
“by detection” mode: for devices without “AN” function (old devices)
To switch from one learning mode to other:
Enter in “Learning” menu (Programming Menu)
Hold down the MENU button for at least 10 seconds until appears/disappears the “” symbol as in figure:
“AN” LEARNING MODE
THIS MODE IS FOR “AN” LEARNING ONLY
1. Enter in programming menu (jumper SETUP closed) and select “Zone Learning”
2. Select the memory position to use with EDIT button (by holding the button, the memory position increase quickly):
3. After some seconds, beside to the radio zone number appears the “_” listening symbol: the receiver is waiting for a radio code from radio
sensor.
If appears the “X” symbol after the radio zone number, it means that the memory position is already used. It is possible to overwrite or
delete it (see next paragraph)
4. On sensor, enable and press the TAMPER switch (AN learning)
5. When the radio code is received, on receiver display appears the blinking “X” symbol (instead “_”): the receiver is processing the code.
If it is a valid code the remote control is stored, the “X” symbol stays solid:
The sensor is not stored if:
the radio code is NOT an AN learning code (example: alarm code, tamper code…)
the radio code is already stored in other memory position
it is not a valid radio code (example: it is a remote control radio code…)
In case of error, some “beep” are emitted and the receiver wait for another radio code.
6. To learn other sensors, press the EDIT button to switch to another free memory position and repeat the previous steps.
It is possible to store up to 80 sensors.
7. At the end of learning, switch to next function by pressing the MENU button or exit from programming opening the jumper SETUP.
Zone Learning
Sensor 02 _
Zone Learning
Sensor 02 X
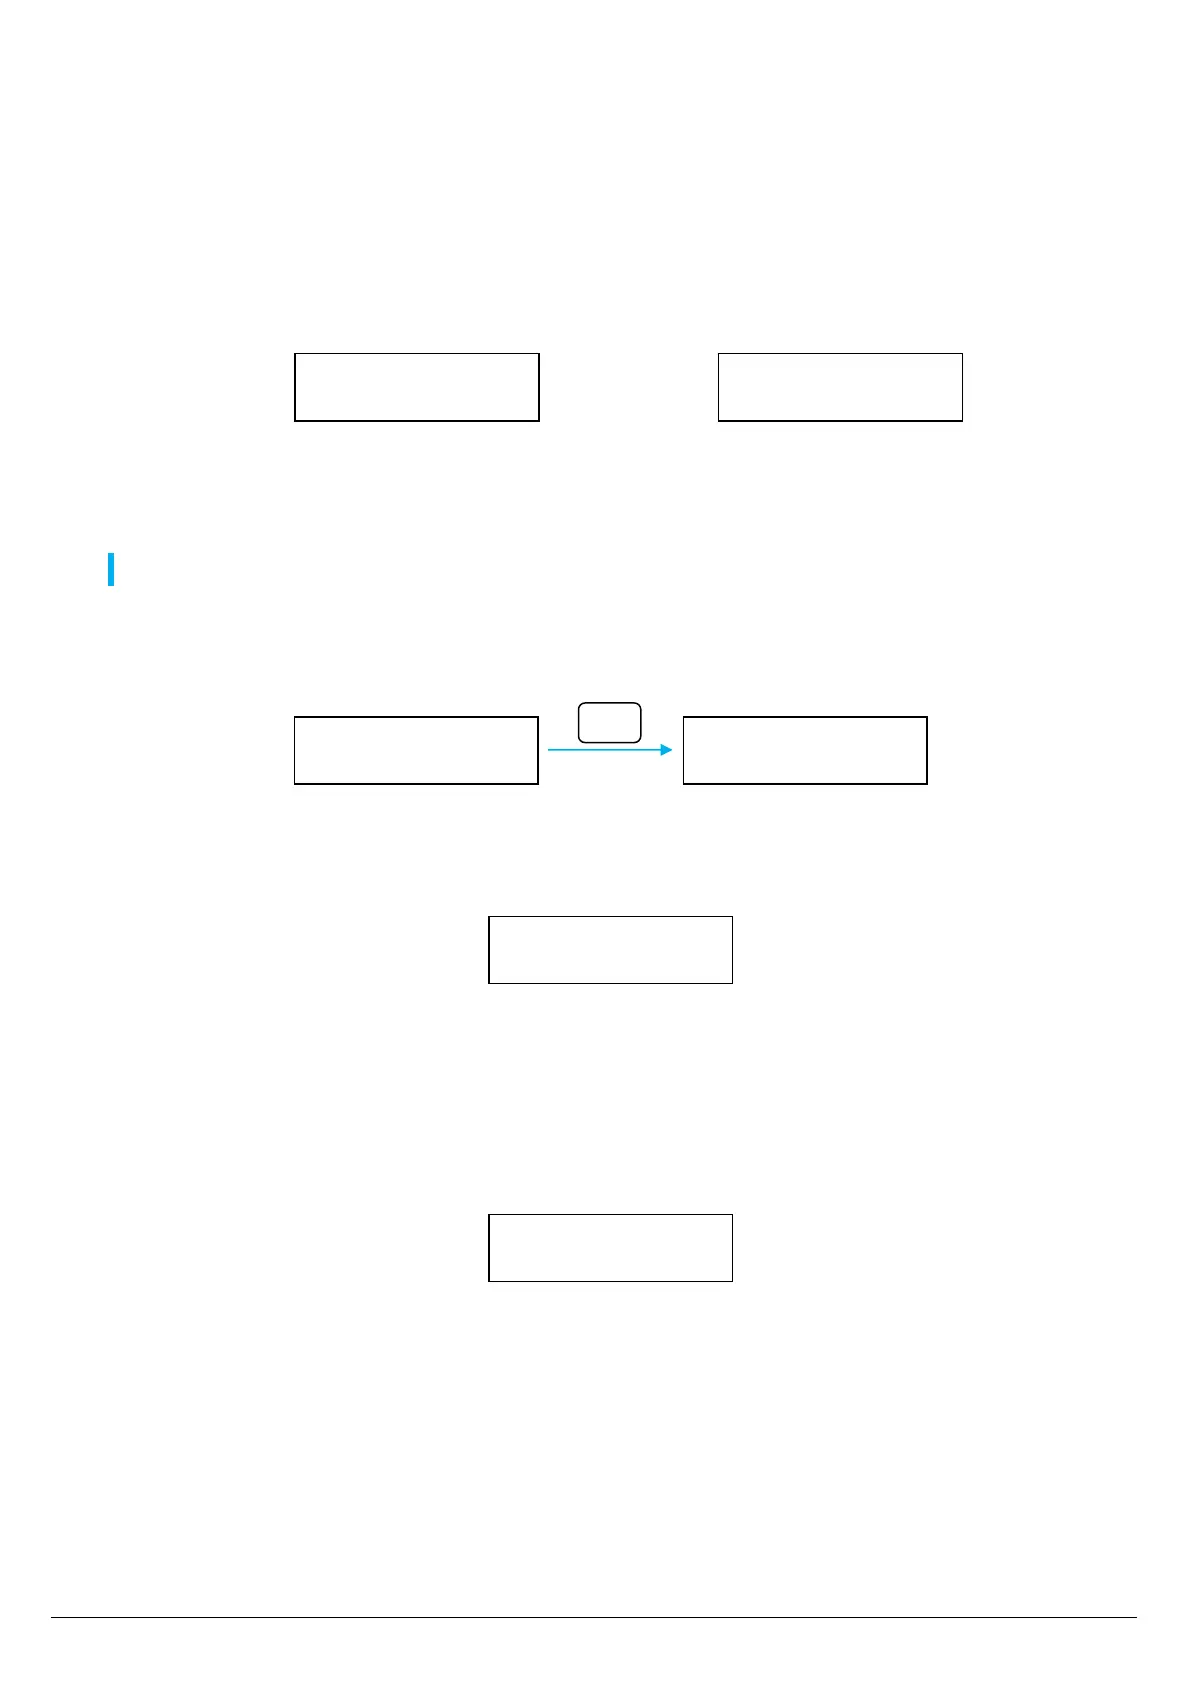 Loading...