5. Electrical connection
ATTENTION!
Any work on the electrical equipment of the sewing unit
must only be carried out by electricians or correspondingly
instructed persons.
The mains plug must be pulled out.
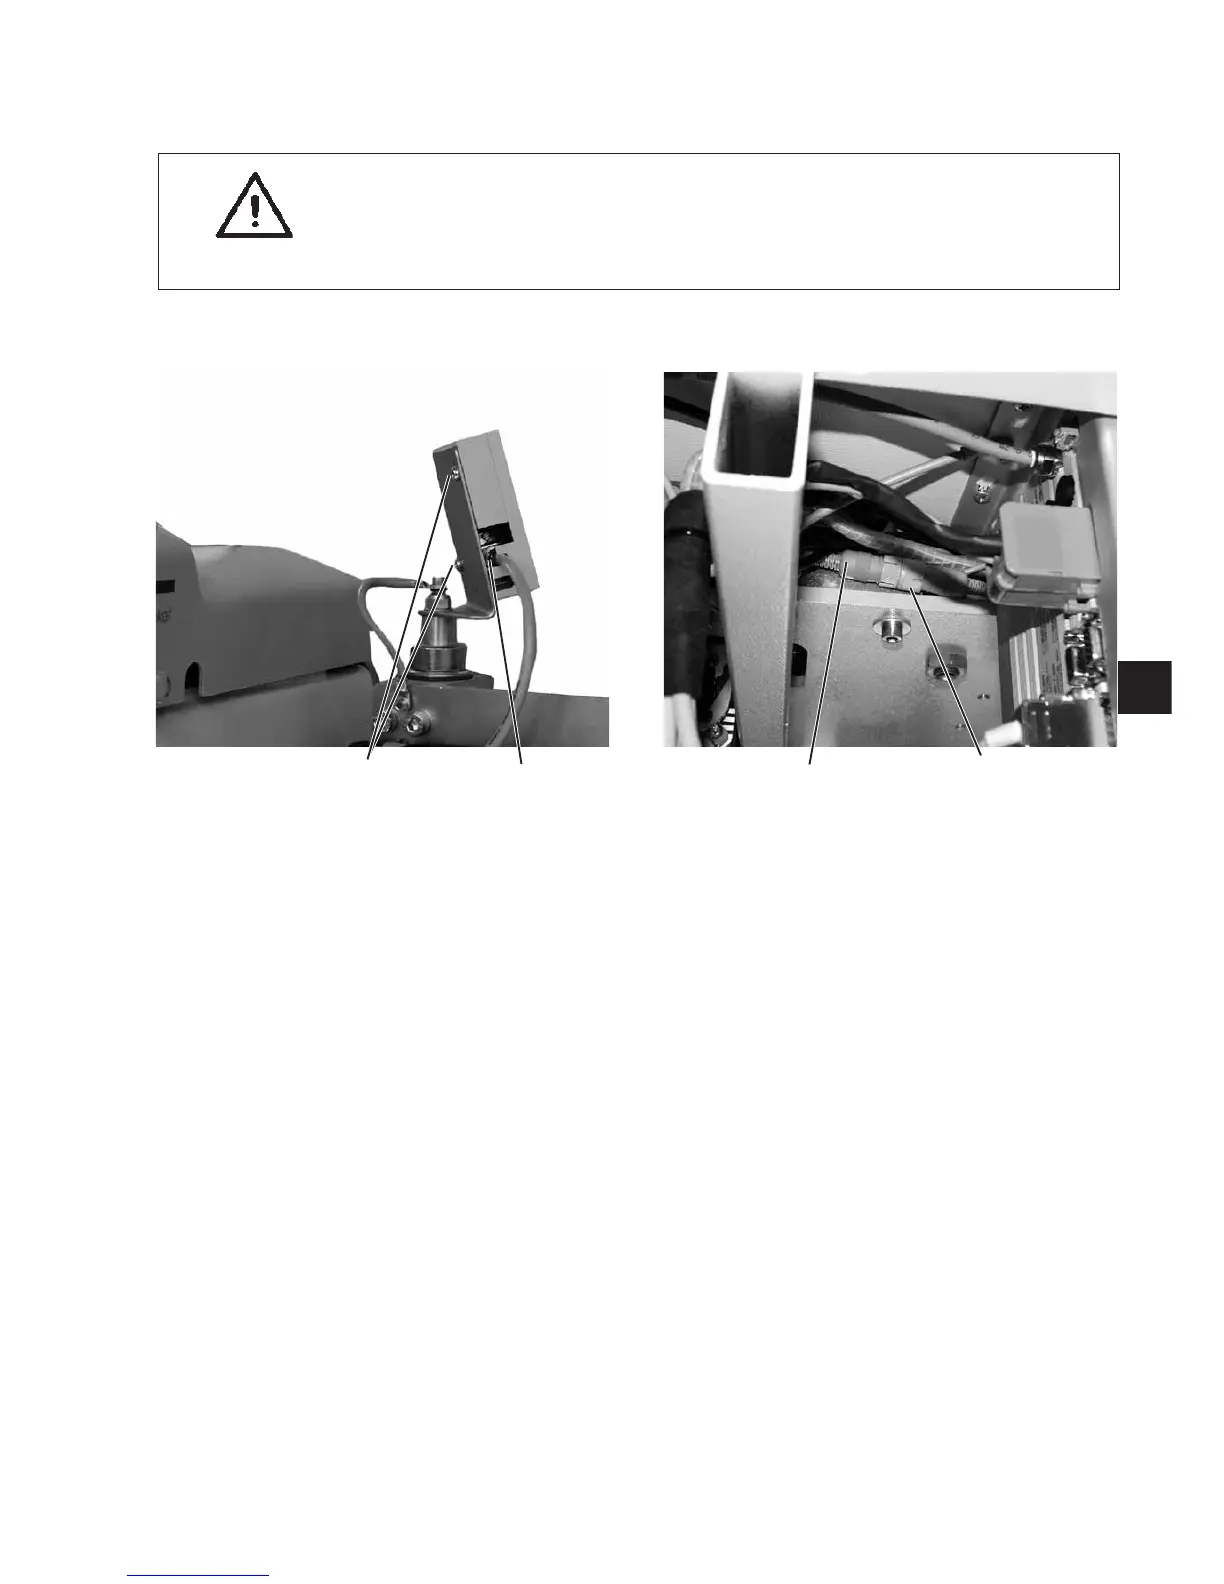
5.1 Connecting the control panel DAC III
The control panel has been removed for shipping.
–
Carefully insert plug 1 into the rear panel of the control panel.
–
Tighten screws of plug 1.
–
Tighten control panel on holder with screws 2.
5.2 Connecting the external bobbin winder
–
Insert plug 4 of the bobbin winder into socket 3 underneath the
table top and secure with cap nut.
5.3 Making the mains connection
–
Connect the mains plug 230 Volt - 50\60 Hz.
5.4 Direction of rotation of the sewing motor
The sewing unit is equipped with the latest step motor technology. A
check of the direction of rotation is not required because it is
automatically set by the control.
2
11
43
21

 Loading...


