


M
Miranda KelleySep 6, 2025
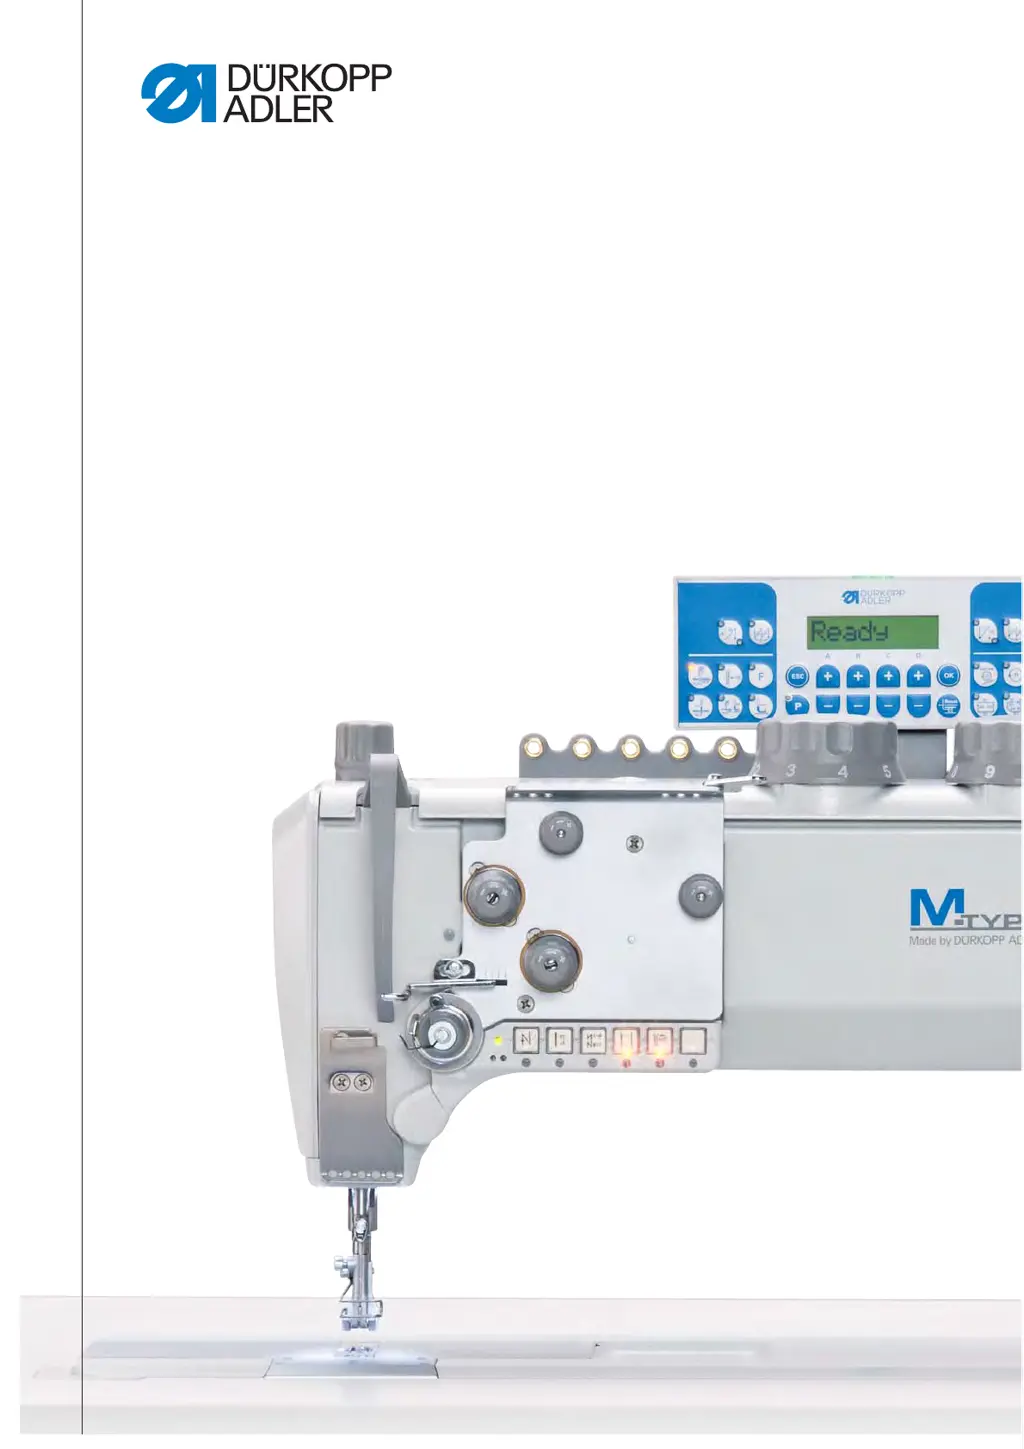
What to do if maximum speed exceeded on DURKOPP ADLER 867 Sewing Machine?
- AAlicia AllenSep 6, 2025
If the maximum speed is exceeded on your DURKOPP ADLER Sewing Machine, replace the encoder, perform a reset, and check the class (t 51 04).


