EasyManuals Logo

DURKOPP ADLER 867 Service Manual

DURKOPP ADLER 867
164 pages
To Next Page IconTo Next Page
To Previous Page IconTo Previous Page
Page #101 background imageLoading...
Page #101 background image
Machines with integrated motor
Service Instructions 867 - 04.0 - 10/2019 99
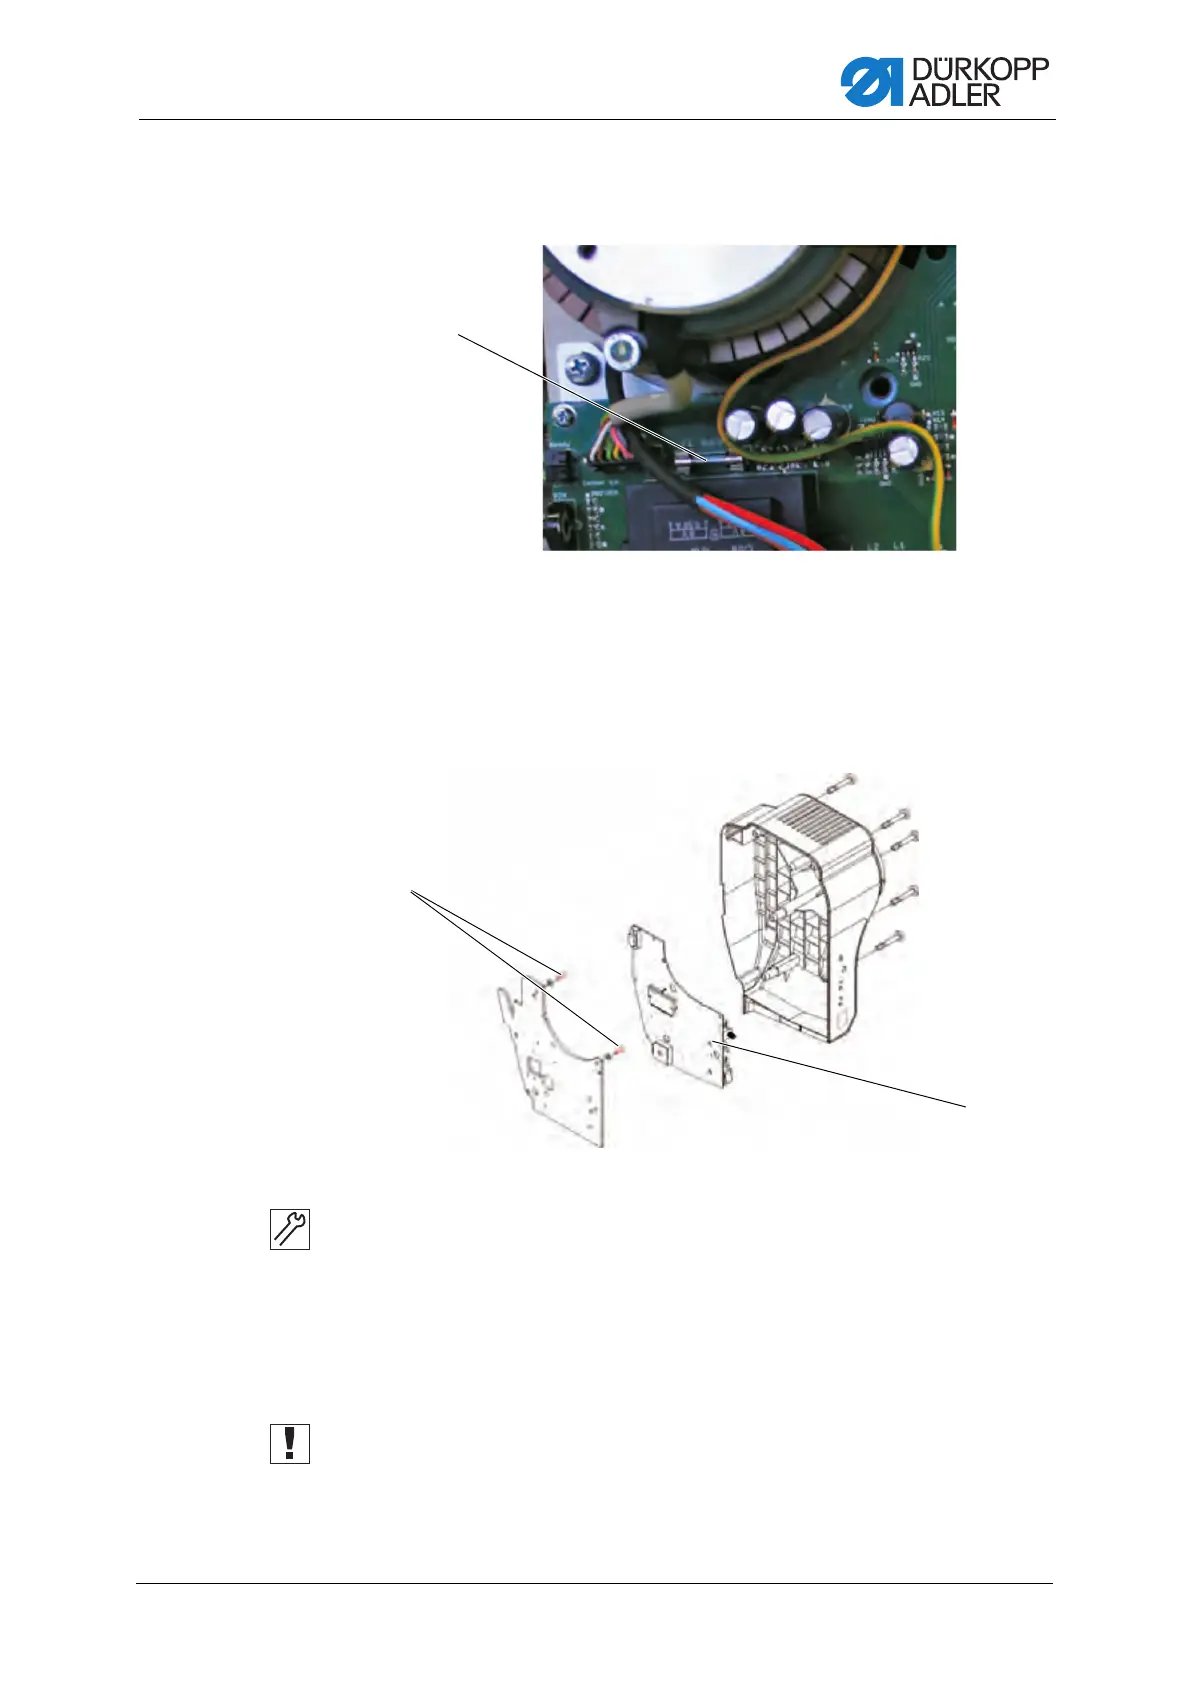
19.4 Replacing the fuse of the sewing light transformer
Fig. 85: Replacing the fuse of the sewing light transformer
Fuse: Value 0.63 A T.
19.5 Replacing the PCB
Fig. 86: Replacing the PCB
To replace the PCB:
1. Pull off plugs.
2. Loosen the screws (1) for the carrier plate of the PCB.
3. Replace the PCB (2).
4. Tighten the screws (1).
5. Insert plugs.
Important
Ensure that the motor is correctly connected!
(1) - Fuse
(1) - Screws (2) - PCB

Table of Contents

Other manuals for DURKOPP ADLER 867

Questions and Answers:

Question and Answer IconNeed help?

Do you have a question about the DURKOPP ADLER 867 and is the answer not in the manual?

DURKOPP ADLER 867 Specifications

General IconGeneral
Stitch TypeLockstitch
Max Stitch Length12 mm
Needle System134-35
Needle Thread TensionAdjustable
LubricationAutomatic
TypeIndustrial Sewing Machine
Max Sewing Speed3000 stitches per minute
Presser Foot Lift20 mm
Power Requirements230V/50Hz

Related product manuals