24 2170100001L29 2109V005
8 Commissioning
NOTICE
Short circuit due to the build up of
condensation
i Do not switch the unit on until it has
warmed to room temperature and is dry.
The unit supports the following imaging pro-
grams:
– VistaSoft from Dürr Dental
– DBSWIN from Dürr Dental
– Third-party software on request
Always use the latest version of the
imaging software VistaSoft or DBSWIN
when installing the device for the first
time. Check the version of the included
software with the latest available ver-
sion in the Download Centre hyperlink
http://www.dürrdental.com/. If there is
a current version of the software available
in the Download Centre, use it when in-
stalling the device for the first time.
8.1 Configuring the network
Network configuration
Various options are available for network
configuration:
– Automatic configuration via DHCP.
– Automatic configuration via Auto-IP for direct
connection of unit and computer.
– Manual configuration.
i Configure the network settings of the unit us-
ing the software or, if applicable, the touch
screen.
i Check the firewall and release the ports, if ap-
plicable.
Network protocols and ports
Port Purpose Service
45123 UDP,
45124 UDP
Unit recognition and
configuration
2006 TCP Unit data
514
1)
UDP Event protocol data Syslog
2005 TCP,
23 TCP
Diagnosis Telnet,
SSH
1)
Port can vary depending on the configuration.
When the unit is first connected to a
computer, it applies the language and
time settings of the computer.
Assembly
EN
8.2 Configuring WLAN on the unit
If the unit is to be operated via WLAN, the WLAN
stick included in the scope of delivery must be
inserted into the USB connection on the back
of the unit (see "Connections"). The connection
to the unit then needs to be configured. Proper
functioning is only ensured if the WLAN stick
supplied by Dürr Dental is used.
In order to establish a secure WLAN connection,
we recommend encrypting the WLAN network
with WPA2.
The quality and transmission range of the WLAN
connection can be reduced by environmental
conditions (e.g. thick walls, other WLAN devices).
When selecting a suitable location for set up,
take the signal strength into consideration.
Requirements:
You need to be logged-in on the unit as Admin-
istrator or Service Technician (Settings > Access
Levels > Administrator/Service Technician).
i Check the WLAN settings with your Network
Administrator.
i Tap the following on the touch screen:
Settings > System Settings > Network.
i Under Interface select the option WLAN and
confirm with OK.
i Configure the WLAN.
i Confirm with OK.
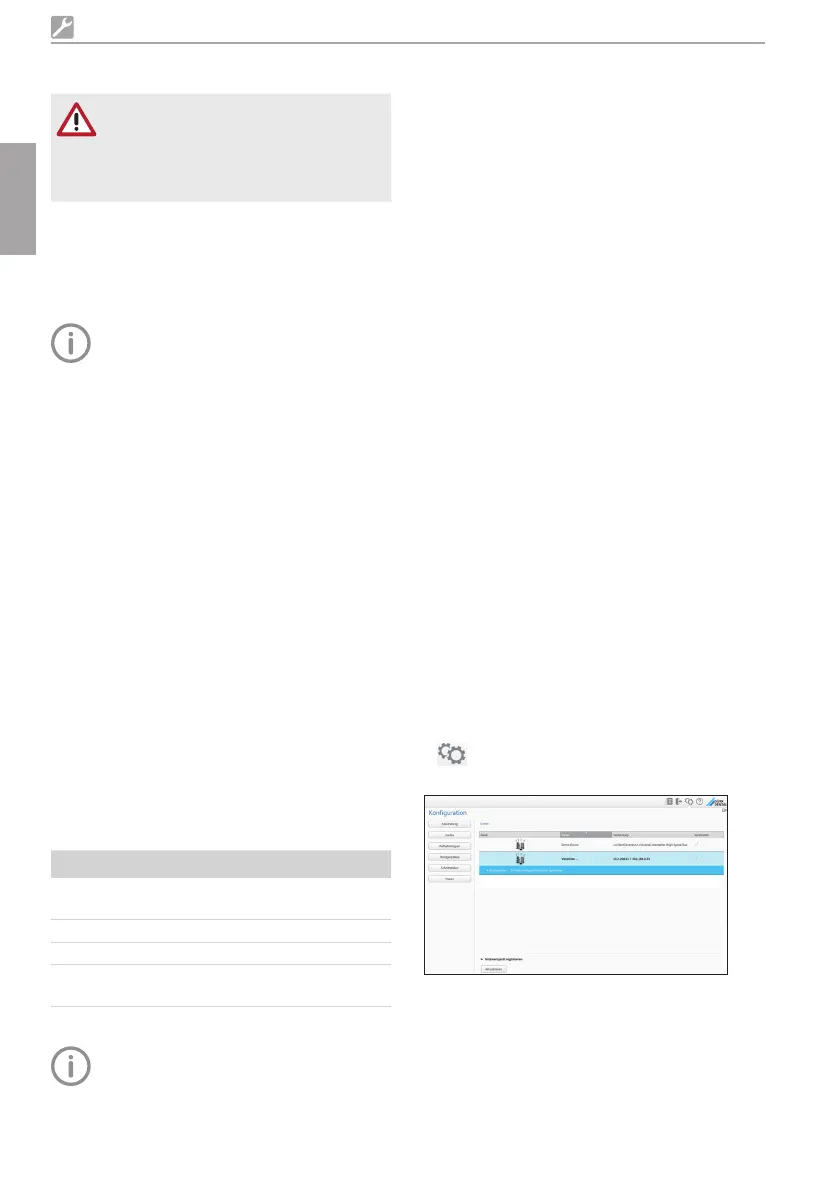
8.3 Configuring the unit in VistaSoft
Configuration is performed directly in VistaSoft.
i > Select the unit.
i Select the connected unit in the list.
i Click on Edit connection settings.
i The unit name (designation) can be changed
and information queried working under General.
i An IP address can be entered manually and
DHCP can be activated / deactivated working
under Connection.
 Loading...