Page 12 of 21
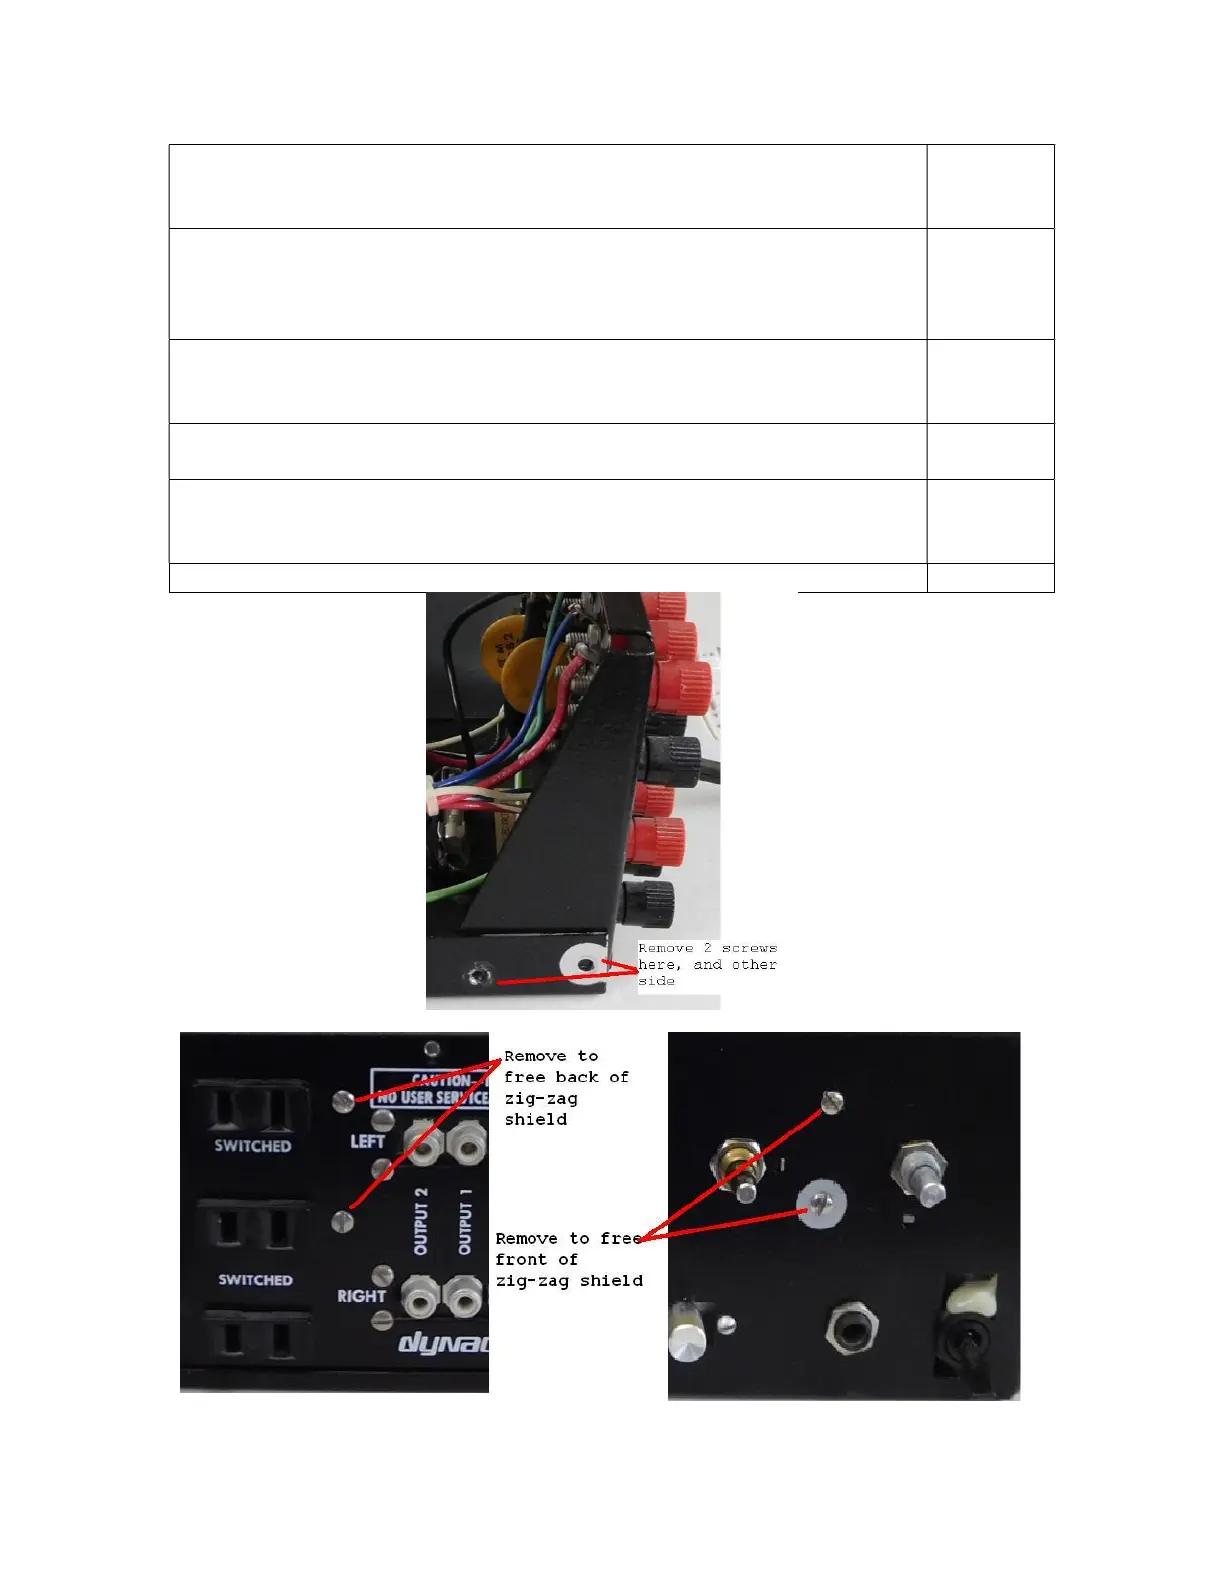
Remove the two 4-40 screws and nuts from the back panel that hold the zig-
zag shield and the power supply mounting bracket. Try to not let the nuts or
Use a 1/16” Allen wrench to remove all the front panel knobs. I like to turn
all the knobs fully counterclockwise before I start. It makes all the set
screws available and give me a consistent place to re-set all the knobs when
Remove the 3 nuts on the control shafts that hold the front panel in place.
These are typically located on the input selector, balance, and speaker
Remove the two 4-40 screws and nuts that fasten the front of the zig-zag
shield to the front panel
Lift the back panel slightly to clear the lip on the bottom of the chassis.
There is enough slack in the wires to move the back panel back a bit. That
ens up enough room to lift out
zag shield and power supply.
Lift the power supply and zig
zag shield assembly out of the preamp.
Figure 8-Remove these 2 screws and 2 screws on the opposite side
Figure 9-Remove the screws and nuts that hold the zig-zag shield to back and front of chassis