Page 17 of 21
Installing the New Power Supply
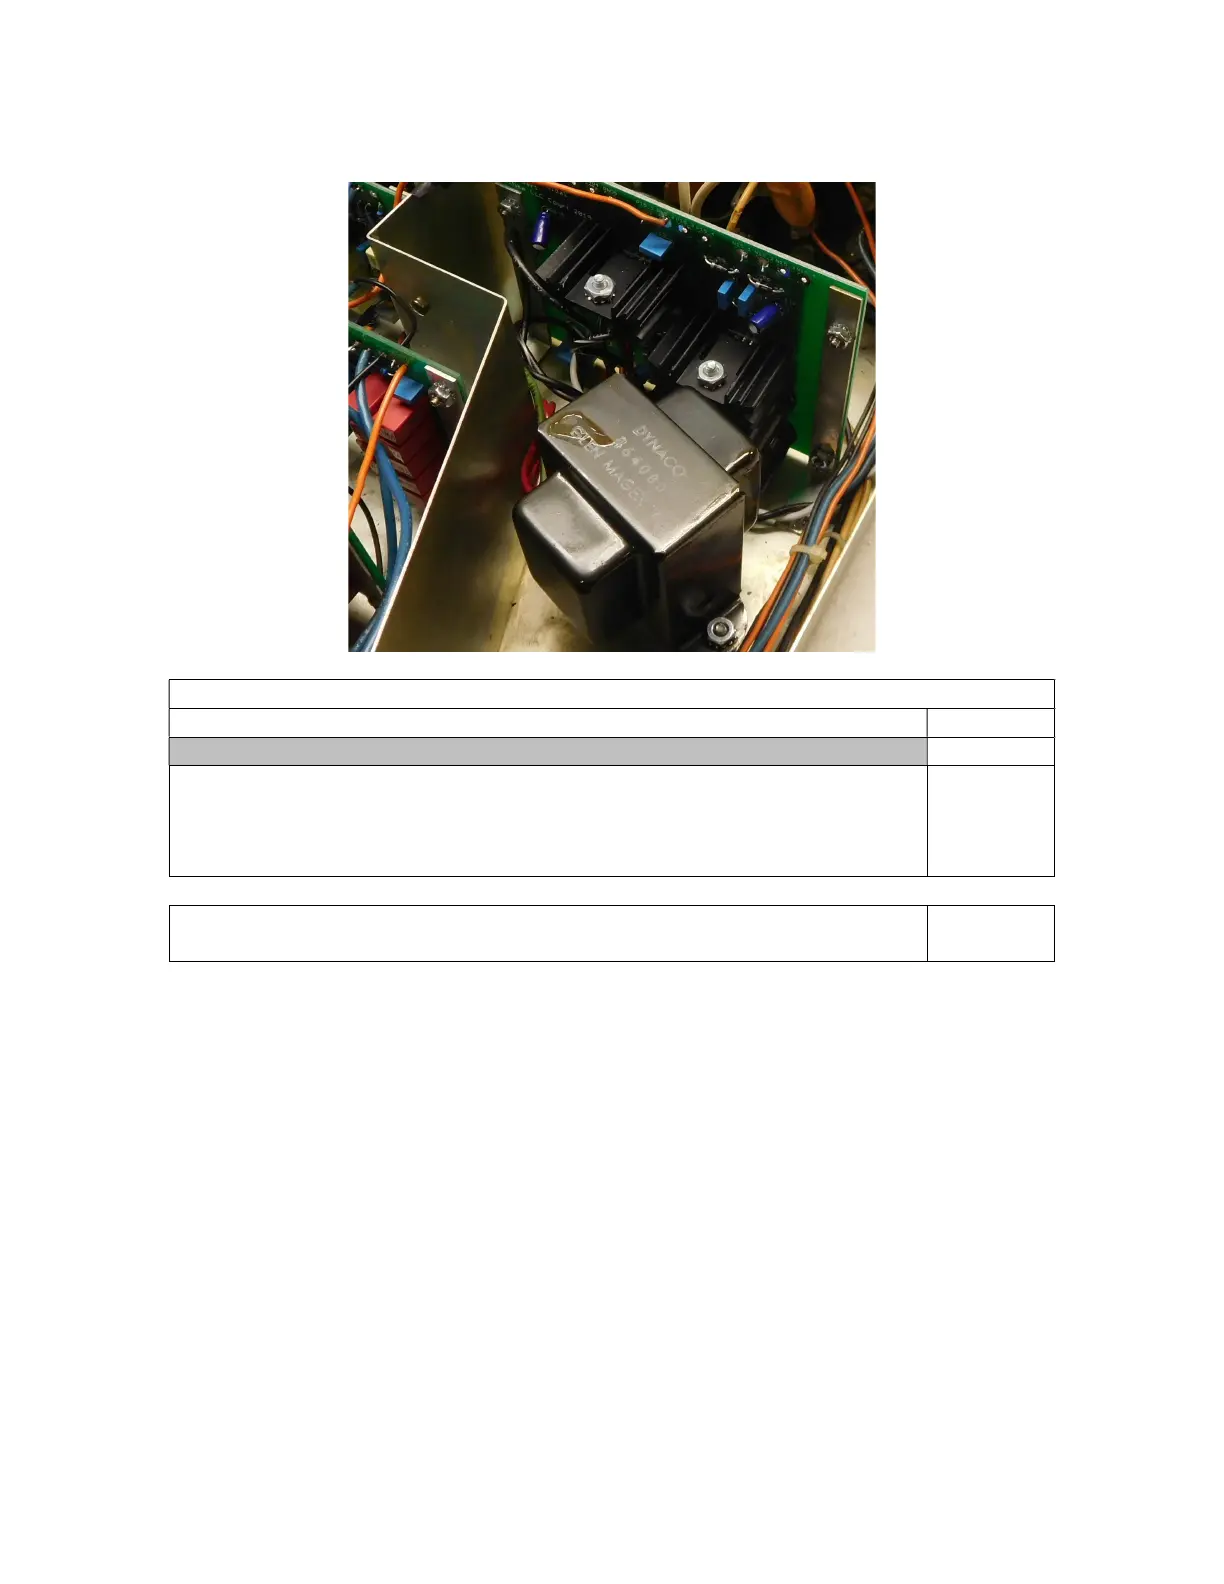
Figure 11-Mount new PCB to shield and mounting brackets
Installing the new power supply
the Preamp’s AC plug and wait 1 minute before going on.
Mount the new power supply to the zig-zag shield using four 4-40 screws
and the supplied 4-40 KEPS nuts into the power supply mounting brackets.
KEPS nuts, with their captive lockwasher makes reassembly easier. Figure
shows the correct order of the brackets, PCB, and screws.
Use two of the silver colored 4-40 screws and supplied 4-40 KEPS nuts to
fasten the power supply mounting brackets to the bottom of the chassis.