Why use it?
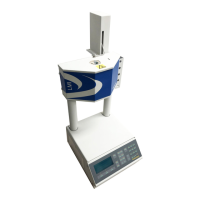
Digital Encoder Installation
No manual cuts
Check how homogeneous a sample is within a charge.
Get better precision (averages are less variable than a single observations)
See if barrel pressure drop is significant
Gain ability to reject data point if bubble or air pocket existed
The following parts should be in the encoder upgrade kit or included with the
encoder based melt indexer: (if ordered)
Two 1.25" long #8-32 Socket Head Cap Screws (SHCS)
Two 5/8" long #8-32 Socket Head Cap Screws
Two 5/8" long #8-32 Reduced Head Socket Cap Screws
Six #8 Lock Washers & Four #8 Washers
One Encoder Housing
One Long Plate, Plate #1
One Small Plate, Plate #2
Installation Steps (See Figure 1);
1. Using two 5/8 " Reduced Head Socket Cap Screws & two #8 Lock Washers,
attach plates #1 & #2 to plate #3 (plate #3 is already attached to the MI).
Tighten the screws.
Encoder Housing
Two Reduced Head
#8-32 x 5/8" Long
Socket Cap Screws &
Two Lock Washers
Phone Jack Cable
Plate #1
Plate #2
Two #8-32 x 5/8" SHCS
Two Washers & Lock Wash
Figure #1
Two #8-32 x 1.25" SHCS
Two Washers & Lock Washers
Plate #3 (Already Mounted to MI)
Series 4000 Melt Indexer Operation Manual The Digital Encoder: Use and Calibration
51