BRAKES - FRONT DISC
Page K-23
Repair and Service Manual
Read all of Section B and this section before attempting any procedure. Pay particular attention to all Notes, Cautions and Warnings
actuator pivot and the linkage rod (See Actuator linkage
bushings).
The clevis pin joining the brake cylinder clevis and the
upper actuator pivot must be removed by removing the
cotter pin and discarding. Remove clevis pin.
Remove Locknut from shoulder bolt and remove shoul-
der bolt. Pivot components may now be removed and
bushing removed and replaced with new ones. Be sure
to replace the nylon bushing with the flange oriented up.
Reassemble using new cotter pins. and tighten lock nut
to 5 - 10 (7 - 13 Nm) ft. lbs torque.
BLEEDING BRAKES
Tool List Qty. Required
Hose........................................................................ A/R
Clean container........................................................... 1
Brake fluid, DOT 3 .................................................. A/R
Wrench, 1/4" box end.................................................. 1
The hydraulic brake system must be free of air to operate
properly. Air can enter the system when hydraulic parts
are disconnected for servicing or replacement, or when
the fluid level in the master cylinder reservoir is very low.
Air in the system will give the brake pedal a spongy feel-
ing upon application.
An assistant will be necessary to perform this
procedure.
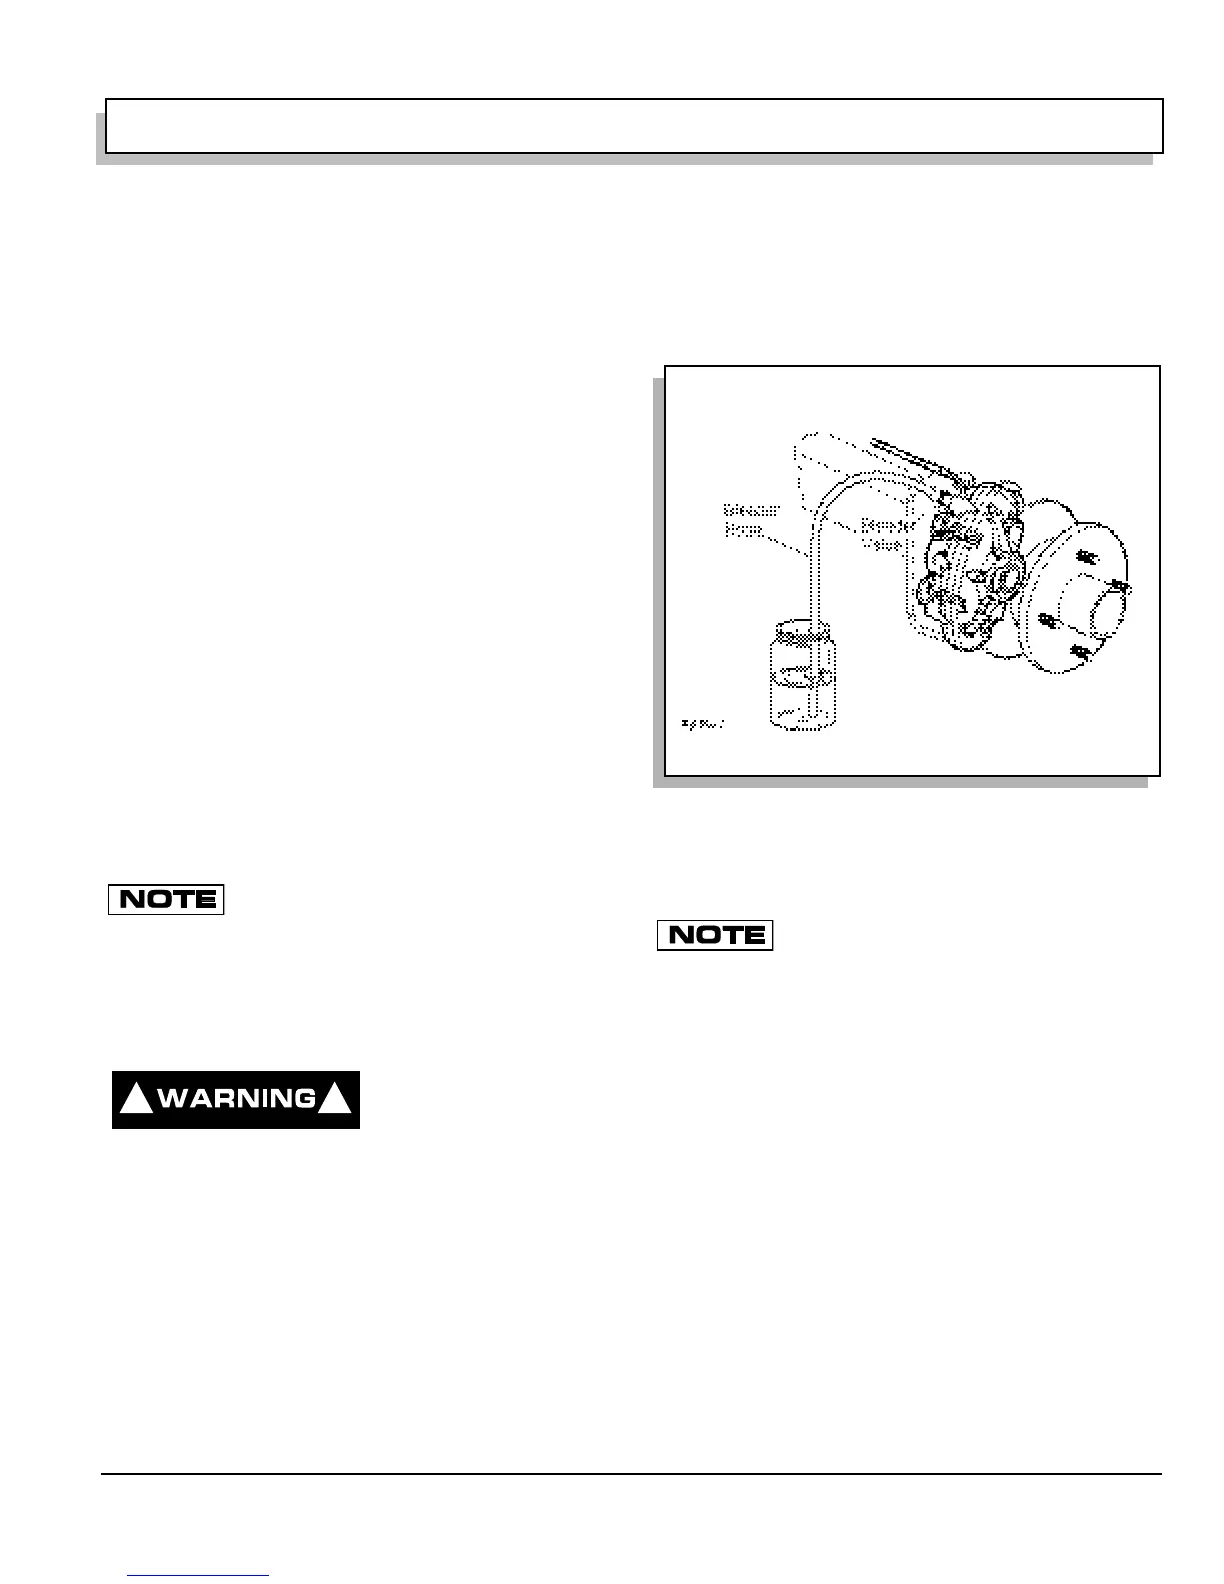
Use a clean cloth to wipe off the master cylinder reservoir
and wheel cylinder bleeder valves (Ref Fig. 2 on page K-
23). Clean each fitting before opening to prevent contam-
inating the system. Open the master cylinder reservoir
and top off with standard automotive DOT 3 brake fluid.
Never reuse any excess
fluid or return to the orig-
inal container. Dispose
of brake fluid properly.
Brake fluid should never be returned to the original con-
tainer and reused due to the possibility of contamination
by dirt, grease, moisture or used brake fluid which could
cause failure of the braking system. Dispose of in accor-
dance with Federal, state and local codes.
Attach a short length of clear hose to the caliper bleed
valve and insert the other end into a suitable clean con-
tainer containing fresh, clean brake fluid (Ref Fig. 2 on
page K-23). Check the fluid level in the master cylinder
frequently during this operation to prevent air from enter-
ing the lines.
Starting with the passenger side rear brake and going to
the driver side rear brake, bleed the brakes using the fol-
lowing procedure:
The bleeder valve at the caliper must be closed
at the end of each stroke and before the brake
pedal is released to insure that air cannot enter the system. It is
also important that the brake pedal be returned to full ‘up’ posi-
tion.
Open the bleeder valve and have an assistant depress
brake pedal gently until fluid flows into container. Close
the bleeder valve and have the assistant slowly release
the brake pedal. Repeat the process until no bubbles can
be seen leaving the bleeder valve. Close the valve and
repeat at other side. After bleeding, check fluid level
using a mechanics mirror and a flashlight. Add fluid if the
level has fallen below 1/4" (6.5 mm) from the top of the
reservoir and inspect for visible fluid leaks.
! !
Fig. 2 Bleeding Brakes
 Loading...


