1-800-345-6007 Page 9 www.ardisam.com
5. Priming:
• When using the primer bulb, allow the bulb to return
completely to its original position between pushes.
• Choke must be in the OFF or RUN position when pushing
or using the primer bulb.
First Start: Starting new engine for first time or after running
out of gas, prime 3 times.
Cold Start: Starting engine after it has been sitting or
stored briefly with fuel in the tank, prime 1 time above 55°
Fahrenheit or 2 times below 55° Fahrenheit.
Warm Start: Do not use primer or full choke if engine did
not run out of gas or has not cooled completely. Flooding of
engine will occur.
6. Choke:
• Full choke position is defined by moving the choke lever
as far to the ON or CHOKE position as possible. Half
choke is defined when the choke lever is between ON or
CHOKE and OFF or RUN..
Warm Start: No choke or half choke is needed.
7. For Manual Start - Grasp starter handle and pull out
slowly, until it pulls slightly harder. Without letting it retract,
pull rope with a rapid full arm stroke. Let it return to its
original position very slowly. Repeat this step everytime the
starter rope is pulled.
8. Pull recoil until engine fires or runs.
NOTE: If engine fails to start after 5-6 pulls, push primer
1 time and pull starter rope again.
9. After engine starts running, move choke lever to HALF
CHOKE.
For Electric Start
10. Check that the battery is connected using the white
plastic connectors inside the battery box. Insert ignition key
into ignition and turn key to the “start” position until engine
starts running, then release key to the “on” position. DO
NOT hold the ignition key in the “start” position longer
than 3 seconds.
11. Run engine for 30 to 45 seconds at half choke position
until engine warms up.
12. Move choke lever to OFF position and move throttle to
desired speed.
13. To stop, turn switch to OFF position on manual start
models. On electric start, turn ignition key to the OFF
position.
Avoid injury! Starter rope can cause an unanticipated
jerk towards engine. Please follow instructions to
avoid injury.
CAUTION
DO NOT attempt to start engine in the following ways:
••
••
• DO NOT use starting fluid.
••
••
• DO NOT spray flammable liquids or vapors into air
cleaner, carburetor or spark plug chamber.
••
••
• DO NOT remove spark plug and attempt to start
engine. Flammable fuel can spray out & ignite from a
spark from spark plug.
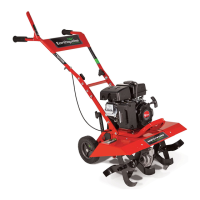
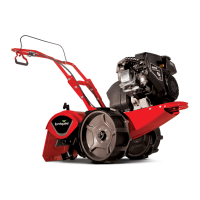
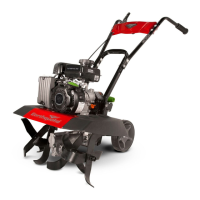
Normal OperationNormal Operation
Normal OperationNormal Operation
Normal Operation
1. The clutch will transfer maximum power after about two
hours of normal operation. During this break-in period clutch
slippage may occur. The clutch should be kept free of oil
and other moisture for efficient operation.
2. Cultivate without placing excessive body weight on the
unit. The mini cultivator operates most efficiently with the
weight of the unit itself.
3. Never run engine indoors. Exhaust fumes are deadly.
Using the Screw Type, Manual Venting Gas Cap
Your mini cultivator is equipped with a screw type, manual
venting gas cap.
1. Before starting the engine, turn the screw in the top of
the gas cap 2-3 turns (counterclockwise) to its venting
position. DO NOT turn the screw to the point that it stops
(4-5 turns counterclockwise). To ensure that gas will not
spill during use, check that the gas cap is screwed on
tightly and the gas cap screw is in the venting position.
2. After using the mini cultivator and before putting away
or transporting it in a vehicle, screw the gas cap screw and
gas cap on (clockwise) tightly. This will prevent gas from
leaking during storage. The gas cap will not leak during
storage if gas cap is tight and the screw at the top is tight.
Avoid injury! If engine fails to start after the above
operations, please contact Ardisam, Inc. at 1-800-345-
6007.
CAUTION
Avoid injury! Never leave engine running while
unattended. Turn off after every use.
CAUTION
Avoid injury! Never carry mini cultivator from one
location to another while engine is running.
CAUTION
OPERAOPERA
OPERAOPERA
OPERA
TIONTION
TIONTION
TION