EasyManuals Logo

Easypix GOXTREME VISION+ User Manual

Easypix GOXTREME VISION+
28 pages
To Next Page IconTo Next Page
To Previous Page IconTo Previous Page
Page #13 background imageLoading...
Page #13 background image
12
Step 6: Set date and time
1. Click on the "Settings" icon on the screen and select "Settings"
again.
2. In the settings menu, you can navigate to the sub-items "Time
Set" and "Date Set" using the arrow keys or by scrolling with
your finger.
3. Set the time or date by tapping each of the on screen options
and their corresponding up and down arrows.
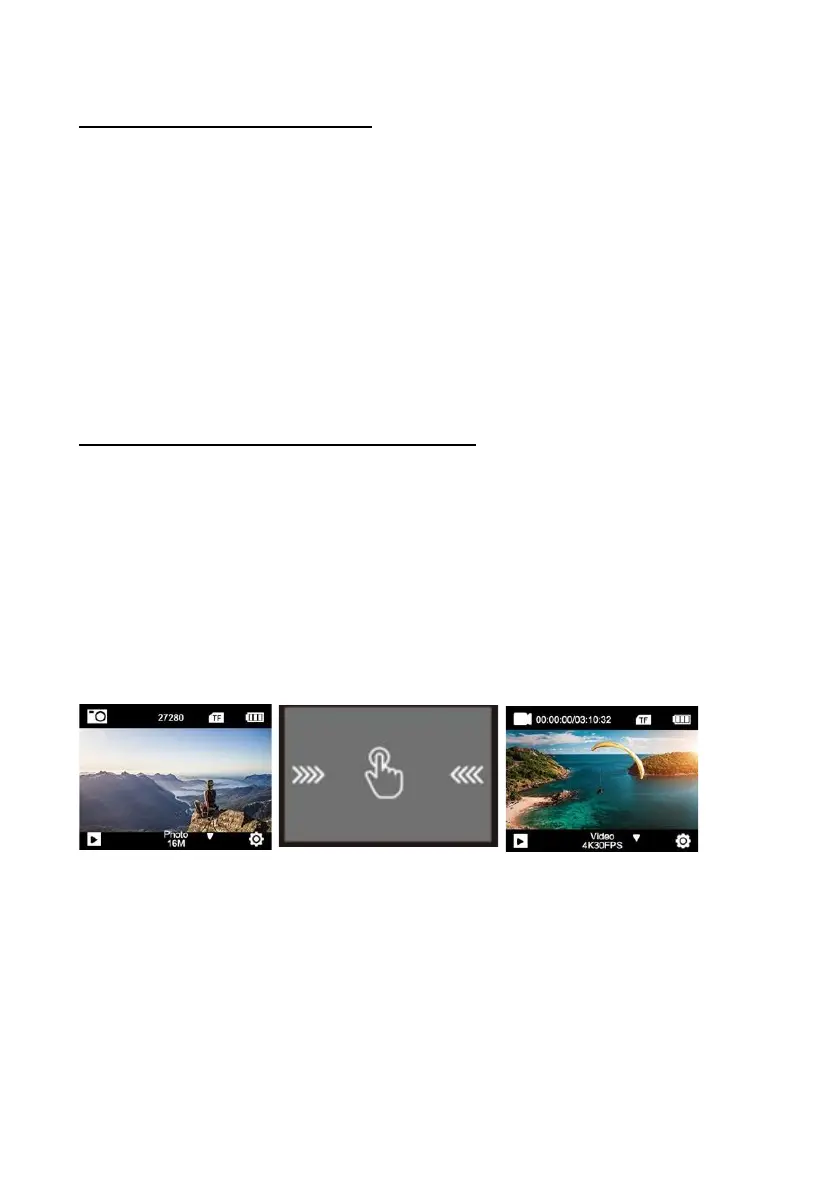
Step 7: Switching between modes
The Power key is also the Mode key.
Press this key to switch between the different modes of operation:
Video > Photo > Video etc.
You can also switch between modes by swiping the screen with your
finger from left to right.

Other manuals for Easypix GOXTREME VISION+

Questions and Answers:

Question and Answer IconNeed help?

Do you have a question about the Easypix GOXTREME VISION+ and is the answer not in the manual?

Easypix GOXTREME VISION+ Specifications

General IconGeneral
Video resolution4K (30 fps) 2.7K (30 fps) 1080p (120/60/30 fps) 720p (240/120/60/30 fps)
Photo resolution16M (interpolated) 13M (interpolated) 8M
Sensor12MP
Wide angle170°
slow motion1080p: 4x, 2x / 720p: 8x, 4x
Time-lapse video0.5s / 1s / 2s / 5s / 10s / 30s / 60s
Time-lapse photo3s / 10s / 15s / 20s / 30s Photo intervals
Series pictures3 fps, 5 fps, 10 fps
Loop recording5min / 10min / 20min / 60min intervals
Self-timerOff / 3s / 5s / 10s / 20s
White BalanceCar / Daylight / Cloudy / Incandescent / Fluorescent
Display2.0"/5cm touch-screen
Waterproof housingWaterproof up to 30m
Microphone/LoudspeakerIntegrated
WiFi functionIntegrated

Related product manuals