IB01602008E For more information visit: www.eaton.com
Instructional Booklet
Effective: March 2014 Page 23
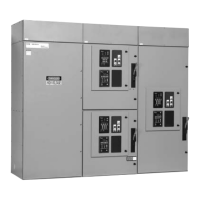
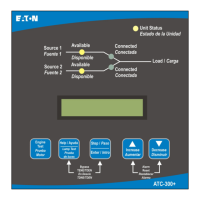
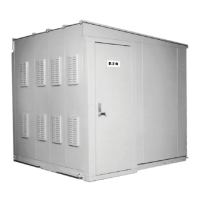
ATC-300 Breaker Based Transfer Switch
Figure 20.Location of the P1, P2, and P3 Connector Plugs for
ATSs with the North American Market Transformer Panel.
Figure 21.Location of the P1, P2, and P3 Connector Plugs for
ATSs with the International Market Transformer Panel.
Step 2: Remove the bolt that bonds the neutral strap to the rear of
the enclosure, if it is in place.
Step 3: Remove the four bolts that secure the power panel in the
enclosure. Depending upon the size of the panel, it may
be advisable to have assistance with the removal. Once
the power panel is free, carefully move it to a solid work
surface (Figure 22).
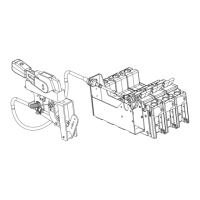
Figure 22.Power Panel Removed from the Enclosure (with the
Transfer Mechanism Removed for Clarity - 225-1200 A Models).
AT THIS POINT, TAKE THE TIME TO REFER TO FIGURE 23 AND
BECOME FAMILIAR WITH THE INSIDE REAR OF THE ENCLOSURE AND
THE POWER PANEL MOUNTING PROVISIONS AVAILABLE FOR BOTH
TOP AND BOTTOM ENTRY. IT WILL FACILITATE REINSTALLATION OF
THE POWER PANEL.
Step 4: Remove the operating mechanism from the front of the
power panel by removing the six bolts holding the mecha-
nism in position. The molded case switches or optional
circuit breakers should not be removed (Figure 23).
NOTICE

 Loading...