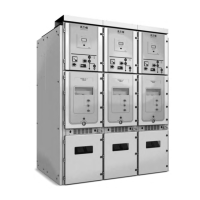
Withdrawal from Test to Insert/Removed position
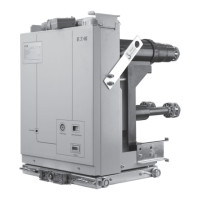
1. Check through the window of the door that the unit is
in the test position.
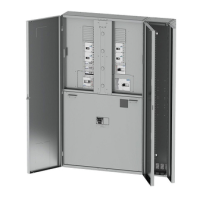
2. Open the unit compartment door.
3. Unplug the 58-pole secondary plug.
4. Place the trolley in front of the panel and ensure that
the trolley is fully locked to the front of the panel.
Use the height adjusting wheels (3) on the trolley to
adjust the height of the trolley as necessary to align
with the height of the unit compartment
5. Release the shoot bolt handles (2) by moving them
toward the centre of the panel and pull to move the
unit onto the trolley. Release the shoot bolt handles
(2) to lock the unit with the trolley
6. Unlock the trolley by turning unlock knob (1) to the
centre of the panel and remove the trolley.
7. If necessary fit a padlock to the automatic shutters
(see procedure ).
8. Close the door.
4.2.5 Locking the shutters
It may be necessary for safety reasons to lock the
shutters when the unit has been withdrawn from the
panel.
To do this, the shutter mechanism can be secured with a
padlock. The maximum size of the padlock hasp is 8mm
diameter.
To install the padlock, proceed as follows:
1. Withdraw the unit.
2. Check that the shutters closed properly.
3. Install the padlock as shown in the illustration.

 Loading...
