11
Before you start
4. When charging is complete, LED will remain GREEN.
A fully discharged battery pack will charge in about 42 min-
utes.
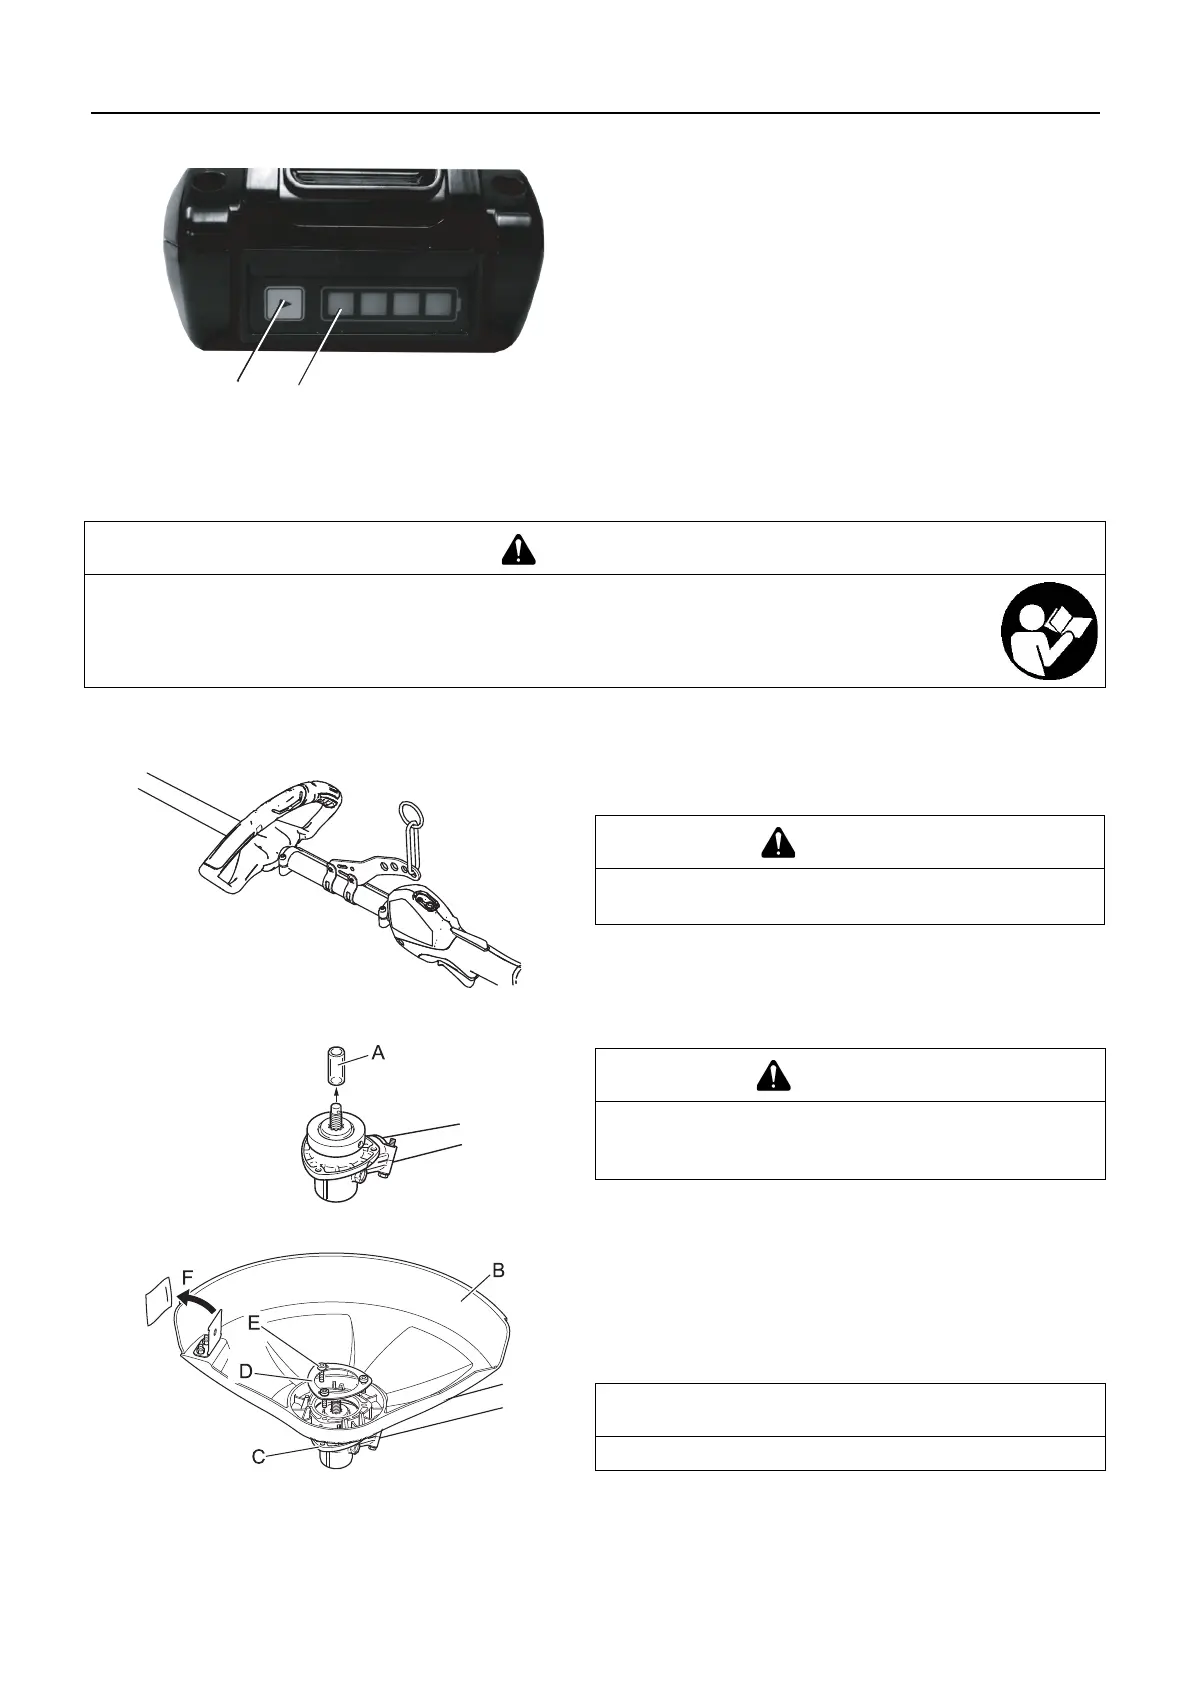
5. Verify battery is fully charged by removing battery from
charger, then pressing battery charge status button (C), and
checking LED display (D).
One green light indicates that the battery has 0-25%
charge.
Two green lights indicate that the battery has 25-50%
charge.
Three green lights indicate that the battery has 50-75%
charge.
Four green lights indicate that the battery has 75-100%
charge.
6. Disconnect battery charger from power supply.
Assembly
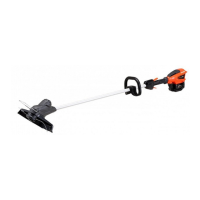
Loop handle version
Loop handle assembly
Position handle in comfortable operating position and tighten
Bolts.
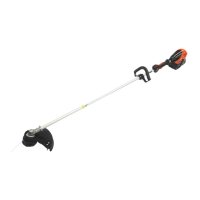
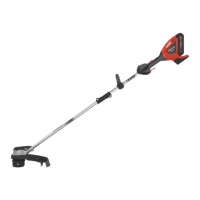
Installation of shield
1. Remove the plastic sleeve (A) from the output shaft.
2. Install the shield (B) on the bottom of the angle transmission
flange (C).
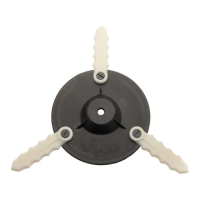
3. Place the shield plate (D) on the shield, align holes and in-
stall the three bolts (E).
4. Tighten firmly the three bolts.
5. Remove the packing (F).
WARNING
Read the operator's manual carefully to ensure that you assemble the product correctly.
Using a product that has been incorrectly assembled could lead to an accident or serious injury.
CAUTION
Install the handle so that it does not hide any of the
safety decals.
WARNING
The cut off knife on the debris shield has sharp edges.
Avoid contact when installing or removing the line
head.
NOTE
The shield is for use with the nylon line head only.