21
Before you start
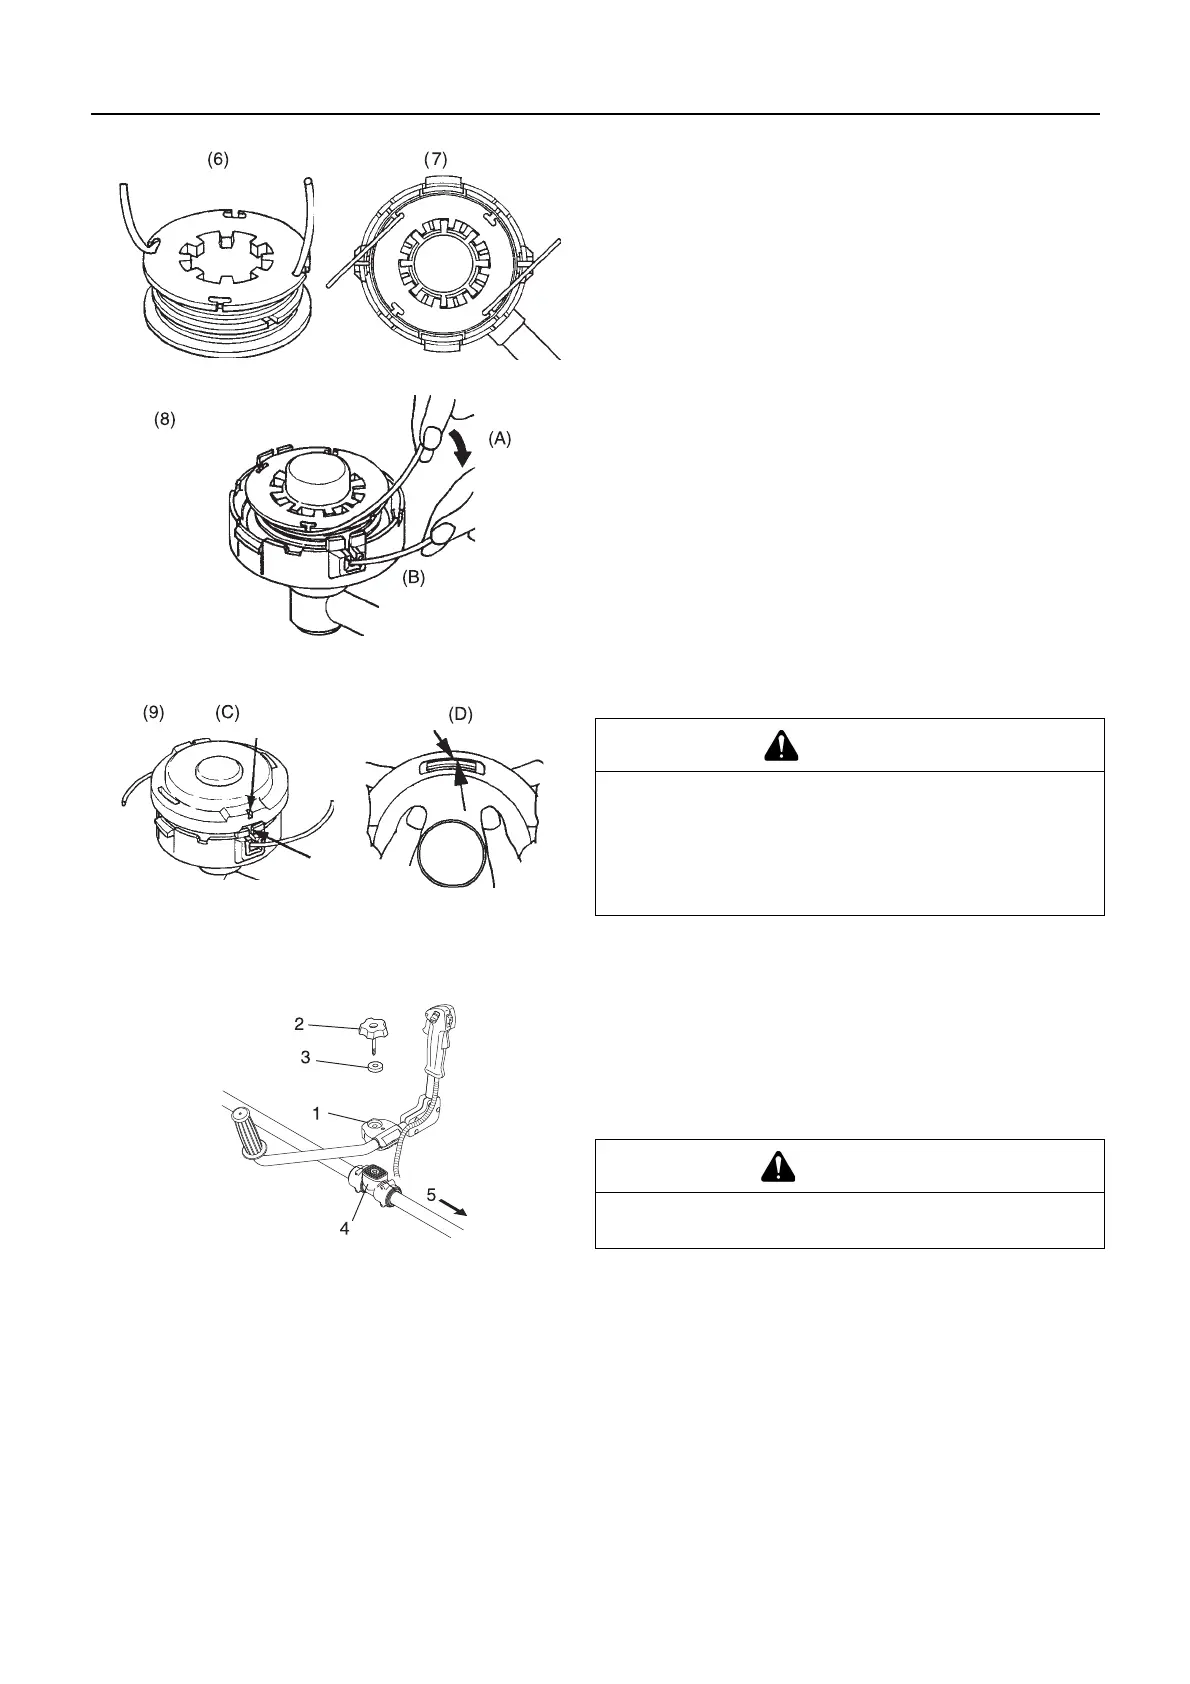
6. When the line is wound to the end hook both line ends into
respective notch of spool for retaining tentatively the line
while leaving line ends approximately 10 cm beyond notch.
7. Put spool into housing with the marked side visible.
8. Pull out the line from housing. (A) Remove the line from "re-
spective notch for tentative line retention" and (B) pass the
line through "groove of respective eyelet".
9. Fit cover and housing together. (C) Align "slot mark for use-
ful life" with "groove of eyelet" and (D) press pawls of hous-
ing into respective window of cover until the pawls are firmly
fitted into the windows.
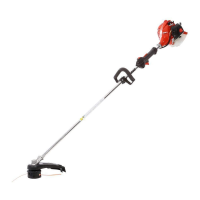
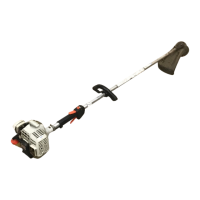
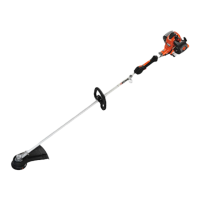
U-handle version
U-handle assembly
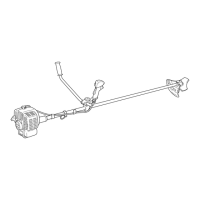
Install handle assembling bracket (upper) in handle assembling
bracket (lower) and fix handle by tightening handle assembling
bolt (8 mm) lightly.
Adjust inclination of handle to adequate position (easy to oper-
ate) and tighten firmly handle assembling bolt (8 mm).
DANGER
Make sure each outer periphery of pawls of housing
spreads almost fully up to the outer periphery of respec-
tive window of cover.
If they are loosely fitted and the cutting head is turned,
cover or inside components can fly off which is danger-
ous.
1. Handle assembling bracket (upper)
2. Handle assembling bolt (8 mm)
3. Washer
4. Handle assembling bracket (lower)
5. To engine
CAUTION
Install the handle so that it does not hide any of the
safety decals.