Digital Camera User’s Manual
10
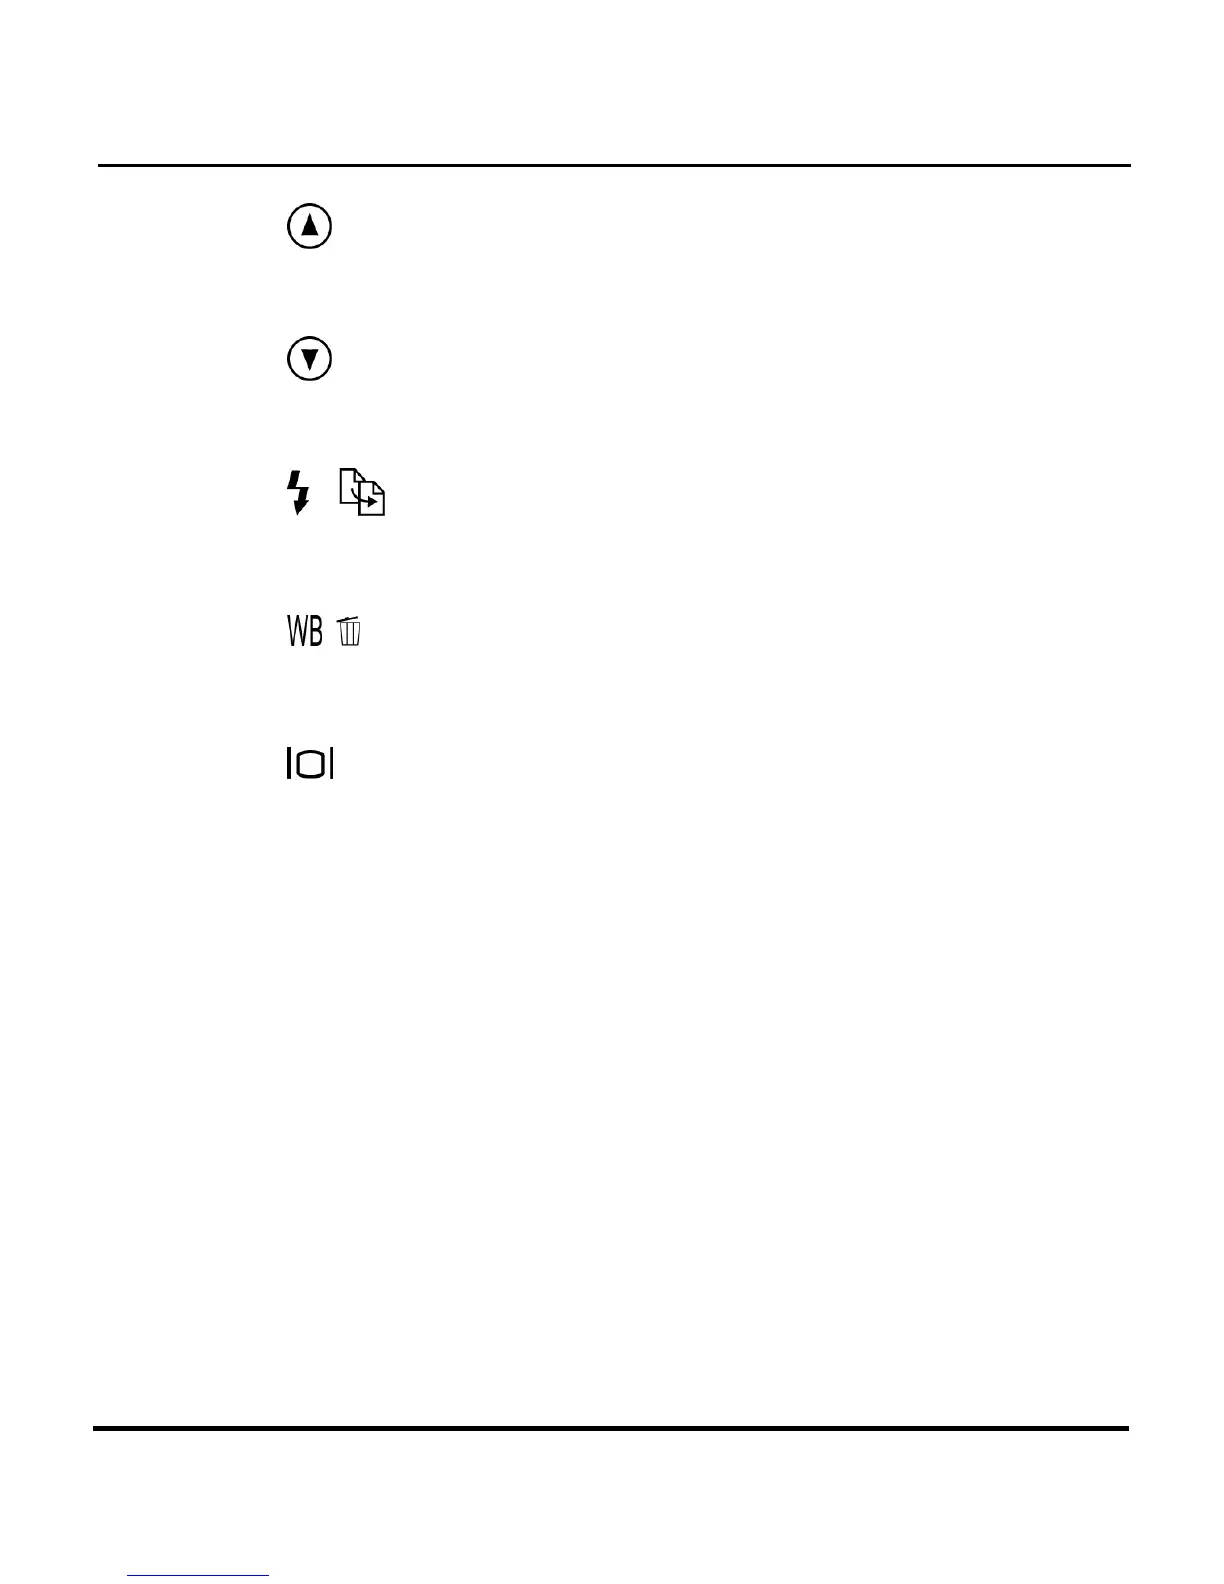
10. Up Button: Used to move up through menus and
to cycle in a left-wards direction during picture
Playback.
11. Down Button: Used to move down through
menus and to cycle in a right-wards direction during
picture Playback.
12.
Strobe / Copy: Copies pictures during
playback from internal, on-board camera memory
to the SmartMedia™ Card.
13. WB/Delete: Press this button to cycle through
the White Balance presets: Auto, Daylight, Shade,
Tungsten and Fluorescent.
14. Display Button: Press to cycle through the various
display options: LCD, backlight and status
information all turned on; LCD and backlight on but
no status information; and LCD off.
15. LCD Display: Use the LCD display to preview photos.
While in the Setup menu, use the LCD to see
messages and configure the camera.
16. Video Out Jack: Connect your video out cable here
and then the other end to your television set in order
to use the camera a digital video camera. Note
that there is no audio in Video mode.
17. Power Jack: Plug the AC Adapter into the camera
here to supply it with electricty from an external,
non-battery power source.