Maintenance
Maintenance
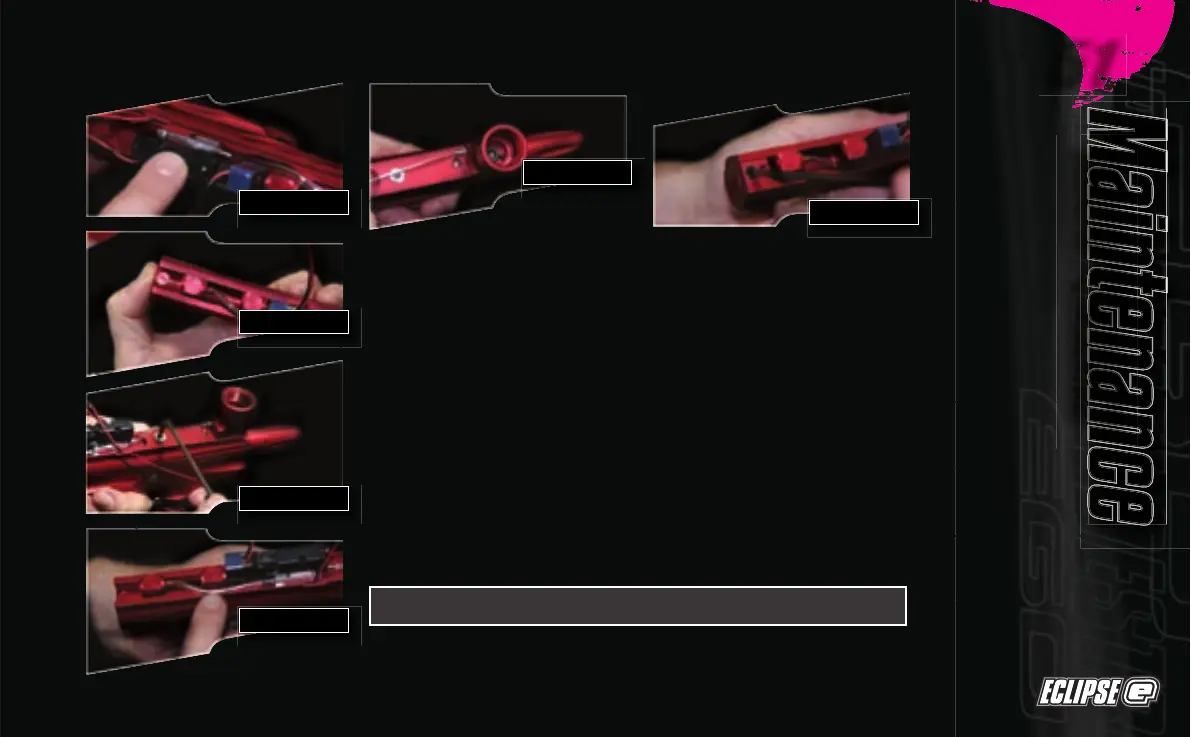
Remembering to include the valve spring, begin to insert the rammer
assembly into the Eclipse Ego body, taking care not to damage any of the
low-pressure hosing. Line the rammer assembly up so that the minifold can
slide into the groove in the bottom of the Eclipse Ego body
(See Figure 6.57)
.
By applying slight pressure to the back of the rammer assembly
(See Figure 6.58)
, hold the rammer in place against the exhaust valve spring
tension, so that the valve plug can be replaced
(See Figure 6.59)
.
Line the low-pressure hose up neatly in the groove provided in the Eclipse
Ego body, so that it doesn’t get in the way when re-attaching the grip frame
(See Figure 6.60)
and attach low-pressure hosing to the barb at the back of
the FRM
(See Figure 6.61)
.
Replace the frame tag, and using a 1/8th" hex key secure the frame tag in
place
(See Figure 6.62)
.
FIGURE 6.62
FIGURE 6.61
FIGURE 6.60
FIGURE 6.59
FIGURE 6.58
FIGURE 6.57
Note: Do not over-tighten frame tag screw