Sensor calibration
Sensor calibration
In Work process
1.
Open (
Ä
Chapter 3 ‘Scope of delivery’ on page 17) the dispenser housing with the
key and open the lid.
2. Depending on the stand variant, either remove the bottle or detach the suction-side
pump hose from the hose connector. Pass the pump hose next to each pump
housing to access the battery compartment.
3. Open the battery compartment and remove one of the four batteries or, for initial
installation, insert three batteries.
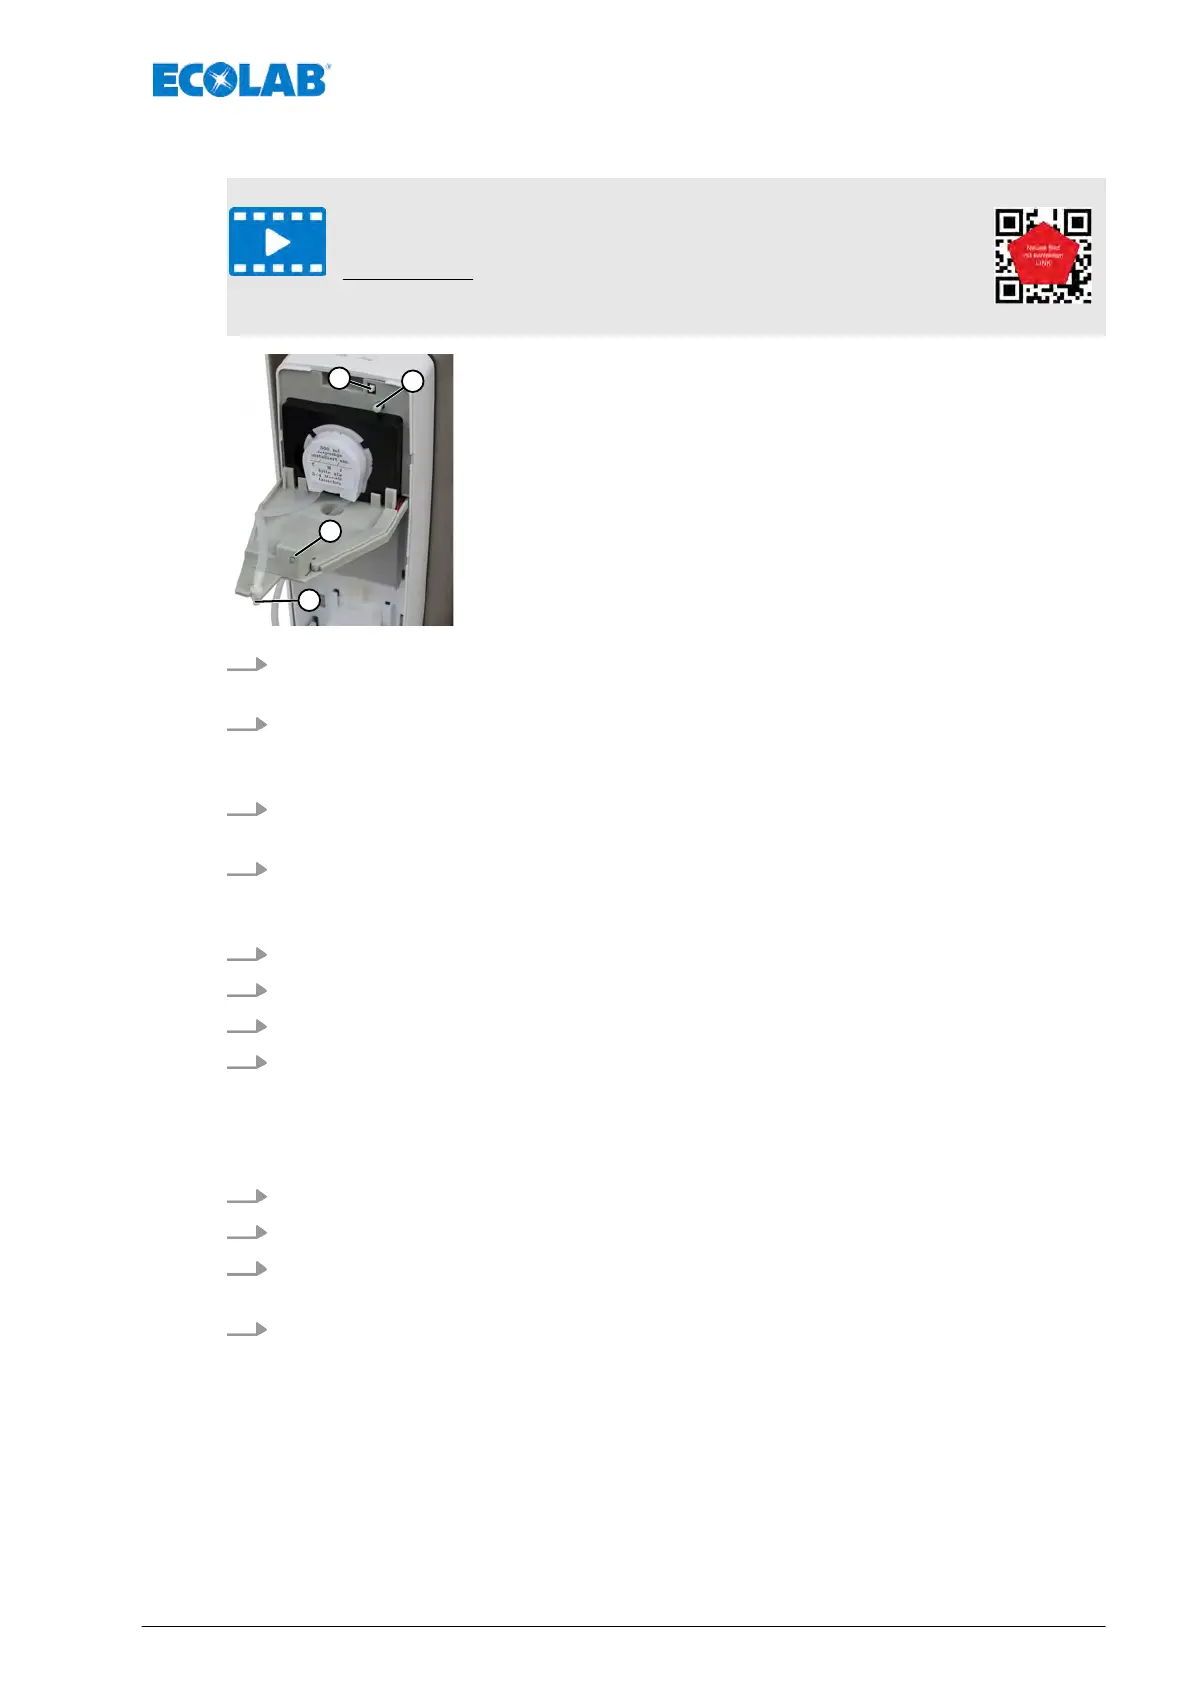
4. Using two fingers of one hand (e.g. the index finger and middle finger), press the
ON/OFF switch (square; pos. 1) and the delivery rate setting knob (round; pos. 2)
simultaneously.
5. Use your other hand to install the fourth battery
, keeping both buttons pressed down.
6. The LED (pos. 3) lights up 1x blue and then 3 x blue again in rapid succession.
7. Now release the two buttons. Close the dispenser housing quickly.
8. Place your hand or an object (e.g. white cardboard) in the sensor beam (item 4) at
the position to which the trigger distance is to be reset. As soon as the sensor has
registered the hand or object, the LED flashes in two colours, slows down and finally
flashes once in blue.
ð
The setting procedure is completed!
9. Remove the hand/object from the sensor beam.
10. Open the dispenser housing again and close the battery compartment.
11. Either replace the bottle (500 or 1000 ml bottle variant) or connect the pump hose to
the canister hose (5 or 20 l variant) via the hose connector.
12. Check that the desired release distance is set.
Service
37 MAN048961, Rev. 2-09.2020