11
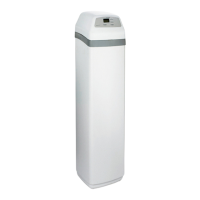
9. On your laptop,
tablet or phone,
activate the view of
wireless networks
in range. For
example, on a lap-
top, look for and
click on the wire-
less icon along the
lower right edge of
the screen. On a
phone, you should
go into “Settings”
and look for “Wi-Fi”.
10. You should see a
network named
“H2O-” followed by
12 characters.
Select this network
to connect your
device with it.
11. Once your device indicates that it is connected to
the H2O network, go to your internet browser
(Chrome, Firefox, Internet Explorer, etc.) and type in
this URL:
192.168.0.1
then click Go or press Enter.
FIG. 23
FIG. 24
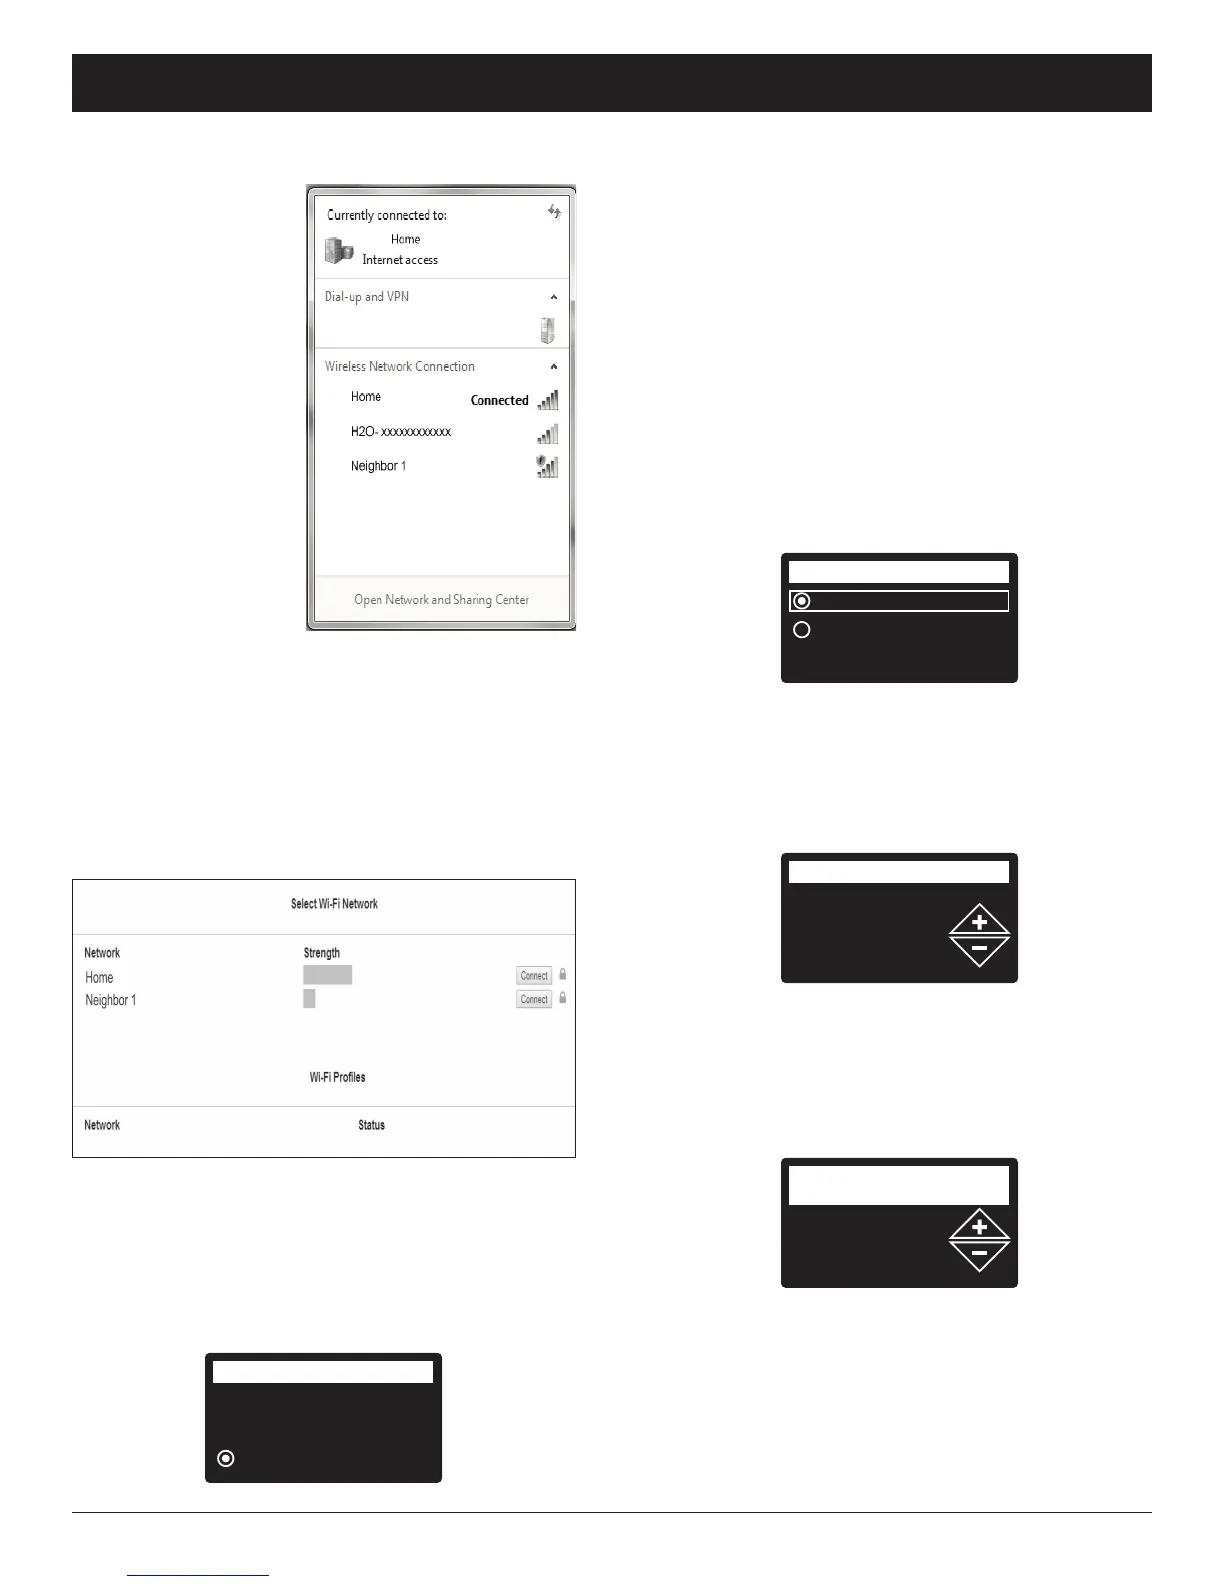
12. After a screen like the one shown above appears,
select your in-home wireless network and enter the
correct password.
13. The filter display should change to “Connected” and
give you a key code.
ECOWATER
S Y S T E M S
Setup Procedure
Connected!
Key:
abc123
Wireless setup
Continue
FIG. 25
14. Once the key code is displayed (it may take a few
seconds) , write it down. It will be used when you
register your system on the EcoWater web site.
NOTE: If the “Connected” message shows “
------
”
(dashes) instead of a key code, it may be that
y
our router is not connected to the internet.
Verify that the router’s internet connection works
with your laptop or other device.
15. On your laptop, tablet or phone, go back to the view
of networks in range, and make sure that your
device is connected back to your local network.
Finish Setting up the Filter
16. Once you have connected the Wi-Fi system and
written down your key code, press the SELECT (¡)
button to advance to the next “wizard” screen.
continued from the previous page
English
Metric
System units
FIG. 26
17. SYSTEM UNITS If the desired system already has
a dot next to it (See Figure 26), go to Step 18.
Otherwise, press the DOWN (6) or UP (5) buttons
to scroll to the desired system, then press the
SELECT (¡) button to choose it.
18. Press the SELECT (¡) button.
FIG. 27
19. CURRENT TIME Press the DOWN (6) or UP (5)
buttons to set the current time (See Figure 27). Hold
the button down to rapidly advance. Be sure that AM
or PM is correct. If the system units were set to met-
ric in Step 17, the clock will be in 24-hour format.
20. Press the SELECT (¡) button.
21. MAX. DAYS BETWEEN RECHARGES Press the
UP (5) or DOWN (6) buttons to set the number of
days between automatic recharges (See Figure 28)
The feature can be set from 1 to 99 days.
continued on the next page
1 days
Max. days between
recharges
FIG. 28