17
Chapter 2: Motherboard Installation
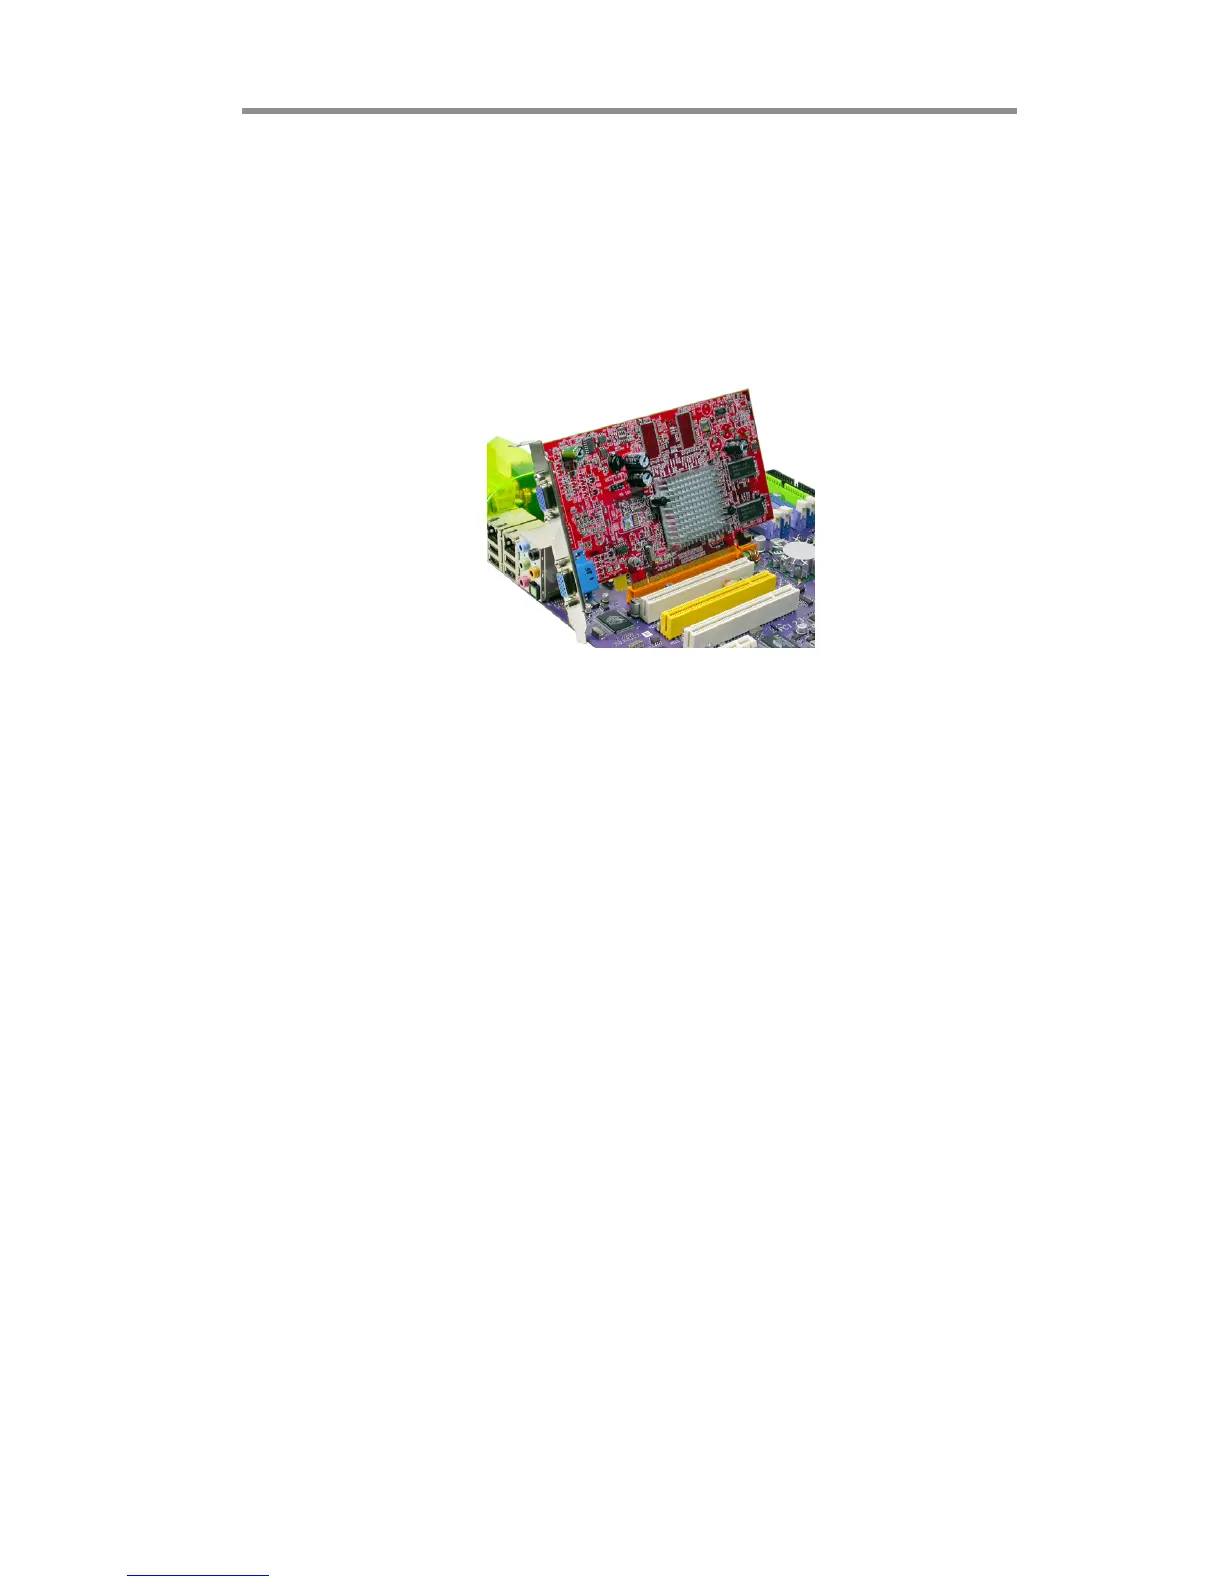
Follow the steps below to install an PCI Express Pro/ PCI Express x1/Azalia
CNR/PCI expansion card.
1. Locate the PCI Express Pro, PCI Express x1,Azalia CNR and PCI slots
on the mainboard.
2. Remove the blanking plate of the slot from the system chassis.
3. Install the edge connector of the expansion card into the slot. Ensure the
edge connector is correctly seated in the slot.
4. Secure the metal bracket of the card to the system chassis with a screw.
PCI Slots
You can install the 32-bit PCI interface expansion cards in the slots.
PCI Express Pro Slot(Support x1 VGA Interface)
The one PCI Express Pro slot is fully compliant to the PCI Express Base Specification
revision 1.0a as well.
PCI Express x1 Slot
The one PCI Express x1 slot is fully compliant to the PCI Express Base Specification
revision 1.0a as well.
Azalia CNR Slot (Optional)
You can install the CNR (Communications and Networking Riser) cards in this slot,
including Modem functions.
 Loading...