8
Motherboard User’s Guide
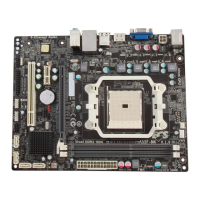
CPU Installation Procedure
Follow these instructions to install the CPU:
1 Unhook the locking lever of the CPU
socket. Pull the locking lever away from the
socket and raising it to the upright position.
2 Match the pin1 corner marked as the
beveled edge on the CPU with the pin1
corner on the socket. Insert the CPU into
the socket. Do not use force.
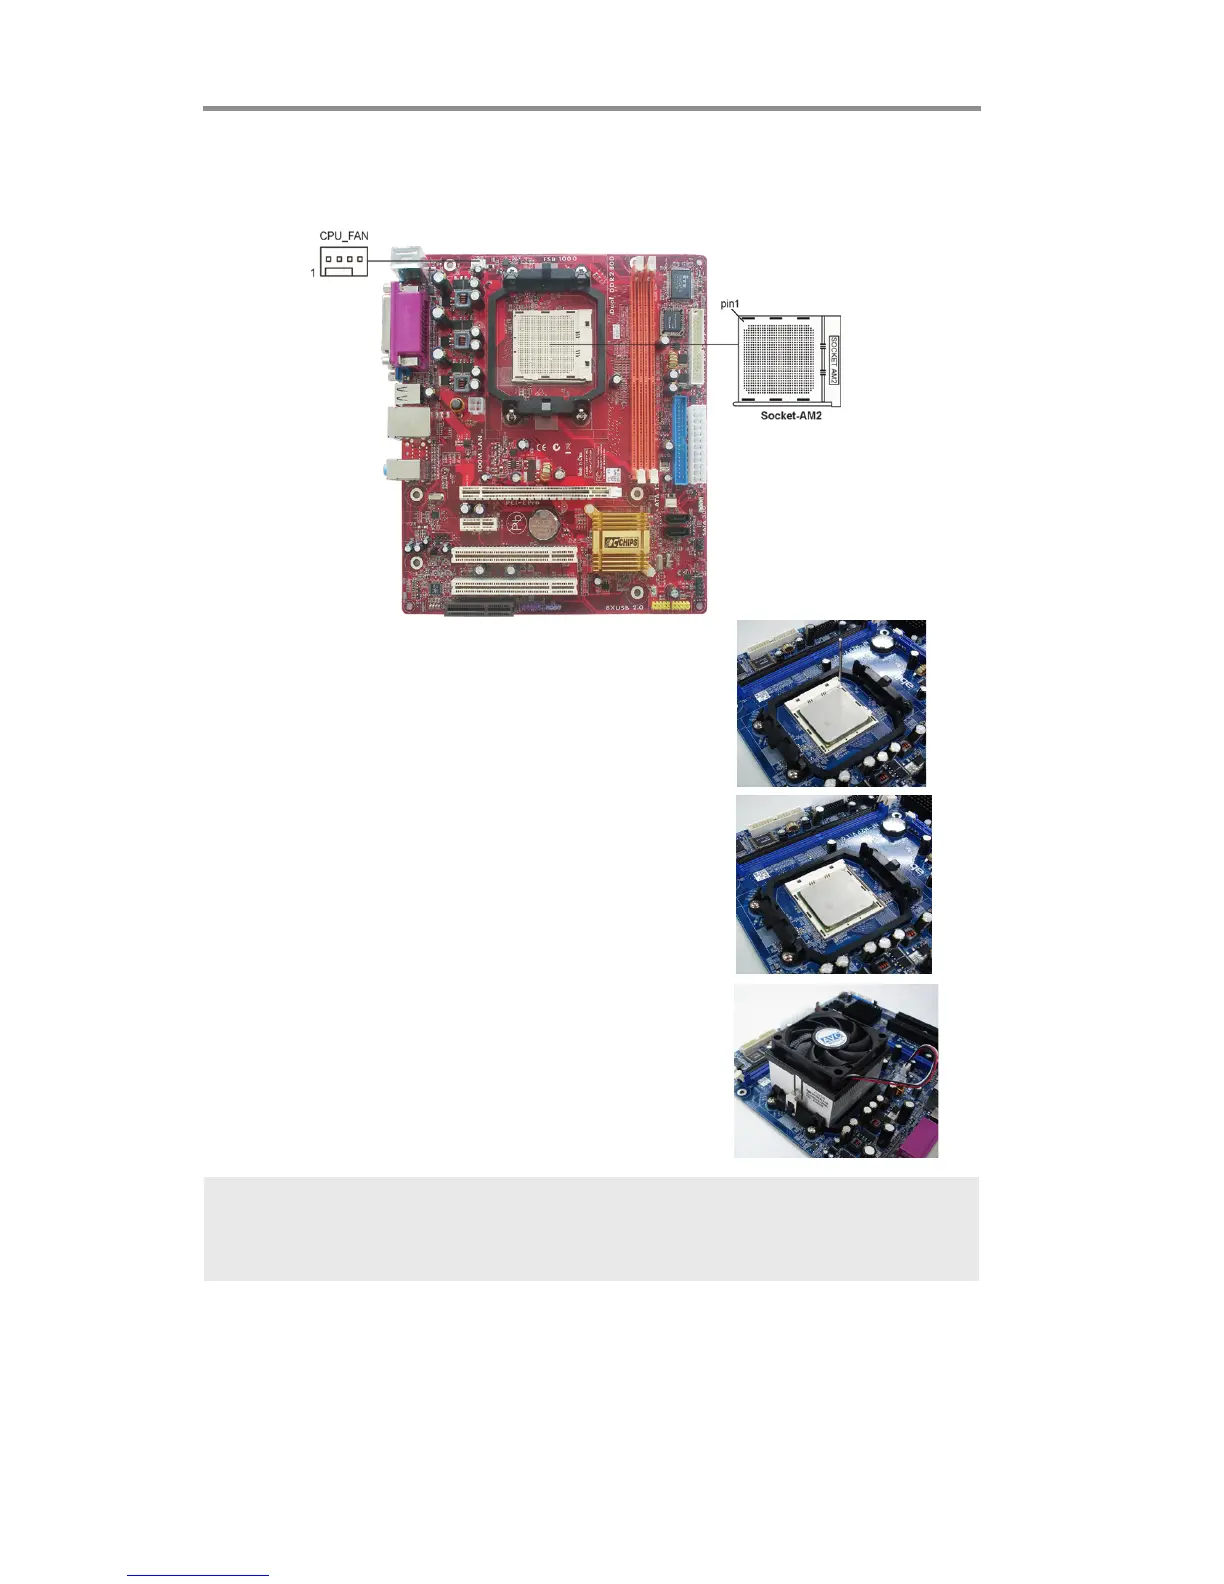
3 Push the locking lever down and hook it
under the latch on the edge of socket.
4 Apply thermal grease to the top of the
CPU.
5 Install the cooling fan/heatsink unit onto the
CPU, and secure them all onto the socket
base.
6 Plug the CPU fan power cable into the CPU
fan connector (CPU_FAN) on the
motherboard.
Installing Memory Modules
This motherboard accommodates two 240-pin DIMM sockets (Dual Inline
Memory Module) for unbuffered DDR2 800/667/533/400 memory modules
(Double Data Rate SDRAM), and maximum 16 GB installed memory.
Note: To achieve better airflow rates and heat dissipation, we suggest that
you use a high quality fan with 4800 rpm at least. CPU fan and heatsink
installation procedures may vary with the type of CPU fan/heatsink
supplied. The form and size of fan/heatsink may also vary.
 Loading...