Chapter 3
| Switch Chassis
How to Install the Switch in a Rack
– 21 –
1. Attach the extension brackets to the device using the screws provided in the
Rack Mounting Kit.
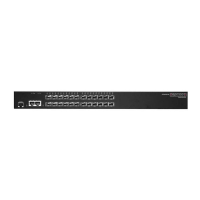
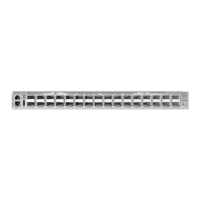
Figure 8: Attaching the Extension Brackets
2. Following your rack plan, mark the holes in the rack where the switch will be
installed.
3. One person should lift the switch into the rack so that it is aligned with the
marked holes.
4. The second person should secure the switch in the rack, using four rack-
mounting screws (not provided).
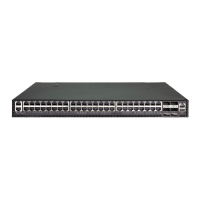
Figure 9: Installing the Switch in a Rack
Use the screws provided in the Rack
Mounting Kit.
Use the rack mounting screws supplied
with the rack.
 Loading...