EasyManuals Logo

EdgeStar AP14009COM-1 User Manual

EdgeStar AP14009COM-1
27 pages
To Next Page IconTo Next Page
To Previous Page IconTo Previous Page
Page #11 background image
8
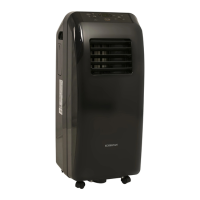
4. Lower the window to secure the window kit in place. You may need to use duct tape to better
secure the window kit. If you are not using the continuous drain option be sure the cap is
fastened to the opening between the two grated adapters to ensure heat does not enter
through the hole.
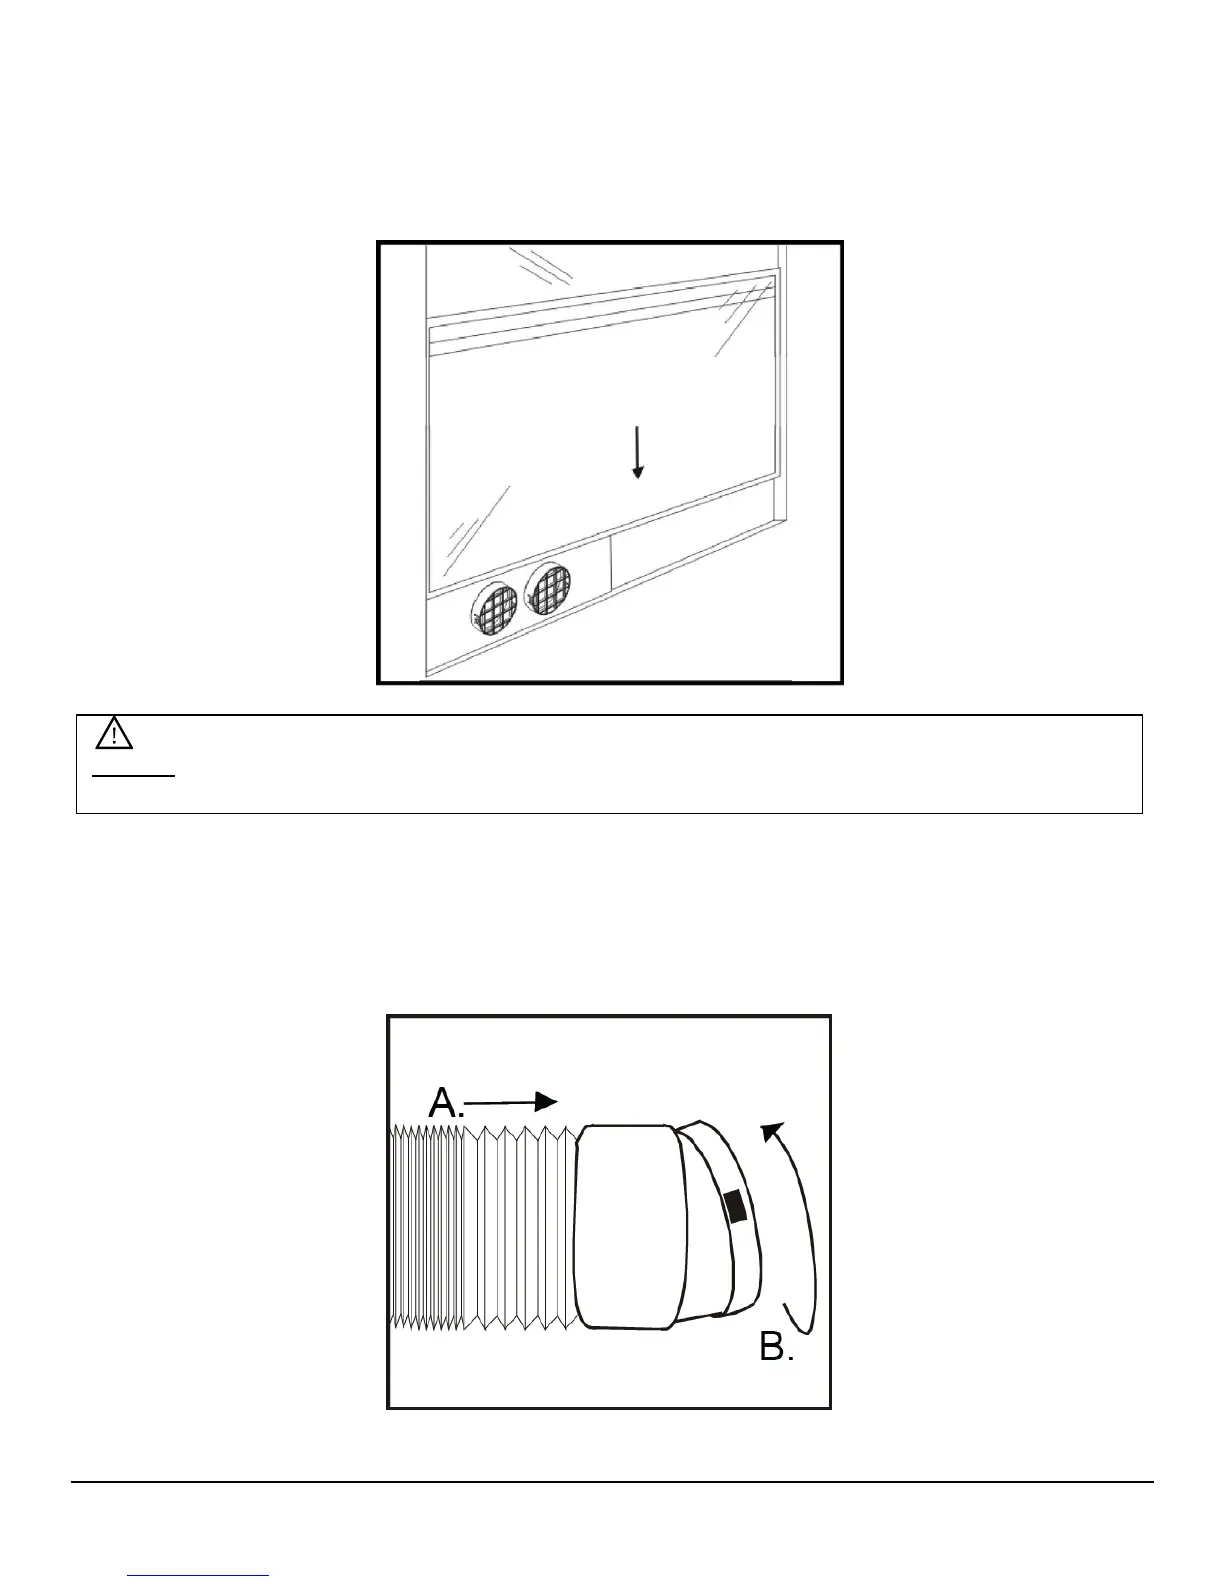
Attaching the Duct Connectors to the Exhaust Hose
5. Attach the connectors to the hose:
a. Extend the ends of the exhaust hose.
b. Thread the duct connector onto the exhaust hose by turning it clockwise until it stops.
Caution: Secure your window with window locks. Please contact your EdgeStar retailer to
purchase window locks.

Other manuals for EdgeStar AP14009COM-1

Questions and Answers:

Question and Answer IconNeed help?

Do you have a question about the EdgeStar AP14009COM-1 and is the answer not in the manual?

EdgeStar AP14009COM-1 Specifications

General IconGeneral
Power Supply115 V/60 Hz
ModesCool, Fan, Dehumidify
Fan Speeds3
Digital DisplayYes
Remote ControlYes
Programmable TimerYes
Self-Evaporative SystemYes
Operating Voltage115 V
Operating Frequency60 Hz
RefrigerantR410A
Installation TypeWindow
Timer24-hour
Sleep ModeYes
Auto RestartYes
Cooling Capacity14000 BTU
Coverage Area700 sq ft
Window KitYes
Warranty1 year

Related product manuals