Page 7
Description
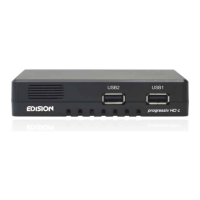
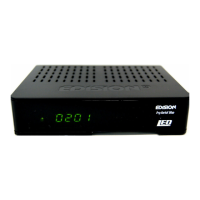
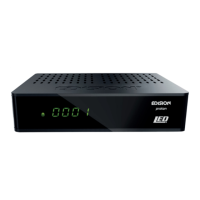
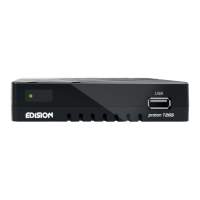
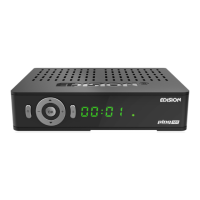
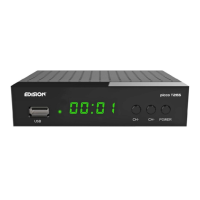
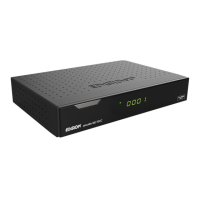
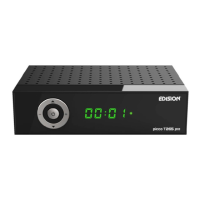
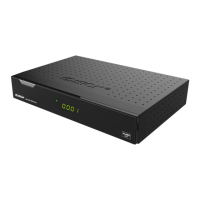
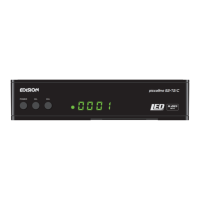
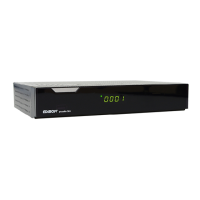
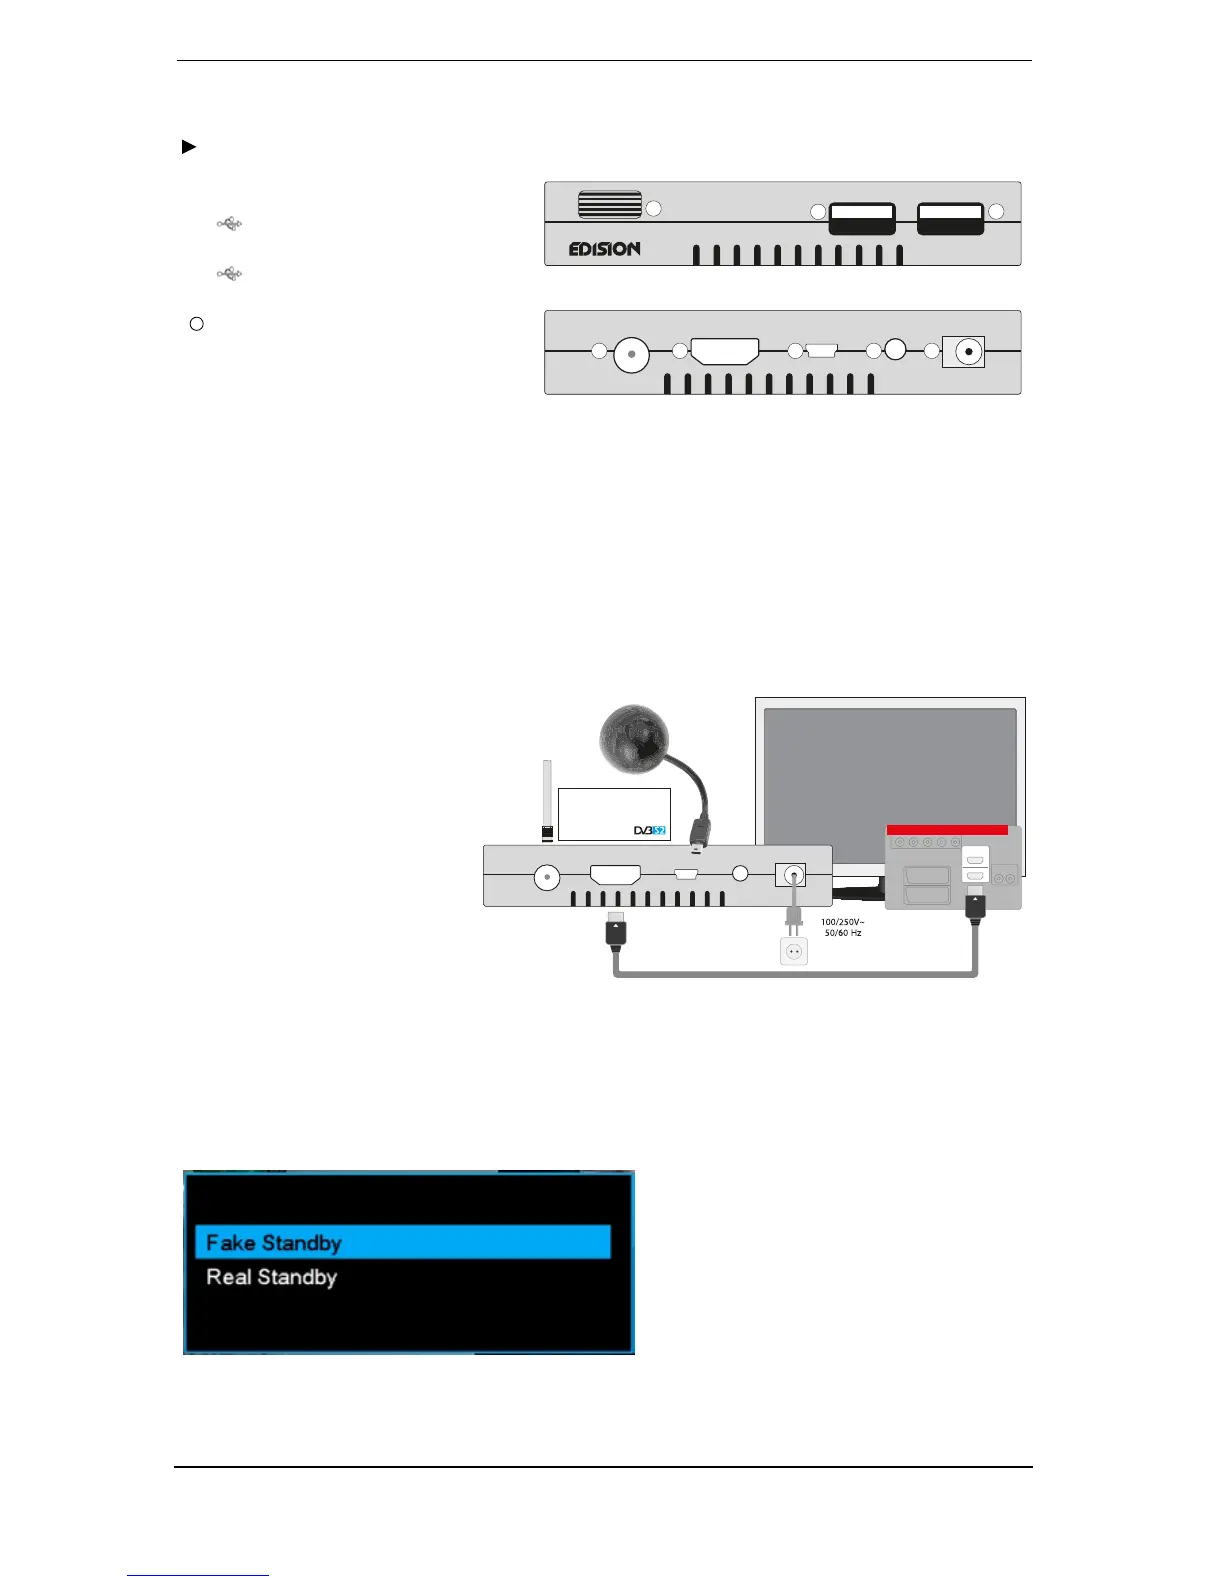
Front
① /USB: Connection for USB1 memory
devices.
3
/USB: Connection for USB1 memory
devices.
②
Infrared sensor for the reception of remote
control commands.
Back
④ LNB IN: Connection for the coaxial cable to
the signal from the satellite system.
⑤ HD OUT : Connection to an HDTV quality TV.
⑥ IR IN: Infrared connection
⑦ AV OUT: For broadcasting video and sound
signals.
⑧ Connection for an adapter (DC 12V/2A)
Connecting and switching on
Note: For interference-free satellite TV
reception, a specialist technician must
calibrate your satellite TV system with a
digital TV level meter.
• Connect the receiver using HDMI cable
from the HD OUT output to your TV HDMI
input.
• Now connect the receiver to the satellite
antenna cable via the LNB IN input.
• Insert the batteries into the remote
control, with respect to polarity.
• Connect the receiver to the power
sup
ply.
• The receiver starts with the BOOT
process and is operational within a short
time.
Switching off
By pressing the Power button once on your remote control, a pop-up window opens.
You can choose any of these two types of Stand-by mode, according to your preferences. When pressing
and holding the Power button of your remote control for more than 2 sec., the device goes into OFF
mode. For mo
re settings please refer to page 21
DC-12VAVHD OUT
LNB IN 13/18V
400mA Max
IR
1
HDMI in
2
HD
m
i
kabel
HDMI
kabel
Antenna cable
Power socket
HD OUT: Output receiver
HDMI cable
TV set connection panel
Use an HDMI input!
LNB IN:
Connecting
the cable to the satellite
signal
USB1USB2
progressiv HD c
3
1
2
DC-12VAVHD OUT
LNB IN 13/18V
400mA Max
IR
4 5 6 7 8