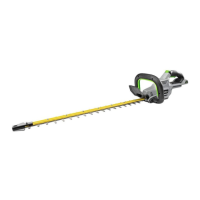
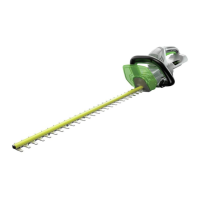
HEDGE TRIMMER ATTACHMENT—HTA200018
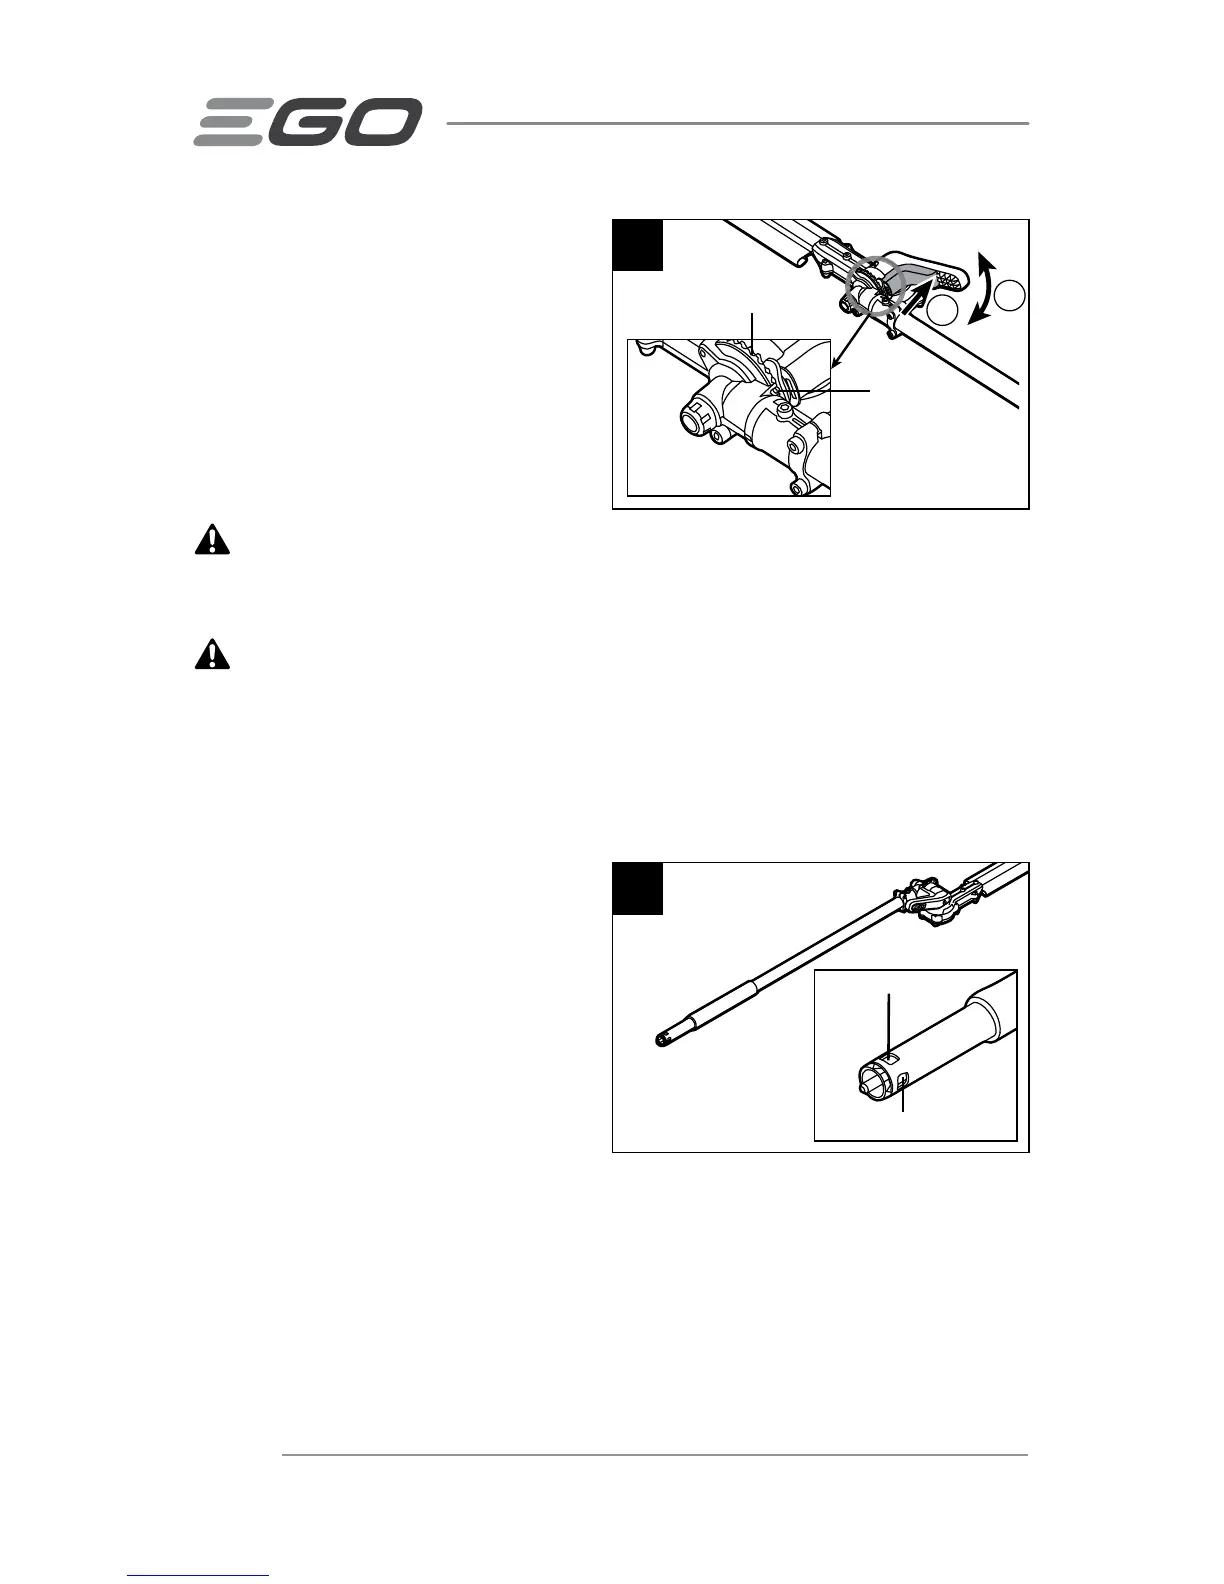
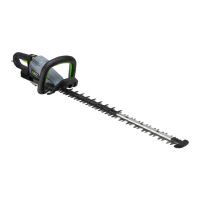
1. While pressing the release trigger,
rotate the adjusting lever to adjust
the blade to the desired cutting
position (Fig. 4).
2. Once the desired position has been
reached, release the release-trigger.
An audible click indicates that the
locking pin is engaged in the locking
plate (Fig. 4).
WARNING!
To reduce the risk
of injury, remove the battery before making adjustments and make adjustments only
when the blades are at a standstill. Never touch the blades while making adjustments.
WARNING!
To reduce the risk of injury, always stop the tool, remove the battery,
and cover the blade with the blade guard before moving the blade to the storage
position or from the storage position to the normal working position.
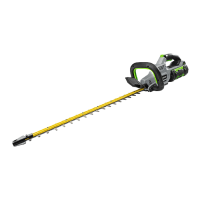
CONNECTING THE HEDGE TRIMMER ATTACHMENT TO THE POWER
HEAD
This hedge trimmer attachment is
designed for use with EGO Power Head
PH1400. The hedge trimmer may be
attached in either the top-cutting or
the side-cutting position (Fig. 5). For
detailed working techniques, please see
“WORKING TECHNIQUES” section in this
manual.
The hedge trimmer attachment connects
to the power head by means of a coupler
device.
1. Stop the motor and remove the battery pack.
2. Loosen the wing knob.
5
Side–Cutting Position
Top-Cutting Position
4
Locking Pin
Locking Plate
1
2