GB
- 75 -
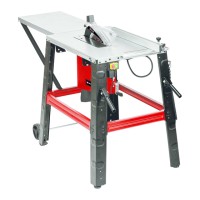
6.4 Changing the table insert (Figure 12)
•
To prevent increased likelihood of injury, the table insert should
be changed whenever it is worn or damaged.
•
Remove the countersunk head screws (17).
•
Remove the worn table insert (6) by pulling it out through the
opening at the back past the splitter (5) and the saw blade (4).
•
Fit the replacement table insert by following the above in reverse.
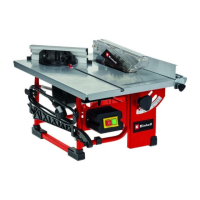
6.5 Fitting / removing the splitter together with the saw blade
guard (Fig. 10 - 13)
•
Remove the table insert (6) by undoing the countersunk head
screws (17) (see 6.4).
•
Using the crank (10) set the saw blade (4) to the maximum cut-
ting depth.
•
Slacken the fastening screw (19) until the gap between the fas-
tening plate (40) and the support surface opposite is approx. 5
mm. Caution! Do not completely undo the fastening plate (40).
•
Insert the splitter (5) together with the saw blade guard in the
gap, push it right down as far as it goes and then secure it with
the fastening screw (19). Make sure that the splitter has been fit-
ted straight and not wobbly.
•
The splitter (5) must be positioned in the center along an ima-
ginary line extending behind the saw blade (4), so that it is not
possible for the material to get jammed.
•
The gap between the blade (4) and the splitter (5) should be 3
mm to 8 mm. (Fig. 13)
•
Push the table insert (6) through the opening at the back over the
saw blade (4) and the splitter (5) and insert it in the saw table (1).
•
Use countersunk head screws (17) to fasten the table insert (6).
•
To dismantle, proceed in reverse order.
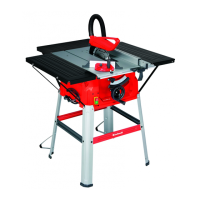
6.6 Fitting/changing the saw blade (Fig. 14)
•
Before changing the saw blade: Pull out the power plug!
•
Wear work gloves to prevent injury when changing the saw bla-
de.
Anl_TC_TS_2225_U_SPK7_Rewe.indb 75 24.03.2020 10:29:26