GB
- 78 -
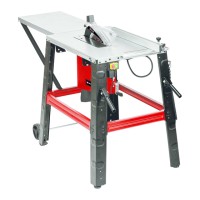
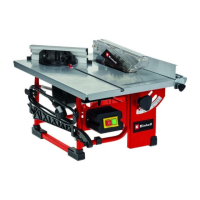
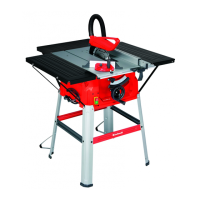
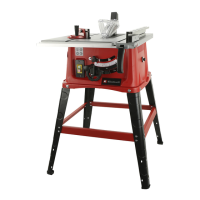
7. Using the saw
7.1. ON/OFF switch (Fig. 1, 16 / Item 11)
•
The On/Off switch is covered by an additional cap. This has to be
opened to switch on the saw.
•
To turn the saw on, press the green button „I“. Wait for the blade
to reach its maximum speed of rotation before commencing with
the cut.
•
To turn the equipment off again, press the red button „0“.
7.2. Cutting depth (Fig. 1, 16)
Turn the crank (10) to set the blade (4) to the required cutting depth.
Turn anti-clockwise:
smaller cutting depth
Turn clockwise:
larger cutting depth
7.3 Parallel stop
The parallel stop (7) has to be used when making longitudinal cuts
in wooden workpieces.
7.3.1 Stop height (Fig. 18, 19)
•
The parallel stop (7) which is supplied with the product must be
used together with the stop rail (23) when performing longitudinal
cuts on thin materials (Fig. 19a).
•
To fasten the stop rail (23) to the parallel stop (7) you have to
slacken the two knurled screws (26). Then thread the stop rail
(23) with the slot (27) onto the screws (18) and secure it with the
knurled screws (26).
•
The parallel stop (7) has to be used without the stop rail (23)
when making longitudinal cuts in thicker wooden workpieces
(Fig. 19b). To do this, the screws (18) and the knurled screws
(26) must also be removed.
Anl_TC_TS_2225_U_SPK7_Rewe.indb 78 24.03.2020 10:29:26