5
English
Selecting Display Mode
This function allows easy selection of a desired mode according to monitor application.
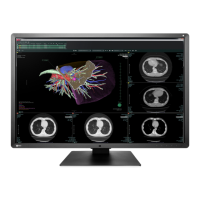
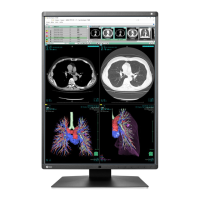
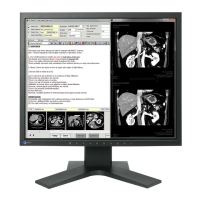
RX240/RX340/RX340-AR
Mode Purpose
1-DICOM AvailabletodisplayinDICOMmode.
2-Custom Availableforthesettingaccordingtoyourpreference.
3-CAL1/4-CAL2/5-CAL3 Displaysthescreenadjustedbycalibrationsoftware.
6-Hybrid-γ Automaticallyidentiesthedisplayareaforthemonochromeandcolorimages
onthesamescreen,anddisplayseachsetstatus.
7-sRGB SuitableforcolormatchingwithsRGBcompatibleperipherals.
8-Text Suitablefordisplayingtextsforwordprocessingorspreadsheets.
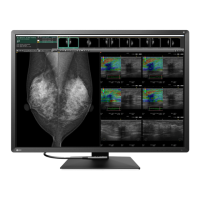
GX240-CL/GX340-CL
Mode Purpose
1-DICOM AvailabletodisplayinDICOMmode.
2-CAL1/3-CAL2 Displaysthescreenadjustedbycalibrationsoftware.
4-Hybrid-γ Automaticallyidentiesthedisplayareaforthemedicalandotherimageson
thesamescreen,anddisplayseachsetstatus.
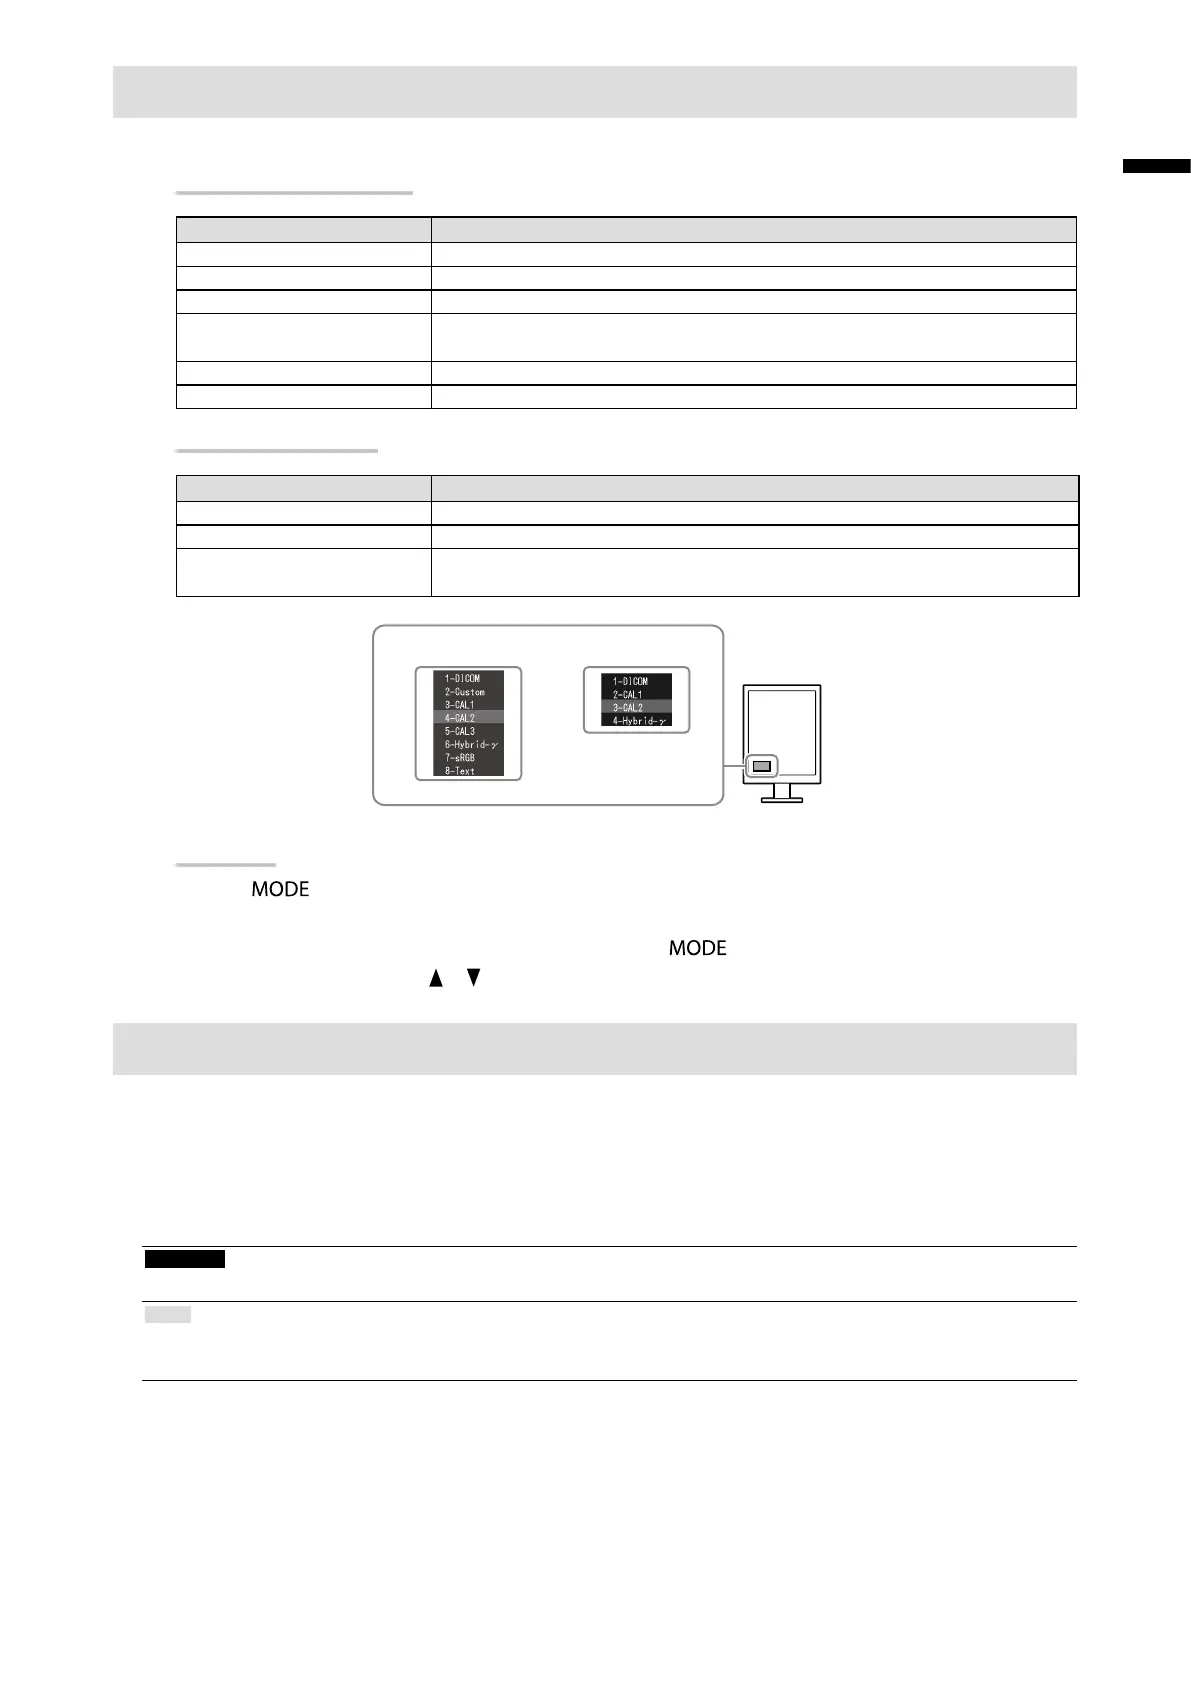
Themodemenuappears.
RX240
RX340/RX340-AR
GX240-CL
GX340-CL
Procedure
1. Press
.
The mode menu appears at the bottom left of the screen.
2. The mode among the list is highlighted in turn each time is pressed.
You can switch the mode with or while the mode menu is displayed.
Controlling Monitor Quality
The quality control software “RadiCS LE” (for Windows) is included with this monitor.
To calibrate the monitor and manage the calibration history, install RadiCS LE with reference to the RadiCS LE User's
Manual (on the CD-ROM). Use the RadiCS SelfQC function and built-in Integrated Front Sensor to perform periodic
calibration and Grayscale Check for the monitor independently. For details, refer to the User’s Manual (on the CD-
ROM).
Attention
• Connect the monitor to the PC with a USB cable when using RadiCS LE.
Note
• To perform advanced quality control that conforms to medical standards, use the optional monitor quality control software
kit “RadiCS UX1”.