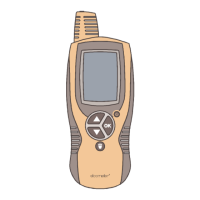
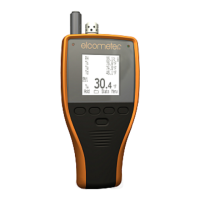
6 Press the MEAS button for 0.5 seconds to enter the measurement mode and prepare for
measurement.
4 If continues to flash and the ‘Err’ (error message) is displayed, the calibration has failed. Check that the standard
solution conductivity is correct and perform the calibration procedure again after thoroughly cleaning the sensor. If the
calibration failed whilst using the correct standard solution, the sensor may be damaged and should be replaced, see
Section 6.3 on page en-13.
5 Clean the sensor with tap water and remove moisture.
4 Close the protection cover and press the CAL button for over 2 seconds.
and J flash and the calibration value is displayed. After the calibration is completed, and
J stop flashing and illuminate steadily.
CAL
CAL
CAL
A5: (continued)CALIBRATION PROCEDURE
4 If a measurement result is out of the specified measurement range, the displayed measured value flashes.
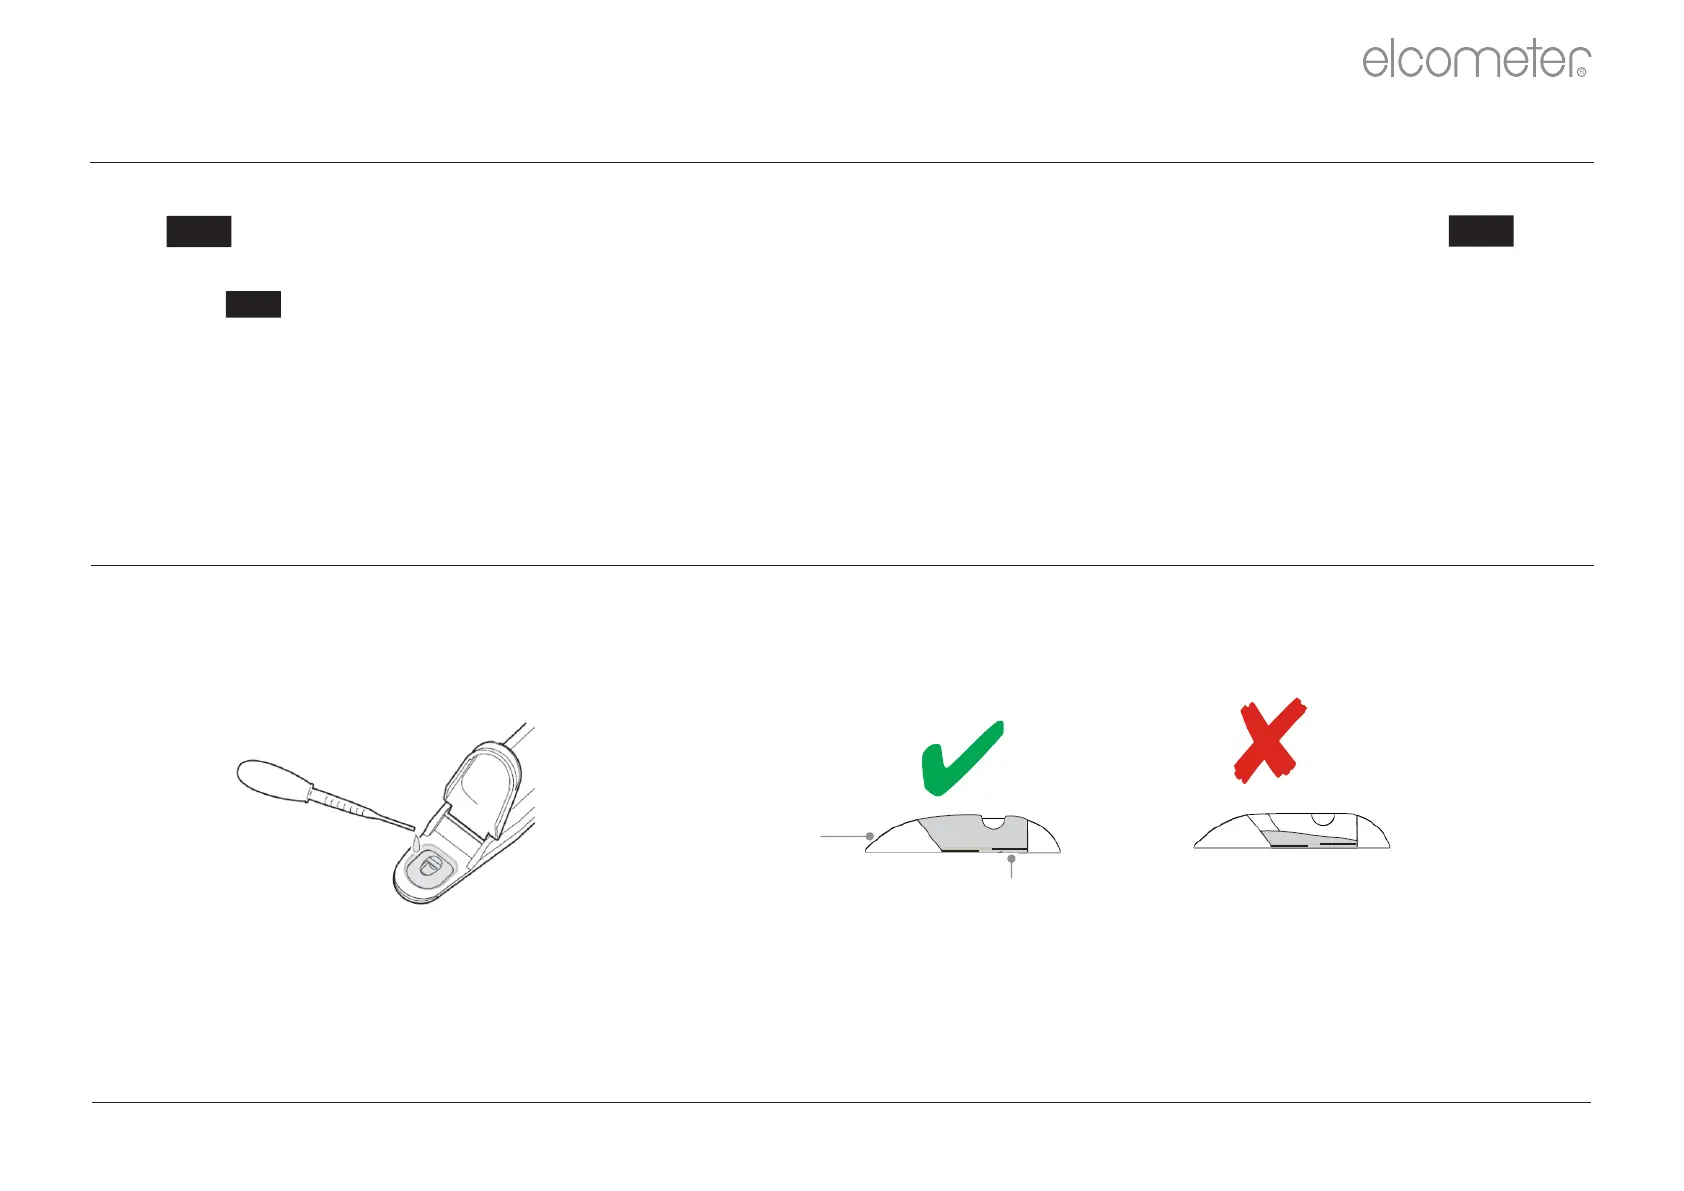
2 Open the protection cover and place drops of the sample on to the sensor.
3 Close the protection cover.
4 Put an appropriate amount of the test sample into the measurement cell avoiding the inclusion of bubbles. Bubbles
in the solution may cause the conductivity measurement to be inaccurate.
4 Ambient air may cause the measurement values to fluctuate. To reduce environmental interference, close the
protection cover.
4 Read the value displayed when appears. illuminates when measured value is stabilisedJ J .
1 Press the ON/OFF button to switch the meter on.
Cell
Electrode
Appropriate
Too Little
A6: TAKING A READING
www.elcometer.com
R
en-20